
Want to transfer photos from Android to a USB flash drive? The fastest, most reliable method is to use a USB-C OTG (or USB micro-USB OTG) adapter, plug in the drive, then copy your photos through your Android file manager. If your phone doesn’t support USB OTG, the best alternative is using a computer as a bridge—but it takes longer. This guide tells you exactly which setup wins for your device and how to move the files in minutes.


As an Amazon Associate I earn from qualifying purchases.
To transfer photos from your Android to a USB flash drive, connect the drive via USB OTG (or a USB-C flash drive), then copy from DCIM/Pictures to the USB location using your file manager. This guide walks you through the quickest, most reliable steps so you can move photos safely without corruption.
Introduction

Transferring photos from an Android phone to a USB flash drive is often simpler than it looks—provided your hardware setup and copy workflow are correct. The biggest causes of failure are usually (1) missing USB OTG support, (2) using the wrong flash drive type/format for Android, or (3) copying while the phone and drive aren’t properly “mounted” as storage. In this guide, you’ll learn a practical, step-by-step method: confirm compatibility, connect correctly, copy the right folders (usually DCIM and Pictures), and safely eject the USB drive to avoid broken files.
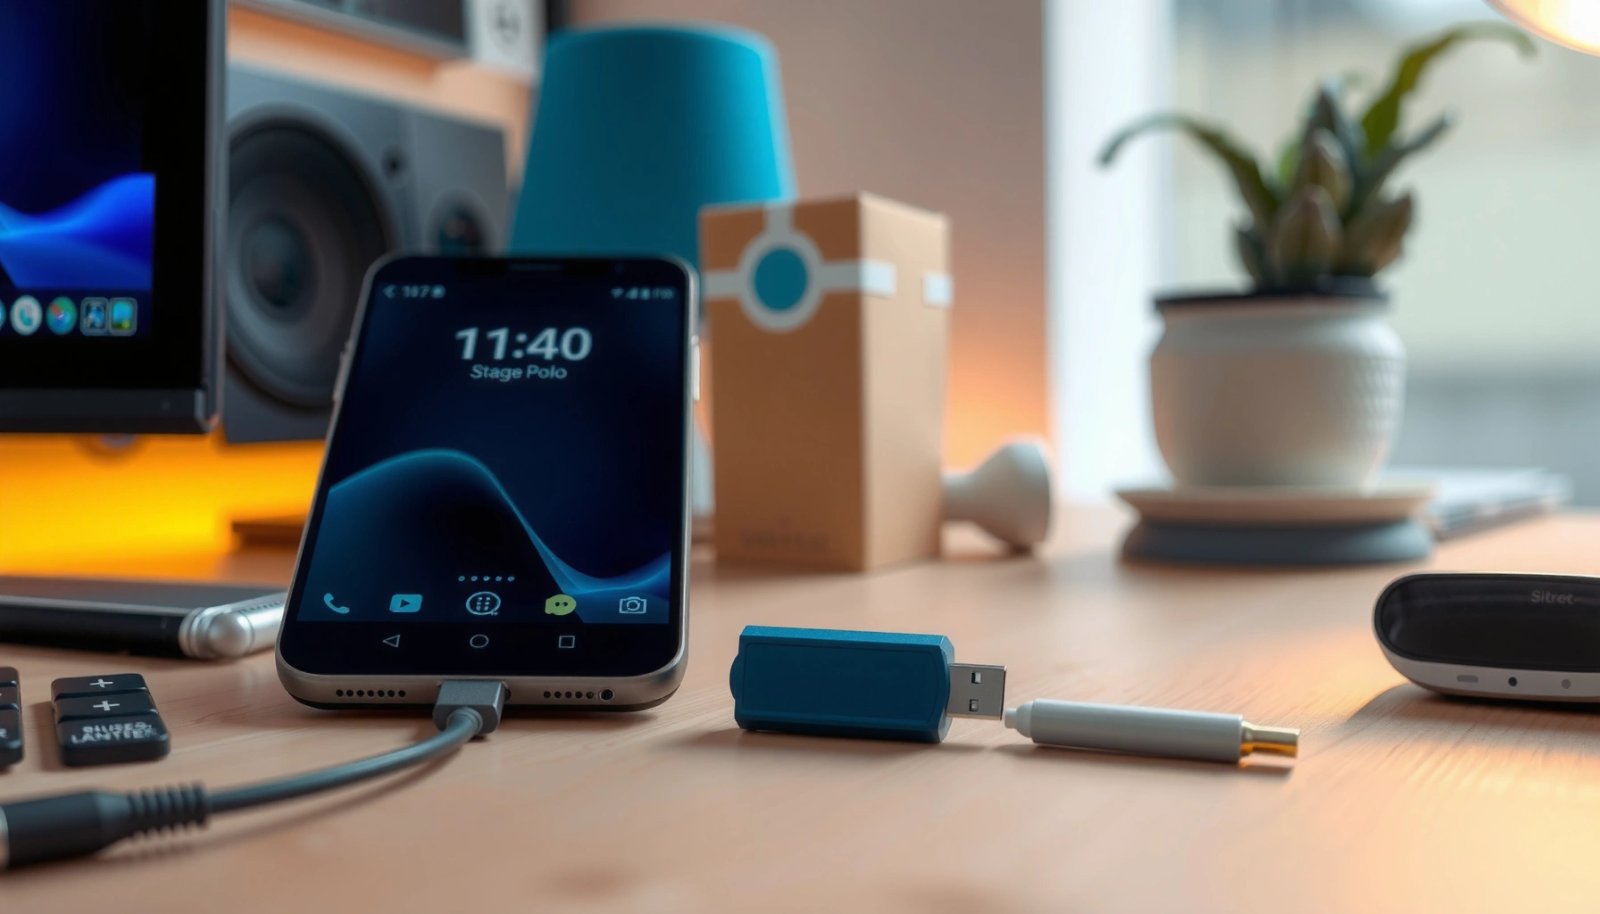
Check What You Need (USB OTG vs USB-C)
Before you buy adapters or start copying, confirm whether your specific Android device can act like a USB host.
- Verify whether your phone supports USB OTG
- Most modern Android phones support USB OTG (USB On-The-Go), but not all models do—especially some older or carrier-locked variants.
- A quick test: if you already own a USB OTG adapter, plug it in once and see whether the phone detects external storage or shows a “USB connected” prompt.
- Use a USB OTG adapter (USB-C to USB) if needed
- If your phone has a USB-C port, use a USB-C OTG adapter (USB-C to USB-A).
- If your phone uses Micro-USB, you’ll need a Micro-USB OTG adapter instead—using the wrong adapter won’t work.
- Choose the correct USB flash drive format if prompted
- Android’s built-in compatibility is strongest with FAT32 and (on many newer devices) exFAT.
- NTFS is typically not supported by default on Android for USB flash drive reads/writes (often requiring third-party apps, which can introduce risk and inconsistency).
Android USB Flash Drive Compatibility (Photo Transfers)
| # | Drive File System | Typical Android Support | Read/Write Photo Copy | Compatibility Rating |
|---|---|---|---|---|
| 1 | FAT32 | Very common | Works reliably | ★★★★★★★☆☆ |
| 2 | exFAT | Common on newer Android | Often works (device-dependent) | ★★★★★★☆☆☆ |
| 3 | NTFS | Limited by default | Often read-only or blocked | ★★☆☆☆☆☆☆☆ |
| 4 | exFAT (large photos) | Good for long files | Safer for large video/photo sets | ★★★★★★★☆☆ |
| 5 | FAT32 (older/compat setup) | Best cross-device baseline | Works on many phones/cameras | ★★★★★★★☆☆ |
| 6 | USB drive type (standard flash) | Good power fit | Usually mounts immediately | ★★★★★★☆☆☆ |
| 7 | USB drive type (high-power SSD) | Varies; may need power | May fail to mount without extra power | ★★★☆☆☆☆☆☆ |
Connect the USB Flash Drive to Your Android
Once you’ve confirmed OTG support (or use a USB-C flash drive), connect in the correct order so Android can mount the device.
- Plug the USB OTG adapter into your phone first
- This lets Android detect the “host controller” before the flash drive is attached.
- Insert the flash drive into the adapter
- Push it in fully. Loose connections are a common reason for intermittent “drive not found” messages.
- Wait for the drive to appear in your notifications or file apps
- Look for a notification like “USB storage connected.”
- Open your file manager and check the drive section (sometimes labeled USB, Removable storage, or the drive’s name).
Pro tip for consistency: If you’re doing frequent transfers (e.g., for a team photo workflow), keep the USB stick formatted to FAT32 or exFAT and use the same adapter so the mounting experience stays predictable.
Copy Photos Using a File Manager
After the USB drive mounts, the copy workflow is straightforward—but you need to copy from the correct source folders.
- Open your Android File Manager (or Files by Google)
- These apps expose both internal storage and mounted USB devices.
- Go to DCIM or Pictures, where your photos are stored
- Common paths include:
- Internal storage > DCIM > Camera (often holds photos from the camera app)
- Internal storage > Pictures (often holds downloads, screenshots, WhatsApp images, and more)
- Select photos (or folders) and choose Copy/Move, then paste to the USB drive
- For a safer first transfer, choose Copy rather than Move.
- Navigate to your USB location (e.g., USB drive > Photos), then paste.
Folder strategy for speed: Instead of selecting thousands of individual images, copy entire dated folders (when available) or copy the DCIM/Pictures subfolders you care about. This reduces selection errors and makes the transfer easier to verify later.
Verification step (recommended):
- After the copy finishes, open the USB drive folder and confirm the file count for the folder(s) you copied.
- If possible, open a few random photos to confirm they aren’t corrupted.
Transfer Photos With USB Settings (If Files Won’t Show)
If the drive mounts but your photo files won’t appear—or the USB drive isn’t detected at all—use targeted troubleshooting.
- If the USB drive isn’t detected, try switching modes in notifications
- Some Android versions show a “USB for…” notification (e.g., charging, file transfer). While OTG detection typically bypasses PC-style modes, related settings can still affect behavior.
- Unplug and reinsert after changing notification-related options.
- Restart your phone and reinsert the USB flash drive
- A quick reboot can resolve storage mounting issues caused by temporary system errors.
- Reinsert the drive after boot completes so Android recognizes it from a clean state.
- Ensure the flash drive is powered properly and recognized by the system
- Some drives draw more power than phones can supply—especially larger-capacity flash drives or small SSDs.
- If you notice disconnect/reconnect behavior, try:
- A different (lower-power) USB flash drive
- A different OTG adapter
- A powered USB hub (only if your device supports OTG power delivery through the hub)
If you get “Unsupported file system” or cannot write:
- Reformat the USB drive on a computer to FAT32 (most compatible baseline) or exFAT (often best for newer devices and larger files).
- Only reformat after backing up anything already on the drive.
Safely Unplug the USB Flash Drive
Safe removal is one of those steps people skip—until files fail to open or the directory becomes inconsistent.
- Wait for the transfer/copy process to fully complete
- Don’t start unplugging while progress is still running, even if it “looks done.”
- Use “Eject/Unmount” from Android settings or storage notifications
- Many Android phones show an option like Unmount USB storage.
- This tells the system to flush write buffers and release the filesystem safely.
- Remove the flash drive only after it’s safe to disconnect
- If Android indicates the drive is unmounted, then physically remove it.
- If you remove it early, the USB stick may still be writing metadata even after the UI stops moving.
Business-friendly best practice: For repeat transfers, create a standard routine—copy → verify a sample → eject → store the USB drive in a known location. This reduces “missing photos” incidents and supports reliable offline backups.
Conclusion
You can transfer photos from Android to a USB flash drive by connecting via USB OTG (or a USB-C flash drive), opening your File Manager, copying from DCIM/Pictures, and pasting to the USB drive. If detection fails, address it with power/format checks, reinsertion, and mounting troubleshooting—then always finish with a proper Unmount/Eject to prevent corruption. Try your first transfer now: plug in the adapter, copy your DCIM folders, confirm files on the USB drive, and build a repeatable backup workflow for your photo library.
Frequently Asked Questions
How do I transfer photos from my Android phone to a USB flash drive?
Connect your USB flash drive to your Android device using the correct adapter (OTG adapter for most phones, or a USB‑C flash drive if your phone supports it). On Android, open the file manager (Files by Google or your device’s “File Manager”), then go to the “DCIM” or “Pictures” folder. Select the photos you want, tap “Copy” or “Move,” and then choose the USB storage location to paste them. Safely eject the USB flash drive from your phone after the transfer finishes.
What should I do if my Android phone doesn’t recognize the USB flash drive?
First, confirm you’re using the right OTG (USB On‑The‑Go) adapter or a compatible USB‑C/OTG flash drive. Try a different USB port or flash drive, and restart your phone to refresh storage detection. Some Android phones require enabling “USB” permissions or using a specific file manager to access USB storage. If the drive is formatted incorrectly, back up your data (if possible) and consider reformatting the USB drive to exFAT or FAT32.
Which USB flash drive format is best for transferring photos from Android?
For broad compatibility with Android devices, exFAT or FAT32 are usually the best choices. FAT32 is widely supported but has a 4GB maximum file size limit per file, while exFAT supports larger files like high‑resolution videos. You can check and format your USB flash drive in your computer’s disk utilities, then reconnect it to your Android phone for photo transfers. Formatting erases existing data, so back up anything important first.
How can I transfer a large number of photos without running into errors or interruptions?
Use a wired OTG connection (or a reliable USB‑C flash drive) to reduce disconnects and power issues during the transfer. In your file manager, copy in batches (for example, one album or a few hundred photos at a time) instead of selecting everything at once. Keep your phone charged or plugged in, because low battery can cause the transfer to stop. After copying, verify that the photo files appear correctly on the USB flash drive before deleting from your phone.
Why does the USB transfer copy photos but not the folders or album structure?
This usually happens when you copy individual images rather than the entire album folder, or when the app/file manager you’re using flattens selections. To preserve the folder structure, navigate to the “DCIM” or “Pictures” directory and copy the whole album folder (or the relevant subfolders) to the USB drive. Make sure you paste into a destination folder on the USB flash drive rather than overwriting files in an existing directory. After transfer, open the USB drive in a computer or gallery viewer to confirm the folders and images are intact.
References
- Google Scholar Google Scholar
https://scholar.google.com/scholar?q=android+transfer+photos+to+usb+flash+drive+usb+otg - Google Scholar Google Scholar
https://scholar.google.com/scholar?q=android+mtp+transfer+photos+usb - Google Scholar Google Scholar
https://scholar.google.com/scholar?q=android+usb+otg+mass+storage+device+photo+transfer - USB On-The-Go
https://en.wikipedia.org/wiki/USB_On-The-Go - Media Transfer Protocol
https://en.wikipedia.org/wiki/Media_Transfer_Protocol - https://en.wikipedia.org/wiki/USB_Mass_Storage_Class
https://en.wikipedia.org/wiki/USB_Mass_Storage_Class - USB mass storage device class
https://en.wikipedia.org/wiki/USB_mass_storage_device - File Allocation Table
https://en.wikipedia.org/wiki/FAT32 - exFAT
https://en.wikipedia.org/wiki/exFAT - https://en.wikipedia.org/wiki/Android_File_Transfer
https://en.wikipedia.org/wiki/Android_File_Transfer