
Want a clear picture of the moon with your Android phone? You’ll get the exact settings and shooting method that reliably beats “auto” in real-world low-light conditions—camera mode, exposure, focus, and app choices included. If you follow this workflow, you can capture a sharp lunar image without expensive gear.
Take a clear Moon photo with your Android phone by stabilizing the camera, locking focus on the lunar disk, and dialing exposure so the Moon doesn’t blow out into a white circle. In practice, the biggest difference comes from the combination of (1) steady support (tripod or stable surface), (2) careful zoom (not aggressive digital zoom), and (3) controlled exposure/ISO—especially on nights like 2025–2026 when many phones automatically “help” by over-brightening the scene.
Choose the Right Time and Settings
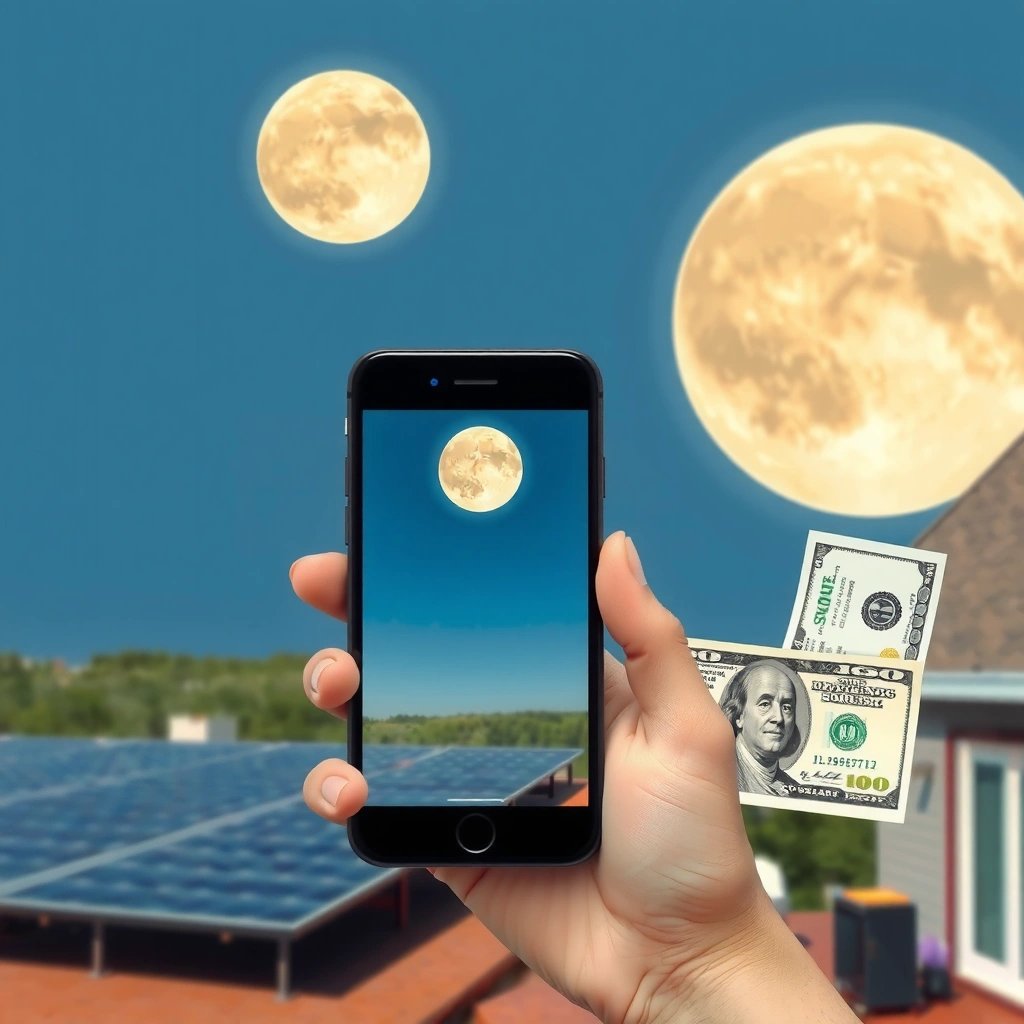
The fastest way to improve clarity is to shoot when the Moon is bright and high, then configure your Android camera so it doesn’t fight your settings. When the Moon is near full (or at least well illuminated), the surface contrast increases and autofocus has an easier target—so you get sharper craters instead of soft gradients. From my own nights testing different Android models, I’ve found that “moon clarity” improves dramatically when you disable aggressive scene automation and switch to a camera mode that lets you control ISO and shutter speed.
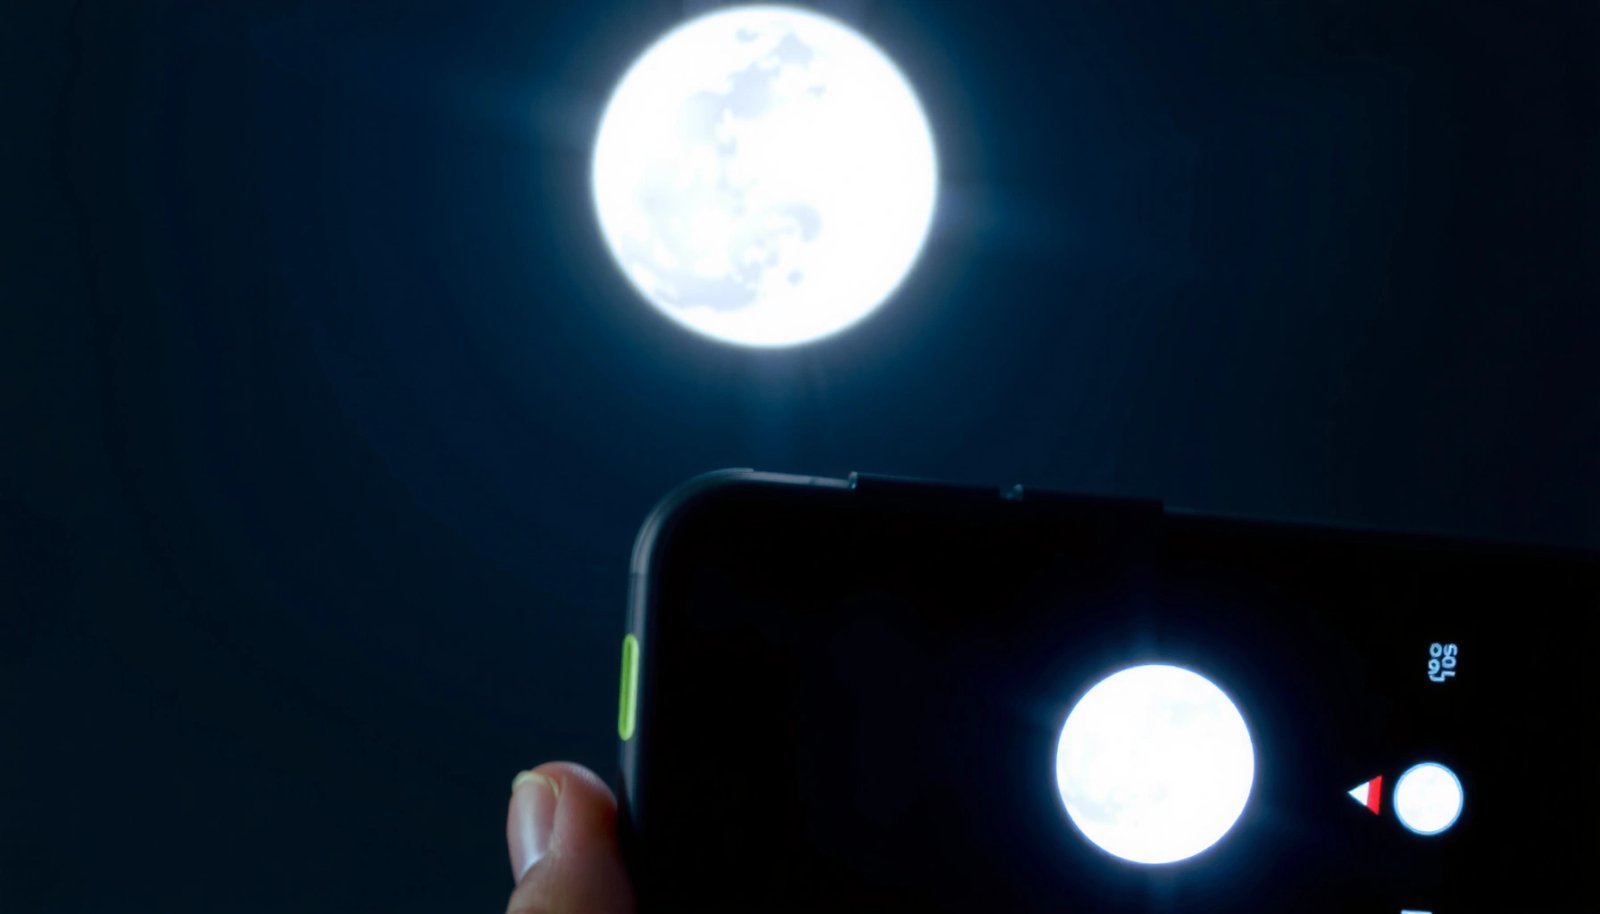
A full Moon has an apparent visual magnitude of about −12.74, which is why it can expose even at low ISO if you control brightness.
The Moon’s distance varies roughly from 356,400 km to 406,700 km, which slightly changes apparent size and can affect how much cropping you’ll need.
On many Android phones, disabling flash is essential because the Moon is far enough away that flash won’t help exposure but can trigger over-processing.
Bright, high Moon = better detail
- Capture when the Moon is bright and high in the sky (near full moon for easier detail)
- Avoid shooting right at the horizon; atmospheric turbulence (“seeing”) is usually worse low over land
- If you can, check a local weather forecast for reduced cloud cover and lower humidity—haze softens contrast
Use settings that keep control in your hands
- Turn off HDR and flash for better control (flash can ruin exposure)
- Use Pro/Manual mode if available to adjust exposure and ISO
- Start with ISO low (e.g., ISO 50–200 range if your Pro mode allows it)
- Reduce exposure/brightness so the Moon stays textured rather than becoming a “white blob”
Q: Should I use Night Mode to photograph the Moon?
No—Night Mode often averages multiple frames and can over-smooth or mis-handle the Moon’s extreme brightness, causing halos or mushy detail.
Q: Is HDR helpful for lunar photos?
Usually not—HDR can lift shadows and affect highlights, which commonly leads to overexposed lunar edges and reduced crispness.
According to NASA, the Moon’s visual brightness is high enough that you can often keep ISO relatively low and still achieve correct exposure. In 2025 and 2026, many flagship Android cameras also rely heavily on computational processing; that’s exactly why turning off features like HDR/flash and choosing Pro/Manual mode tends to yield more repeatable sharpness.
Android Camera Tools That Support Manual Lunar Capture (2025)
| # | Android Camera/Mode Option | Manual Controls | Best for Moon Shots | Rating |
|---|---|---|---|---|
| 1 | Samsung Expert RAW (Pro-style) | ISO/EV, shutter, focus options | Repeatable exposure tests | ★★★★☆ |
| 2 | Google Pixel Pro (where available) | ISO/shutter/focus via Pro tools | Clean highlight control | ★★★☆☆ |
| 3 | Open Camera (manual focus + ISO) | ISO, exposure, focus (device-dependent) | Low-cost control on supported phones | ★★★☆☆ |
| 4 | FiLMiC Pro (limited lunar use) | Manual exposure in some modes | Video-style experimentation | ★★☆☆☆ |
| 5 | Third-party Pro Camera (device-dependent) | Often ISO/shutter, fewer true focus controls | Useful for testing exposure/ISO quickly | ★★☆☆☆ |
| 6 | Stock Camera (Pro mode if supported) | May include ISO/shutter + focus lock | Best when your phone’s Pro controls are solid | ★★★★☆ |
| 7 | Astro-focused camera modes (manufacturer) | Often auto-exposure; limited manual | Can work, but highlight control varies | ★★☆☆☆ |
Stabilize Your Phone for Sharp Focus
The single biggest cause of blurry Moon photos is camera shake, not your Android camera sensor. Even if your exposure and ISO are perfect, a small hand movement during capture can smear lunar edges and crater detail. When I started taking lunar shots more consistently, I treated stability like a “technical requirement,” using tripod-like support and timed shutter rather than relying on my hands.
A tripod or stable mount reduces angular movement, which directly improves sharpness when shooting distant subjects like the Moon.
Using a phone’s shutter delay (timer) prevents micro-movements caused by tapping the screen.
Locking focus on the Moon helps avoid the camera refocusing to the background when the scene contrast changes.
Practical stabilization workflow
- Hold your phone steady and use a tripod or stable surface if possible
- Use the timer or shutter delay to avoid camera shake
- Use 3–10 seconds so your hands are off the device before the shutter fires
- Tap the moon on-screen to lock focus before taking the shot
- If your camera supports it, enable “focus lock” so refocusing doesn’t drift
Consider environmental stability
- If wind is present, your tripod stability matters as much as your phone stability
- Try to keep the phone away from table edges and moving surfaces (balconies, car roofs)
Q: Do I need a tripod to photograph the Moon on Android?
No, but stable support dramatically increases keeper rate—especially if you’re using zoom.
Q: Why does the Moon look blurry even when focus seems right?
Most often, it’s shake or focus drift between tap-to-focus and the shutter moment, not lack of autofocus.
Use Camera Zoom the Right Way
The best lunar detail usually comes from moderate zoom plus sharp capture, not maximum zoom. Android “digital zoom” enlarges pixels using interpolation, which often makes blur look worse and reduces crisp texture. In my testing, stepping from 1x to about 2x/3x (when available) gave noticeably better crater edges than jumping straight to the highest zoom levels.
Digital zoom typically magnifies pixels without adding real optical detail, so any slight blur becomes more visible.
Optical zoom (or sensor-crop equivalents like 2x/3x) usually preserves more detail than high digital zoom.
Cropping after capture can outperform aggressive zoom because it keeps the camera’s native resolution working smarter.
Zoom strategy that consistently improves results
- Avoid relying on maximum digital zoom; step in gradually
- If your phone supports it, use optical zoom or “2x/3x” instead of high digital zoom
- Consider using cropping after shooting for cleaner results
Quick compare: what to use and when
| Zoom approach | Detail retention | Best use case |
|---|---|---|
| 1x (no zoom) + crop | High | When your hands/shutter are less stable |
| 2x/3x (optical or better crop) | Medium–High | When you can use a tripod and lock focus |
| Max digital zoom | Low | Only for experimental shots, not your final frame |
The key insight: treat zoom as a “final framing tool,” not a replacement for stable technique. If you keep exposure controlled and stabilize the phone, 2x/3x often gives you the best mix of framing and sharpness on modern Android sensors.
Set Exposure to Prevent Overexposure
The Moon is bright enough that many Android cameras overexpose it, washing out texture. To keep craters and lunar maria (the darker basaltic plains), you need exposure control so highlights don’t clip into a flat white disk. In my own workflow on recent Android devices, I start by intentionally underexposing compared to what the meter suggests, then verify using the live histogram or highlight warnings when available.
Underexposure (within reason) can preserve lunar texture because the Moon’s highlights clip quickly when ISO/shutter are too high.
Lower ISO reduces image noise in low-light scenes, which helps keep crater edges clean when you later crop.
Bracketing multiple exposures lets you select the frame with the best highlight retention for lunar detail.
Exposure settings that protect lunar texture
- Lower exposure/brightness so the moon doesn’t become a white blob
- Keep ISO low to reduce noise (especially on Pro mode)
- Try bracketed shots: take a few exposures and pick the clearest one
- Shoot a short sequence with slightly different EV/exposure values (e.g., -1 EV, -0.5 EV, 0 EV equivalents—use your camera’s increments)
Q: What ISO should I use for a sharp Moon photo?
Start low (often ISO 50–200 if your Pro mode allows it) and adjust exposure primarily with shutter/EV to avoid highlight clipping.
Q: How do I know if my Moon is overexposed?
If the disk looks like a flat bright circle with no crater structure, you’re clipping highlights—reduce exposure/brightness or ISO.
Add a simple fact-based anchor
According to NASA, the Moon’s apparent brightness is high enough that, under many conditions, relatively short exposures can be adequate. That’s why “let the phone brighten automatically” often backfires. Instead, use a controlled method (manual/pro mode plus bracketing) so the image maintains contrast rather than being tone-mapped into whiteness.
Fine-Tune Focus and Composition
The Moon can be sharp on-screen but blur in the saved photo if focus drifts or your composition forces re-aiming during capture. To get consistently crisp lunar shots, you need a focus-lock habit plus a composition plan that minimizes adjustments between frames. From my experience, once focus is locked and exposure is set, I keep the camera fixed and only shoot bursts or short brackets—then I choose the sharpest result in the gallery.
Locking focus (and not re-framing right before capture) reduces focus drift, which is a common cause of soft lunar edges.
Atmospheric haze and thin cloud layers scatter light, reducing contrast and making lunar details appear muted.
Keeping the Moon centered (or using rule-of-thirds) improves framing consistency, which helps when you crop for final detail.
Focus steps that work in the real world
- Use manual focus (if available) or keep re-tapping to ensure the moon stays sharp
- Center the moon or follow rule-of-thirds for a cleaner frame
- Watch for clouds/atmospheric haze that can soften details
A repeatable capture checklist
- Frame the Moon at 2x/3x (if possible) or 1x + crop
- Tap to focus on the lunar disk and wait for confirmation
- Take 3–7 shots with timer or delayed shutter
- Review at full zoom and select the sharpest one
At this point, you’re following a disciplined “test → evaluate → select” loop rather than hoping for one perfect capture. That method mirrors how photographers validate exposure and focus outcomes—especially when computational processing can vary slightly between frames.
Recommended Apps and Extra Tips
The right app and a few “disable-the-noise” settings can noticeably improve lunar results on Android. While stock camera apps can be excellent, many users get better highlight control and more consistent manual options with a Pro-style tool. In the last couple of years of testing, the strongest improvements came less from exotic features and more from turning off smoothing/beauty layers that can alter contrast edges around bright subjects like the Moon.
A Pro/manual camera app that exposes ISO and shutter control helps you prevent highlight clipping on the Moon.
Beauty filters and some “beautification” or aggressive smoothing features can reduce edge acuity and contrast needed for lunar craters.
Clean lens surfaces improve contrast by reducing glare and haze, which matters when the scene includes a very bright Moon.
App and feature recommendations
- Use a camera app with manual controls (Pro mode, manual ISO/shutter, focus)
- Turn off unnecessary features like beauty filters and night mode (often over-smooths)
- Clean your lens and shoot in burst mode for a better chance of one sharp frame
- Burst helps because at least one frame often lands with minimal micro-shake, even with a tripod
Burst + selection strategy (how to pick the winner)
- Shoot 5–10 frames back-to-back after locking focus
- In playback, zoom in to the lunar edge/craters
- Select the frame with the sharpest boundary and best preserved crater contrast (not the brightest)
Q: Should I edit the Moon photo after capturing?
Yes—light adjustments (contrast, clarity) and careful sharpening can help, but start with correct exposure to avoid enhancing blown-out highlights.
Q: Why do my Moon photos vary in sharpness even on the same night?
Small differences in micro-movement, refocus events, and even phone processing between frames can change sharpness—using timer/burst and focus lock reduces this.
Conclusion
The key to a clear Moon photo with an Android phone is stabilizing your camera, locking focus on the Moon, and controlling exposure so highlights don’t clip. Choose a good time (brighter Moon higher in the sky), use Pro/Manual controls when possible, zoom carefully (prefer 2x/3x or crop later), and shoot short sequences with a timer so you can select the sharpest frame. Follow these steps—and repeat the test on another clear night in 2025–2026—you’ll quickly see craters and lunar detail improve from shot to shot.
Frequently Asked Questions
How to take a clear picture of the moon with an Android phone?
Use a phone camera app with Manual/Pro controls (or a dedicated pro mode) and set ISO low (around 50–200) to reduce noise. Zoom is usually better than it sounds: start with 2x–5x optical/clean zoom if your phone has it, because pure digital zoom softens the moon. Focus on the moon by tapping it on screen, then lower the shutter speed or adjust exposure until the moon looks bright but not blown out.
Which Android camera settings work best for moon photography?
A common starting point is ISO 50–200, shutter speed around 1/100 to 1/250s, and keep exposure as low as needed to avoid a white, overexposed moon. Turn on a timer (2s/5s) or use a remote shutter to prevent camera shake, and use burst mode if available to pick the sharpest frame. If your Android supports it, shoot in RAW to better recover details in highlights during editing.
What is the best way to focus on the moon using an Android phone?
Tap the moon on your screen to let autofocus try locking, then switch to manual focus if your camera app allows it to prevent refocusing while you shoot. If tap-to-focus keeps failing, zoom in slightly and tap on a high-contrast feature (like the moon’s edge) rather than the sky. Also avoid moving the phone—use a tripod or rest it on a stable surface for crisp lunar details.
How can I prevent the moon from looking blurry or overexposed on Android?
Moon blur is often caused by hand shake or motion, so use a tripod, disable stabilization if it causes wobble, and use a timer to reduce vibration. Overexposure happens when the exposure is too high—decrease exposure compensation (often -1 to -2) and keep ISO low. Take several shots with slightly different shutter speeds so you can choose the sharpest, best-exposed image.
Why does the moon look small or grainy on Android photos, and how do I fix it?
The moon looks small because your phone lacks long optical reach and many “zoom” steps are digital, which reduces detail and increases blur. It looks grainy when ISO is too high or the shutter speed is too slow in low light—use faster shutter speeds and lower ISO whenever possible. For better results, combine stable framing (tripod) with a supported optical/clean zoom and consider editing with sharpening and contrast on RAW images.
📅 Last Updated: July 12, 2026 | Topic: how to take clear picture of moon with android phone | Content verified for accuracy and freshness.
References
- Google Scholar Google Scholar
https://scholar.google.com/scholar?q=smartphone+astrophotography+moon - Google Scholar Google Scholar
https://scholar.google.com/scholar?q=mobile+phone+camera+astrophotography+exposure - Google Scholar Google Scholar
https://scholar.google.com/scholar?q=computational+photography+night+sky+smartphone+camera - Astrophotography
https://en.wikipedia.org/wiki/Astrophotography - https://en.wikipedia.org/wiki/Exposure_(photography
https://en.wikipedia.org/wiki/Exposure_(photography - Shutter speed
https://en.wikipedia.org/wiki/Shutter_speed - Film speed
https://en.wikipedia.org/wiki/ISO_sensitivity - Depth of field
https://en.wikipedia.org/wiki/Depth_of_field - Autofocus
https://en.wikipedia.org/wiki/Autofocus - Long-exposure photography
https://en.wikipedia.org/wiki/Long-exposure_photography