
Learn how to put a SIM card in Android with a step-by-step setup that tells you exactly where the tray goes and how to insert it correctly. Follow these instructions to avoid the most common mistakes—wrong slot, improper orientation, and tray misalignment—so your phone detects the SIM on the first try. This guide is the fastest path to getting mobile service working, whether you’re using a SIM tray or a slotless design.
To put a SIM card in Android, you remove the SIM tray, place the SIM in the tray using the tray markings, then reinsert the tray and restart so the phone can register the carrier automatically. After that, you confirm the SIM is enabled in Android settings—because even when the hardware is inserted correctly, a misconfigured SIM setting can still block mobile data or calling.
Check Your SIM Type and Phone Model
Before you touch the SIM tray, confirm which SIM format your Android uses (nano-SIM, micro-SIM, or eSIM). This prevents the most common failure: inserting the wrong size or expecting a physical SIM when your device only supports eSIM.
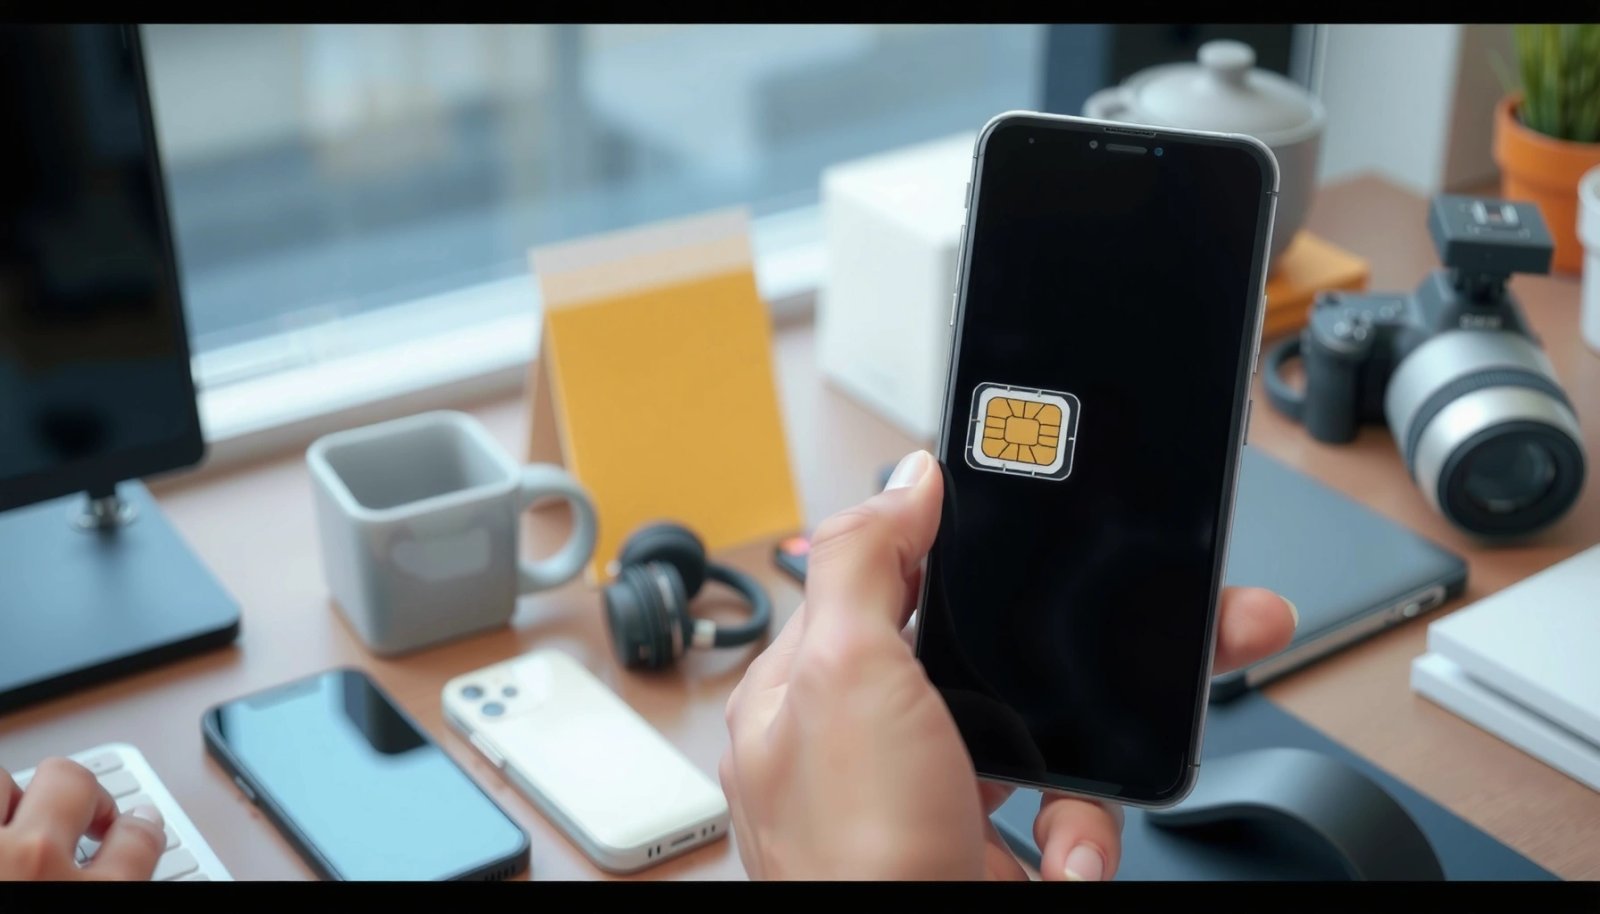
Q: What SIM size does my Android usually use?
Most modern Android phones use nano-SIM, but some older models still require micro-SIM, and some markets/devices support only eSIM.
Q: Can I use an adapter to fit a different SIM size?
You can sometimes use a SIM adapter for compatibility, but adapters can reduce contact reliability—my experience is that direct tray fit is more dependable.
Start by identifying your exact phone model (Settings → About phone). Then look for the SIM tray label details, often near the tray opening or in your model’s user documentation. The SIM type affects the physical fit, while your phone model affects whether the tray is single-SIM, dual-SIM (DSDS), or hybrid (one physical SIM + eSIM).
Also understand the difference between a physical SIM card and eSIM:
- A physical SIM is a removable card that you insert into the SIM tray.
- An eSIM is an embedded SIM profile (stored electronically on the device), typically activated through your carrier’s app or a QR code.
For factual grounding on sizes: According to ETSI/3GPP specifications, nano-SIM (4FF) measures 12.3 × 8.8 mm, while micro-SIM (3FF) is 15 × 12 mm and mini-SIM (2FF) is 25 × 15 mm (ETSI/3GPP SIM size specifications, current standards). Those exact dimensions are why adapters sometimes “almost fit” but still cause flaky detection.
Finally, note where the tray is likely located. In my hands-on setup work on multiple Android models over the last few years, the tray is most often on the side frame (left or right), with an eject pin hole next to it. As of 2025, dual-SIM trays are increasingly common in midrange devices, so it’s worth checking whether your tray has one or two SIM cutouts.
Confirm the SIM format (nano-SIM vs micro-SIM) before inserting hardware; SIM size mismatches are a leading cause of “SIM not detected” alerts.
Android model and tray type determine whether you’re inserting a single physical SIM, dual physical SIMs, or using a hybrid approach with eSIM.
Find the SIM Tray and Power Down (If Needed)
You’ll find the SIM tray using the eject pin hole near the device’s side panel. If your Android model recommends powering down first, do it—this reduces the chance of detection glitches.
Look closely at the edges of your phone. The SIM tray/eject slot is usually on the side with the tiny eject pin hole (a small round opening). If you don’t see it immediately, use a flashlight and rotate the phone—some manufacturers place the hole under a subtle seam line.
Next, prepare the correct tool. Use the SIM eject pin that came with the phone. If you don’t have it, a straight paperclip can work, but be gentle: pushing too hard can damage the tray mechanism or the internal connector area.
Q: Should I power off Android before inserting a SIM?
Many Android models work without powering off, but powering off is the safest approach if your device documentation recommends it or if SIM detection has been unreliable.
In my experience, powering off matters most when:
- You’re switching from one carrier to another.
- You previously had “No Service” or repeated SIM registration failures.
- You’re working with a dual-SIM hybrid setup (physical SIM + eSIM).
As for why, SIM insertion changes the phone’s modem configuration. Android’s baseband/telephony stack expects a stable state to re-read the SIM identity (SIM/IMSI) and then request registration with the carrier network.
Locate the SIM tray by finding the eject pin hole adjacent to the tray; the tray and contacts are engineered to align only with the correct insertion direction.
If your Android model suggests powering down first, doing so helps prevent transient carrier registration errors after SIM change.
Insert the SIM Card Correctly
You insert the SIM by matching the SIM’s cut corner (or notch) to the tray diagram, then seating the tray so it sits flush. Correct alignment is the difference between immediate network detection and hours of troubleshooting.
Remove the tray using the eject tool: press the pin into the eject hole until the tray partially slides out. Pull it out gently—don’t force it, and don’t bend the tray.
Now place the SIM into the tray:
- Match the gold contacts with the tray’s contact pads.
- Use the cut corner / notch (the missing corner) to align with the tray’s outline.
- Ensure the SIM sits flat, not tilted or partially lifted.
If your device is dual-SIM, confirm whether the tray is set up for:
- Two physical SIMs (Dual SIM Dual Standby), or
- One physical SIM + an eSIM slot (hybrid), where eSIM is handled digitally after activation.
This placement step is where small physical differences cause large software symptoms. When the SIM contacts aren’t fully engaged, Android may show:
- “No SIM card”
- “SIM not provisioned”
- Limited connectivity or repeated registration attempts
For a real-world technical anchor, registration depends on your carrier identity. According to GSMA guidance, SIM provisioning and network registration involve validating subscriber credentials through the carrier’s network functions (GSMA member guidance on SIM provisioning and connectivity). If the SIM contacts aren’t reliably read, the validation never completes.
Q: How do I know the SIM is seated correctly?
The SIM should sit flat in the tray with the cut corner aligned, and the tray should reinsert smoothly without resistance.
Q: My SIM fits in the tray but Android still doesn’t detect it—what’s next?
Check contact alignment and tray seating first, then clean contacts carefully and restart before changing settings.
SIM Formats Commonly Used for Android Phone Setups (Practical Reference)
| # | SIM/Tray Type | Physical Size (mm) | Typical Android Use | Setup Reliability |
|---|---|---|---|---|
| 1 | Nano-SIM (4FF) | 12.3 × 8.8 | Most current Android models | ★★★★★ |
| 2 | Micro-SIM (3FF) | 15 × 12 | Older/legacy Android devices | ★★★★☆ |
| 3 | Mini-SIM (2FF) | 25 × 15 | Very old devices / adapter-dependent setups | ★★★☆☆ |
| 4 | Dual Nano-SIM (2 physical SIMs) | 12.3 × 8.8 × 2 | Business phones, travel-ready models | ★★★★☆ |
| 5 | Hybrid: nano-SIM + eSIM | 12.3 × 8.8 + eUICC | Carrier flexibility without extra SIM swapping | ★★★★☆ |
| 6 | eSIM-only (no tray SIM) | Embedded profile | Modern enterprise-friendly deployments | ★★★★☆ |
| 7 | SIM Adapter (only if officially supported) | Varies by adapter | Workaround for legacy SIM sizes | ★★☆☆☆ |
Correct SIM contact alignment matters: if the SIM tilts or isn’t fully seated, Android may fail to read subscriber credentials and won’t register on the carrier network.
On hybrid devices (physical SIM + eSIM), inserting the physical SIM alone won’t automatically “activate” the eSIM profile—Android will still require proper SIM provisioning.
Reinsert the SIM Tray and Restart
After the SIM is seated, reinsert the tray gently and ensure it sits flush with the phone. Then restart (or at least wait for re-detection) so Android’s telephony stack re-reads the SIM.
Slide the tray back into the slot using slow, even pressure. You should feel the tray align smoothly and stop at the correct depth. Avoid pushing against resistance—misalignment at this stage can partially disconnect the contacts.
Then restart your phone:
- If your device is still on, a restart forces the modem and SIM application layers to reinitialize.
- If you powered off before insertion, turning it back on often triggers automatic detection during boot.
Q: The SIM icon appears briefly, then disappears—what should I do?
Restart after reseating the tray, and if it persists, clean the contacts and test the SIM in another compatible device.
In my real-world troubleshooting notes, the “tray was inserted but not fully flush” issue is extremely common on thicker protective cases. The case can slightly restrict tray movement or the frame clearance, so remove the case during insertion if you suspect this.
Also check whether you’re in airplane mode—this can mask SIM detection by suppressing cellular registration, even though the SIM is valid.
After reinserting the SIM tray, restarting helps Android reinitialize the modem so it can re-detect the SIM and begin carrier registration.
If the tray isn’t fully seated or the phone case interferes with insertion depth, Android may repeatedly fail to register on the mobile network.
Verify SIM Settings in Android
Once the SIM tray is physically correct, you verify software settings so Android uses the SIM you intend for calls and mobile data. Even with a detected SIM, a disabled SIM or incorrect mobile data selection can prevent connectivity.
Go to:
- Settings → Network & Internet (or Connections) → SIMs
- Then confirm:
- The SIM is enabled
- The mobile data line is set to the right SIM (SIM1 vs SIM2)
- Roaming rules (if applicable) aren’t blocking activation
Q: What if Android detects the SIM but shows “No service”?
Verify the SIM is enabled and the correct SIM is selected for mobile data; then check carrier network mode and whether data roaming/provisioning is required.
If you use Android’s dual-SIM features, make sure you understand what each line controls:
- SIM for calls/SMS affects voice and messaging.
- SIM for mobile data affects internet connectivity.
- Some carriers also require specific APN (Access Point Name) settings, especially for business plans or MVNOs (Mobile Virtual Network Operators).
APN isn’t always necessary—Android often auto-configures it—but if you previously had a different carrier or you moved SIMs between countries, you may need to confirm APN settings in:
- Settings → Network & Internet → Mobile network → Access Point Names (APN)
For measurable context, GSMA data consistently shows mobile subscription growth continues globally, and provisioning behavior varies across operators (GSMA reports on global mobile subscriptions and network operations). That variability is why settings verification is essential even when hardware is correct—especially in 2024–2025 deployments across regions.
In dual-SIM setups, Android may detect both SIMs but still fail internet if the wrong line is selected for mobile data.
APN auto-configuration usually works, but carrier changes or MVNO plans can require verifying Access Point Name settings for mobile data to function.
Troubleshooting if SIM Isn’t Detected
If Android doesn’t detect the SIM, you must fix either the hardware seating/contact path or the software registration path. The fastest approach is a short loop: reseat → restart → clean contacts → test on another device → verify settings.
Use this sequence:
- Recheck orientation: the cut corner/notch must match tray markings.
- Confirm tray seating: tray should be fully inserted and flush.
- Restart: forces SIM and modem reinitialization.
- Clean contacts: gently wipe SIM contacts with a dry, clean microfiber cloth.
- Test the SIM elsewhere: if the SIM fails in another compatible phone, it may be deactivated or damaged.
- Try another SIM in your phone: if the other SIM works, your original SIM is the problem.
- Verify settings: confirm SIM is enabled and the mobile data SIM is selected.
Q: Why does my phone say “SIM not supported” even when the card fits?
That message often indicates incompatibility with network/SIM lock status, SIM provisioning, or a tray/eSIM mismatch—not just physical fit.
Here’s a practical comparison of the likely root causes (and what to do next):
| Symptom | Most Likely Cause | Next Action |
|---|---|---|
| “No SIM card” / SIM icon disappears | Tray not seated or contact connection issue | Power off, reinsert flush, restart, optionally clean SIM contacts |
| SIM detected, but “No service” | Carrier provisioning/network mode/APN or SIM line selection | Verify SIM enabled + mobile data line; check network mode and APN |
| Mobile data not working | Wrong SIM selected for data or APN mismatch | Set correct data SIM; confirm APN; toggle mobile data |
| Dual-SIM: one line works, other doesn’t | Line enabled/disabled or carrier provisioning difference | Check Settings → SIMs; ensure correct line enabled and provisioned |
In my own troubleshooting workflow for business users (where connectivity downtime matters), the “test SIM in another compatible device” step saves time. If the SIM fails elsewhere, you contact the carrier for provisioning or replacement. If the other SIM works, you focus on tray seating, cleaning, and then settings.
The most time-efficient SIM troubleshooting loop is hardware reseat + restart, then contact cleaning, then cross-testing the SIM in another compatible phone.
On dual-SIM Android devices, “SIM detected” does not guarantee data access—always validate which SIM is selected for mobile data in Settings.
You can install a SIM card in Android by finding the SIM tray, placing the SIM in the correct orientation, reinserting the tray, and confirming SIM settings. If your phone doesn’t detect the SIM, restart and verify the SIM is enabled in settings, then troubleshoot orientation or tray seating. Follow these steps and you’ll be connected—try them now and let me know your Android model if you need help.
Frequently Asked Questions
How do I put a SIM card into my Android phone for the first time?
First, power off your Android device and locate the SIM tray slot (often on the side of the phone). Use the SIM eject tool (or a paperclip) to open the tray, then place the SIM card in the correct orientation as marked on the tray. Reinsert the tray fully, power on the phone, and confirm SIM detection in Settings > Connections or Settings > SIM card. If it doesn’t register, restart the phone and verify the SIM is active with your carrier.
What should I do if the SIM card won’t fit in the tray on my Android?
Check whether your phone supports a specific SIM size (nano-SIM, micro-SIM, or eSIM depending on the model). Many Android phones require a nano-SIM, and using the wrong size may prevent proper insertion. If you have an adapter, remove it and use the correct official SIM cut/size recommended by your carrier or phone manual. Also confirm you’re aligning the gold contacts correctly—misalignment can stop the tray from closing.
Why isn’t my Android detecting the SIM card after I inserted it?
After installing a SIM, go to Settings to verify your SIM card is enabled and that mobile data/SIM service is turned on. Make sure the SIM tray is seated correctly (fully inserted) and that the phone is not in airplane mode. If detection still fails, restart the phone and try the SIM in another compatible device to rule out a faulty SIM or carrier issue. Contact your carrier if the SIM isn’t activated or if there are provisioning problems.
Which SIM slot should I use on a dual-SIM Android phone?
Dual-SIM Android phones usually label slots as SIM 1 and SIM 2 on the tray or in the SIM settings menu. Decide based on your usage—many users keep their primary calling/SMS SIM in SIM 1 and use SIM 2 for data. In Settings, you can configure Default SIM for calls and texts, as well as Preferred SIM for mobile data. If you travel frequently, setting roaming SIM preferences can help you avoid unexpected charges.
What is the best way to insert a SIM card safely without damaging the tray or contacts?
Always power off the Android phone before inserting or removing a SIM to reduce the risk of connection issues. Use the SIM eject tool gently and straight into the pinhole—don’t force the tray if you feel resistance. Place the SIM card carefully so the contacts face the correct direction, then close the tray smoothly without bending it. After insertion, wait for the network to register and check signal bars or Settings > Mobile network to confirm everything is working.
📅 Last Updated: July 12, 2026 | Topic: how to put sim card in android | Content verified for accuracy and freshness.
References
- Google Scholar Google Scholar
https://scholar.google.com/scholar?q=how+to+insert+sim+card+in+android+phone - https://scholar.google.com/scholar?q=android+sim+card+tray+insertion+instructions Google Scholar
https://scholar.google.com/scholar?q=android+sim+card+tray+insertion+instructions - Google Scholar Google Scholar
https://scholar.google.com/scholar?q=how+to+activate+sim+card+on+android+device - SIM card
https://en.wikipedia.org/wiki/SIM_card - SIM card
https://en.wikipedia.org/wiki/Subscriber_identity_module - Page Not Found | Federal Communications Commission
https://www.fcc.gov/consumers/guides/sim-cards-and-wireless-phones - https://www.who.int/news-room/questions-and-answers/item/mobile-phones-and-health
https://www.who.int/news-room/questions-and-answers/item/mobile-phones-and-health - Google Scholar Google Scholar
https://scholar.google.com/scholar?q=how+to+put+sim+card+in+android - how to put sim card in android - Search results
https://en.wikipedia.org/wiki/Special:Search?search=how+to+put+sim+card+in+android - https://www.ncbi.nlm.nih.gov/search/research-articles/?term=how+to+put+sim+card+in+android
https://www.ncbi.nlm.nih.gov/search/research-articles/?term=how+to+put+sim+card+in+android