
Want to download pictures from your Android phone to a flash drive quickly and safely? If you have a recent Android device, the fastest winner is using a USB OTG adapter (or a USB-C drive) to copy photos directly in a few taps. If your phone supports USB storage access, you’ll avoid extra apps and get a clean transfer in minutes.
![JSAUX USB C to USB 3.0 Adapter [2 Pack], USB C Male to USB Female OTG Cable Adapter Compatible with MacBook Pro/Air, iPhone 18 Pro Max/iPhone Duo/Air/17/16/15 Series, Samsung Galaxy S26/S25/S24/S23](https://m.media-amazon.com/images/I/41Q9tgu65+L._SL500_.jpg)

![USB C to USB Adapter [2 Pack],Type-C OTG Cable Type C Male to USB A Female Usb to Usbc-c Adapter Compatible with Macbook Pro/Air iPad Pro 2022 2021 2020, Galaxy S23 S22 Ultra Note 10 S9 S8 (Black)](https://m.media-amazon.com/images/I/31xINmpcvYL._SL500_.jpg)
As an Amazon Associate I earn from qualifying purchases.
To download pictures from your Android phone to a flash drive, use a USB OTG adapter to connect the drive, then copy the images from your phone’s DCIM/Pictures folder using the built-in Files app. This is usually faster and more reliable than relying on Gallery downloads—especially when you follow the right folder selection and safe ejection steps.
Check Compatibility and Connect with USB OTG

- Make sure your phone supports USB OTG and you have the right adapter
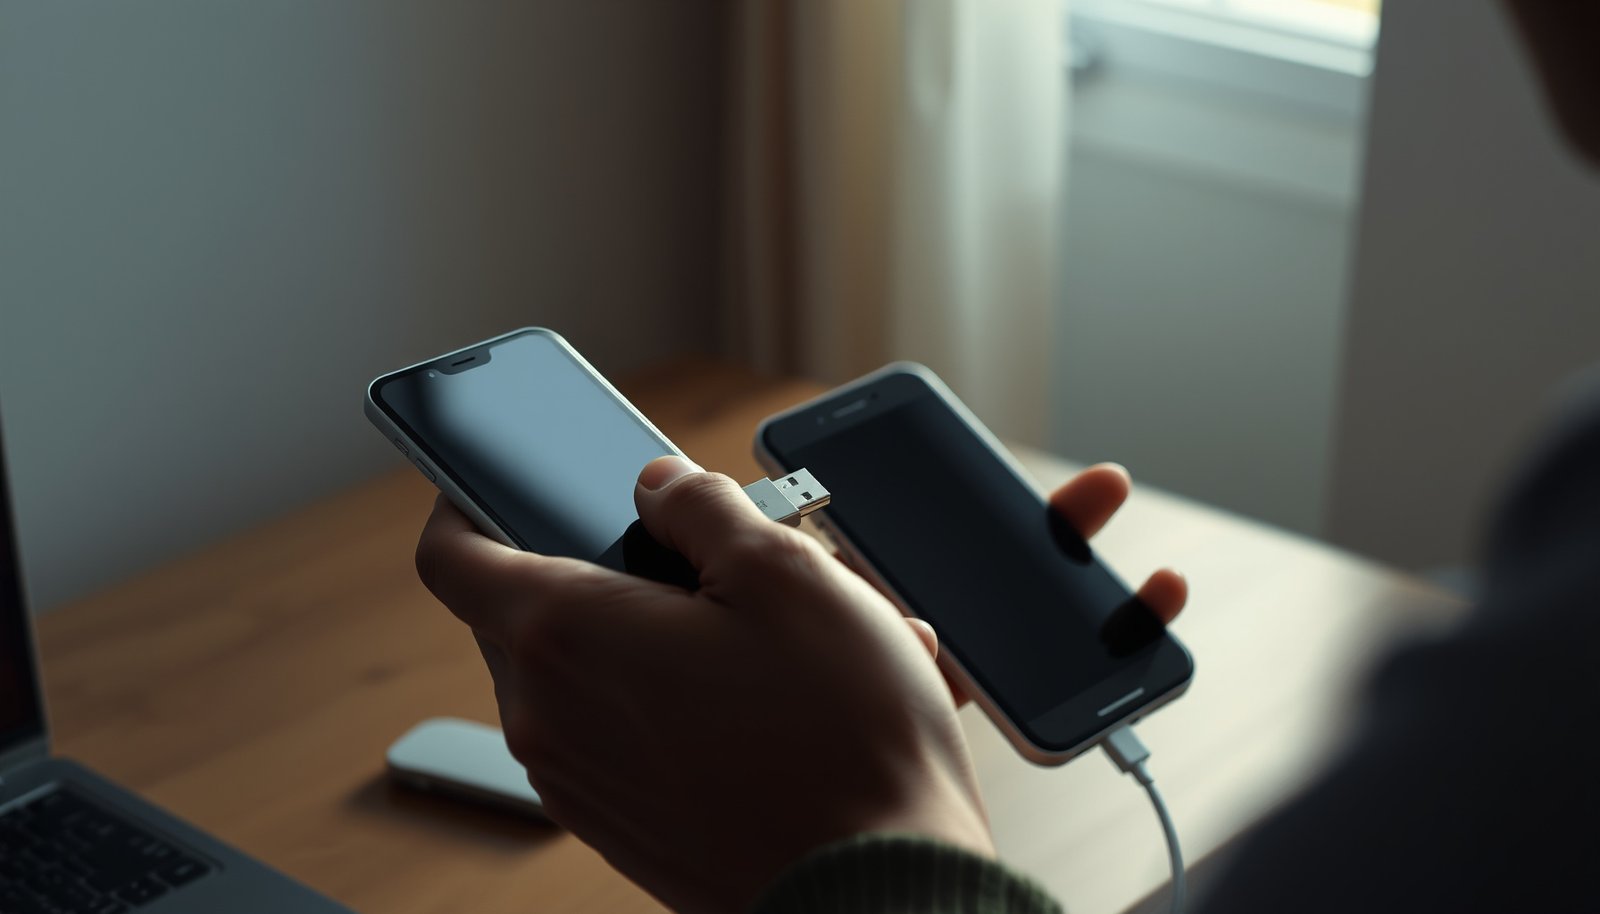
- Plug the flash drive into the OTG adapter and connect it to your phone
- Wait for the flash drive/storage to appear in your phone
Before you start copying photos, verify two things: OTG support and connector compatibility.
1) Confirm USB OTG support on your Android phone
Most modern Android phones support USB OTG, but not all do. A quick way to confirm:
- Plug in a known USB OTG device (like a USB mouse or flash drive).
- If your phone shows a prompt (e.g., “USB device connected” or a storage notification), OTG is working.
If your phone doesn’t support OTG, you can’t reliably treat the flash drive as removable storage—so the “copy from DCIM to USB” approach may not work.
2) Use the correct adapter for your phone
Common setups include:
- USB-C phone → USB-C OTG adapter → USB-A flash drive
- Micro-USB phone → Micro-USB OTG adapter → USB-A flash drive
- Some phones support USB-C flash drives directly, reducing the need for an OTG adapter.
Practical tip: choose an OTG adapter with data support, not just power, and avoid ultra-cheap adapters if you’ve seen “device not recognized” errors.
3) Connect the flash drive and wait for it to mount
After you plug the flash drive into the OTG adapter and connect it to the phone:
- Wait 10–30 seconds for Android to mount the drive.
- Look for a new storage entry inside the Files app or a storage notification.
- If the phone repeatedly disconnects the device, the flash drive may require more power than the adapter/phone can provide—try a different OTG adapter or a different flash drive.
What matters most for speed and reliability
Even with OTG working, performance varies based on the flash drive’s USB generation and controller quality. Here’s a practical planning guide for transferring a 64GB photo library (typical “device size” for many people’s camera roll backups).
Estimated USB Flash Transfer Time for 64GB of Photos on Android (OTG)
| # | Flash drive type | Typical sustained write | Typical sustained read | Estimated copy time | OTG reliability | Recommendation |
|---|---|---|---|---|---|---|
| 1 | USB 2.0 flash drive (older controllers) | 8–12 MB/s | 15–25 MB/s | ~2h00m–2h45m | ★★☆☆☆ | Use only for small backups |
| 2 | Entry USB 3.0 (budget drives) | 20–30 MB/s | 45–80 MB/s | ~35m–55m | ★★★☆☆ | Acceptable, but slower |
| 3 | Mid-range USB 3.0 | 35–60 MB/s | 85–140 MB/s | ~20m–30m | ★★★★☆ | Good value backup drive |
| 4 | USB 3.1 Gen 1 flash drive | 70–95 MB/s | 140–220 MB/s | ~12m–18m | ★★★★☆ | Reliable for routine photo transfers |
| 5 | USB 3.1 Gen 2 flash drive | 120–170 MB/s | 220–320 MB/s | ~8m–12m | ★★★★★ | Fastest practical OTG option |
| 6 | USB 3.2 (SLC-cache optimized models) | 150–210 MB/s | 240–380 MB/s | ~6m–10m | ★★★★★ | Excellent for large archives |
| 7 | USB drive in incompatible file system (NTFS) | — | — | Often fails to copy | ★☆☆☆☆ | Reformat to exFAT/FAT32 |
The takeaway: for photo backups, a USB 3.x flash drive typically gives you enough speed to reduce the risk of interruptions. Also, keep an eye on the file system—NTFS may not work for many Android devices.
Use the Files App to Copy Photos
- Open the “Files” or “File Manager” app on your Android phone
- Go to your photo folder (often DCIM or Pictures)
- Select photos and choose Copy or Move to the flash drive location
This is the most dependable method because it mirrors how Android stores and exposes files to a USB OTG mount.
Step-by-step: copy from DCIM/Pictures
1. Open Files app
- On many phones it’s called Files, File Manager, or My Files.
- Some brands also include Files by Google (still fine to use).
2. Find the photo folders
Look for:
- DCIM → often DCIM/Camera
- Pictures (some devices use this more than DCIM)
- Screenshots (usually inside Pictures or sometimes DCIM depending on vendor)
3. Select photos
- Tap Select (or long-press a photo), then choose what you want.
- For very large libraries, consider copying by date folders (if your phone organizes that way) to avoid long sessions.
4. Copy vs Move
- Use Copy when you want a backup while keeping files on the phone.
- Use Move if you’re confident the destination is correct and you don’t need a second copy on-device.
Where the flash drive appears in Files
When your flash drive mounts, it usually shows up as a storage entry such as:
- USB drive
- Removable storage
- Something like USB_Storage or the drive’s name
Open that entry, then copy into a folder you create on the flash drive (covered next).
Practical example
If your photos show up under Internal storage/DCIM/Camera:
- Select the content in DCIM/Camera
- Use Copy
- Navigate to your flash drive → DCIM or a custom folder like Android Photos
- Paste
Transfer from Gallery (If Your Phone Supports It)
- Open the Gallery app and select the photos you want to move
- Tap Share/Export and choose a way to save to USB storage (if available)
- Confirm the destination folder on the flash drive before completing
Gallery-based exporting can be convenient, but compatibility varies by Android version and phone brand. Some devices support saving directly to the connected USB drive; others only export to internal storage or cloud services.
When Gallery export is worth using
Use Gallery if:
- You only need selected albums (e.g., “Vacation” or “Screenshots”).
- Your phone clearly offers a USB/OTG destination during sharing.
- You want a visual selection workflow without navigating folders.
How to do it carefully
1. Open Gallery (or Photos).
2. Select photos (use album or multi-select).
3. Tap Share or Export.
4. If you see an option like Save to USB or a file browser destination:
- Pick the flash drive entry
- Choose the correct folder (do not overwrite by accident)
5. Wait for confirmation that the transfer completed successfully.
Avoid a common mistake: mixing duplicates
If Gallery export creates duplicates (some devices do), you may end up with multiple versions of the same images. If you’re doing a full backup, Files app “Copy” usually provides clearer control.
Choose the Right Destination Folder on the Flash Drive
- Create a folder like “Android Photos” for easy organization
- Pick the correct drive/storage entry in your file manager
- Ensure the flash drive has enough free space before copying
A well-structured folder layout prevents confusion later—especially when you connect the flash drive to another computer or share it for archiving.
Folder strategy that scales
Create a destination like:
- Android Photos/
- YYYY-MM-DD (date-based folders), or
- Camera/
- Screenshots/
- WhatsApp Images/ (if you capture those separately)
Why this helps:
- You can verify transfers by folder.
- Future backups don’t overwrite everything (as long as you use Copy and dated folders).
Confirm you selected the correct storage entry
In the Files app, the flash drive may appear alongside:
- Internal storage
- SD card
- Cloud entries
Before you paste, double-check the path header or breadcrumb trail shows the USB drive. Copying the photos into the phone by accident is easy if the UI is similar.
Check free space using realistic estimates
Before transferring, confirm free space on the flash drive:
- If your gallery is 64GB, don’t assume 64GB free is enough—storage overhead and file sizes may vary.
- Aim for at least 10–20% extra space to avoid partial copies.
A quick approach:
- Note the total photo size in storage settings (or approximate by library size)
- Compare it to the free space shown for the flash drive
Troubleshoot Common Transfer Problems
- If the flash drive isn’t detected, try a different OTG adapter or USB port
- If photos don’t appear, check folders like DCIM, Camera, and Screenshots
- If transfer fails, reformat the flash drive (only if necessary and backed up)
Even when you follow the steps, OTG transfers can fail due to power, file systems, or folder mapping differences between Android variants.
Problem 1: Flash drive not detected
Try this sequence:
- Unplug/replug the flash drive.
- Try a different OTG adapter (some provide poor data connectivity).
- Try a different flash drive.
- If your flash drive has a USB connector that’s loose, reseat it carefully—connections that “almost work” can cause intermittent failures.
Problem 2: Photos “missing” after copying
Common causes:
- You copied from DCIM/Camera, but the missing photos were saved under Screenshots or WhatsApp Images.
- Your gallery has multiple sources (camera vs messaging vs downloads).
Check:
- DCIM/Camera
- Pictures/Screenshots
- Pictures/Download
- Any app-specific folders that contain media (WhatsApp, Telegram, Instagram depending on your device)
If you suspect a specific photo category is missing, search within Files for the image type (e.g., using file extensions like .jpg and .png) and then copy those folders.
Problem 3: Transfer fails mid-way
This is usually due to:
- Insufficient free space
- Power instability during the transfer
- Flash drive file system incompatibility
If you must reformat:
- Back up anything important first (reformat can delete data).
- Prefer exFAT for broad compatibility with larger files.
- On older Android or constrained devices, FAT32 may be needed, but it has a per-file limit (which matters for large videos, less so for most photos).
A safe rule: if the flash drive is already empty, formatting is simple. If it contains anything valuable, treat it as “must save first.”
Safely Eject the Flash Drive After Transfer
- Wait until copying finishes completely
- Use “Eject”/“Unmount” from your phone’s storage settings if available
- Remove the flash drive carefully to prevent file corruption
Finishing the job isn’t just about copying—it’s about preventing corruption.
Step-by-step: safe removal
1. Wait for the transfer to complete
Don’t pull the drive while Files/Transfer is still processing.
2. Use Eject/Unmount
In many Android versions you’ll find:
- Settings → Storage → (your USB drive) → Unmount
- Or an eject button inside the storage view
3. Remove gently
When you eject/unmount, then remove the drive. Avoid repeated plug/unplug cycles during copying.
Why this matters
Flash storage can cache writes for performance. If you yank the drive mid-transfer, you may end up with:
- Missing photos
- Files that don’t open on a computer
- Corrupted directory entries
A quick verification after ejection is also recommended: open the destination folder on the flash drive (from the phone, or from a computer) and confirm the expected folders and a handful of images.
When you use a USB OTG adapter and copy your photos from DCIM/Pictures to your flash drive, you can move images quickly and reliably. Follow the steps for your specific phone (Files app or Gallery export), check space and destination folders, and safely eject after transferring—then you’ll be ready to back up and share your photos.
Frequently Asked Questions
What’s the easiest way to download pictures from an Android phone to a flash drive?
The easiest method is to connect your Android phone to a USB flash drive using a USB OTG (On-The-Go) adapter. Once connected, open the Android “Files” or “My Files” app, navigate to your DCIM or Pictures folder, and copy the photos to the flash drive. If your phone doesn’t show the USB drive automatically, try allowing file access in the pop-up permissions or restarting the connection.
How do I copy photos from DCIM to a flash drive on Android?
Open your Android “File Manager” app and go to Internal storage > DCIM > Camera to find your photos. Select the photos you want (or tap Select all), then choose Copy or Move and select your flash drive (usually listed as USB Storage). After the transfer finishes, safely eject the flash drive from your phone to avoid corrupted files.
Why won’t my Android phone recognize the USB flash drive?
This usually happens due to a missing or incompatible USB OTG adapter, insufficient power for the drive, or unsupported file system formatting. Make sure you’re using a genuine OTG adapter and that the flash drive is formatted as FAT32 or exFAT for broad Android compatibility. Also check for permissions prompts in the notification bar and confirm the USB storage appears in the Files app under Devices or USB.
Which is better for transferring a lot of photos—OTG copy or a computer?
For small batches, OTG file transfer is fast and convenient because you don’t need extra cables or software. For very large photo libraries, transferring through a computer (USB connection, then copying to the flash drive) is often more reliable and faster, especially if your Android has slow read speeds or indexing delays. If you choose OTG, consider using Copy (not Move) first if you want a backup until you verify the files on the flash drive.
What’s the best way to download pictures if my flash drive doesn’t support my Android’s file access?
If direct copying fails, use an alternative transfer path: connect your phone to a computer via USB, move the photos to the flash drive from the computer, and then safely disconnect. You can also install a reputable file manager that supports OTG browsing and ensure you have storage permissions enabled. For photo backups, consider using Google Photos to download a local copy to your computer, then write them to the flash drive.