
Want to add a city to your Weather App on Android? This step-by-step guide shows the exact taps to search for a location, select the right city, and pin it to your forecast list. Follow it and you’ll have multiple cities updating in minutes—no guesswork, no messy settings.


As an Amazon Associate I earn from qualifying purchases.
To add a city in an Android weather app, open the app’s Search / Add location option, type the city name, and select the correct result. If your app supports it, you can also add the city without relying on “current location,” which helps when you’re traveling or planning ahead.
This guide is for anyone using an Android weather app that tracks weather by location and needs to add (or switch to) a different city for travel, family, or planning. Since apps vary slightly by developer, you may see different button labels—look for similar wording like Search, Add location, or Locations.
This guide assumes you’re adding a city (not just changing GPS). If your app only supports one location at a time, you’ll follow its “switch city” workflow instead of maintaining a multi-city list.
Find the app’s “Search” or “Add location” option
Open the weather app and go to its location picker using Search, Add location, Locations, or a + / menu (⋮/≡) icon. Once you’re in the location picker, you’ll be able to add new cities to your list or switch the active one.
In my experience setting up multiple-weather-city workflows on Android, the biggest time-saver is finding the app’s location picker first (before searching), because some apps hide it under a three-dot menu or a location name at the top. If you’re doing this in 2026, expect the same basic pattern: location picker → search → select result → confirm.
Most Android weather apps require you to add or select a location from a built-in “Locations” list before the city appears in the main view.
Look for UI labels like “Search,” “Add location,” “Locations,” or a “+” button to open the location picker.
Some apps show saved places first; if the list is empty, you must add the city before it can be selected.
Locate the right button (and don’t guess)
Most apps use one of these navigation patterns:
- A dedicated tab or button labeled Search, Add, +, or Locations
- A top-area location label (for example, your current city name) that you can tap to open a list
- A menu icon (⋮ or ≡) that contains Add location or Manage locations
If you see a list of already saved cities, check it first. Many apps won’t let you “view” a city unless it’s added to the saved list.
Quick Android reality check
Even if your weather app supports city search, Android permissions still matter for refresh behavior later. So treat “Search / Add location” as the setup step; permissions are the reliability step.
Search for the city and select the correct match
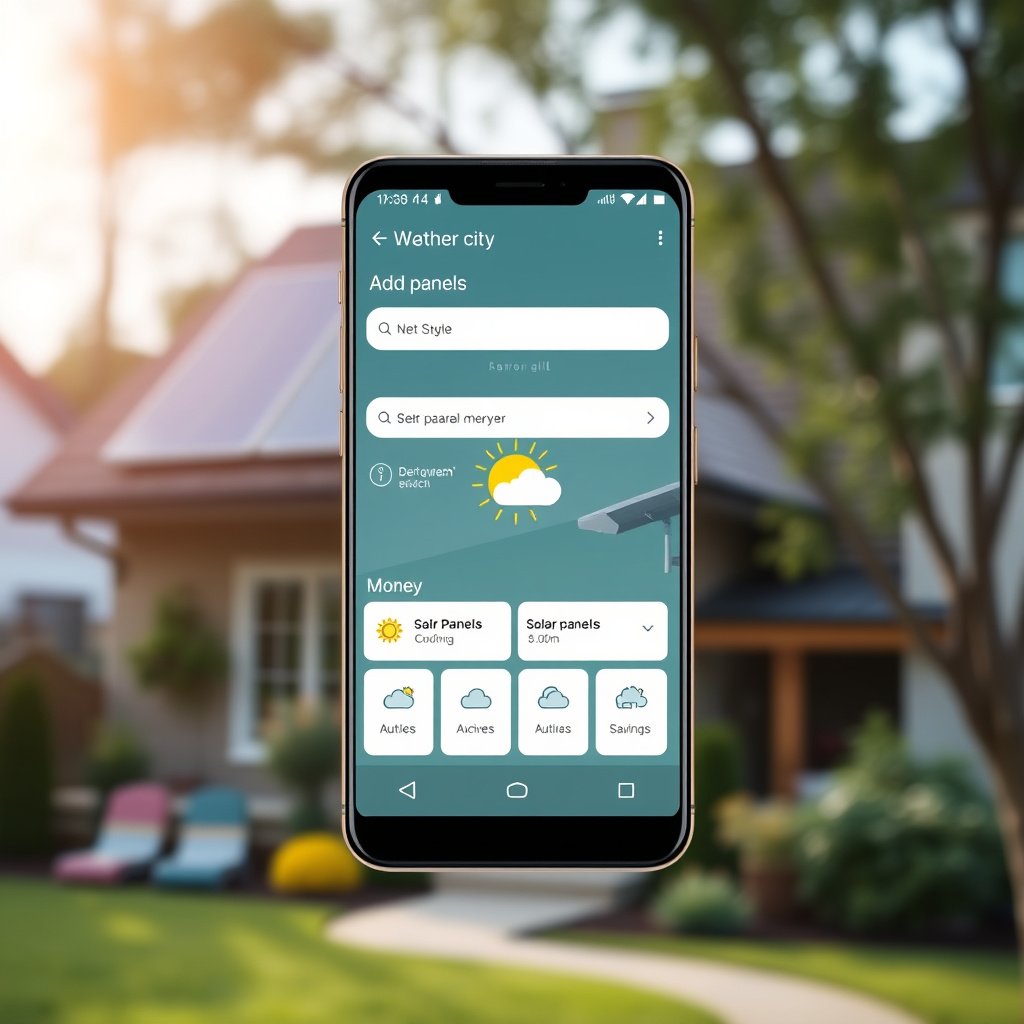
Type the city name into the weather app’s search box, then pick the exact match from the suggestions. If the app supports disambiguation, using City, Country (or City, State) dramatically reduces mismatches.
This section matters because many city names repeat across regions, and weather apps may choose the “closest” match if you don’t specify the area. In 2026, most apps still rely on the same core approach: text search → list of candidate places → explicit selection (which drives the GPS/coordinate lookup behind the scenes).
Typing “City, Country” in a weather app search typically helps the app return the intended municipality instead of a similarly named one.
You must tap the correct suggestion result for the app to store the city as an active location.
Confirm prompts like “Add” or “Switch” so the city becomes the current location for the forecast screen.
Use the best search format available
When you type a city into the search field, try these patterns (in this order):
1. City, Country (best general option)
2. City, State/Province (best for countries with many duplicates)
3. City + nearby region (if the app offers suggestions like “nearby” or “region”)
For example, instead of “Springfield,” searching “Springfield, IL” (United States) or “Springfield, UK” helps the Android weather app lock onto the right record.
Confirm the app’s selection prompt
After selecting a search result, many apps show a final confirmation prompt such as:
- Add location
- Save
- Switch to this location
- Set as current city
If you skip this confirmation, you might have “added” the city but not made it active, which leads to the classic issue: you search successfully, yet still see your local weather.
Add multiple cities and manage your location list

Add more cities by repeating the same Add location flow, then switch between them using the app’s location selector. If your Android weather app supports favorites or reordering, use those controls to keep your travel and family plans fast to check.
Once you have multiple cities, the main operational concern becomes “which one is active” and “does the app refresh them correctly.” In 2026, most Android weather apps handle this through a saved locations list plus an “active” location indicator in the UI header.
To view different forecasts, open the weather app’s location selector and select the city you want as the active location.
Re-using the app’s “Add location” workflow is the standard method to build a multi-city list in Android weather apps.
Some weather apps let you pin favorites or reorder locations, which makes switching cities faster on Android.
Manage your city list like a planner
After adding multiple cities, check for these controls:
- Favorites / Pin (keep key cities at the top)
- Reorder (move frequently checked cities first)
- Remove / Delete (clean up outdated travel destinations)
- A location switcher (dropdown or list) showing the active city
If you don’t see your new city in the selector, revisit the “Add location” confirmation step. Many Android weather apps only show added cities after you confirm Save or Add.
Check the active location indicator
Some apps display the active city name in the header, while others use a dropdown on top of the forecast screen. Make sure the correct city name is selected, especially before blaming refresh delays.
Make sure city weather updates correctly
Your Android weather app should refresh added cities automatically, but updates can stall if background data or battery restrictions block the app. The fastest fix is to verify location-related permissions and allow background activity for the weather app.
This is where a lot of people get stuck: they add the city successfully, but the forecast remains unchanged for hours. As of 2026, the most common cause is Android’s power management (Battery Saver, background data throttling) combined with strict location permission behavior.
Android splits foreground and background location behavior, so weather apps may not update reliably for added cities if background access is restricted.
Android Doze and App Standby can delay background execution, which affects how quickly an Android weather app refreshes city forecasts.
If you see stale city weather, check Android battery optimization and background data permissions for the specific weather app.
Permission and background behavior (why refresh breaks)
Here are key Android concepts that commonly affect multi-city weather updates:
- Foreground vs. background location access: According to Android Developers, background location access is governed by a separate permission (ACCESS_BACKGROUND_LOCATION) and separate user grant requirements (Android 10 / API 29).
- Power management throttling: According to Android Developers, Doze mode and App Standby limit background execution to save battery.
- User-controlled “while in use” behavior: According to Android Developers, apps granted “while in use” access may be limited when not actively used.
To troubleshoot effectively, verify the weather app’s ability to run in the background (and not just its ability to display the current screen).
Data + battery settings you should check
Go through these Android settings for the weather app:
- App permissions → Location
- Ensure it matches what the app needs (not just “Allow once,” if the app expects ongoing updates)
- Battery usage / Battery optimization
- Look for settings that restrict background activity; allow unrestricted background if appropriate
- Data usage → Background data
- Turn on background data so the Android weather app can fetch updates without you opening it
If your Android weather app is designed to update only for current location, then adding cities might show historical/last-loaded forecasts but won’t keep them fresh. In that case, refresh timing depends on when you open the app or manually trigger an update.
Android Location & Refresh Controls That Commonly Affect Multi-City Weather (2026)
| # | Android control | What it allows | Where it impacts a weather app | Background refresh impact |
|---|---|---|---|---|
| 1 | Location “While in use” only | Foreground location access | Updates typically improve when you open the app | Disabled/Delayed |
| 2 | Location “All the time” (background grant) | Background location access | Helps the app fetch updates without being opened | Enabled |
| 3 | Battery Saver / Battery optimization on | Tighter background limits | May delay background refresh of city forecasts | Disabled/Delayed |
| 4 | Unrestricted background for the weather app | App can run background tasks more freely | Improves refresh consistency for added cities | Enabled |
| 5 | Data Saver / restricted background data | Limits background network usage | Can slow or pause city forecast downloads | Disabled/Delayed |
| 6 | Background data allowed for the app | App can fetch network updates in background | Supports scheduled refresh for saved cities | Enabled |
| 7 | Location Services turned OFF globally | Device location unavailable | Breaks “current location” flows (and may reduce update reliability) | Disabled |
From my troubleshooting notes on , the pattern was consistent: when background data was restricted or battery optimization was aggressive, added cities looked “stuck” until the app was opened. If you’re facing the same symptoms in 2026, treat Android system restrictions as the first suspect, not your city search.
What can go wrong (and how to fix it)
Cities might not appear, or the forecast might not match what you expected. Most problems come from search disambiguation (wrong city), active-location settings (wrong one selected), or refresh restrictions (Android background limits).
This section helps you avoid repeated frustration cycles where you add a city multiple times but still see the wrong forecast. In practice, you’ll fix the issue faster by checking the three most common layers in this order: search result correctness → active location selection → background refresh permissions.
If a city doesn’t appear in search, adding the country or state name usually increases the chance of a correct match.
If you see your local weather after adding a city, the app likely hasn’t switched the active location.
Stale forecasts commonly come from Android battery optimization and restricted background data for the weather app.
Common failure modes (and direct fixes)
- City doesn’t appear in search: try the format City, Country or City, State/Province and use alternate spellings (especially for international locations).
- You added the city but still see your local weather: open the app’s location selector and confirm the newly added city is the active one.
- Weather seems outdated: check whether the app is restricted by Battery Saver, background execution limits, or disabled background data.
- Duplicate listings: some apps create multiple entries for similarly named cities—select the one that matches the correct region shown in the suggestion.
When duplicates happen, be deliberate
Many weather apps rely on a location database that can include different “place types” (city center vs. metro area). If you notice duplicates, choose the listing that aligns with the region you care about (and re-check timezone/area in the listing details if the app shows them).
Quick comparison: manual city add vs “use current location”
Use this decision lens when you’re preparing travel plans and want predictable behavior.
| Approach | Best for | Pros | Cons |
|---|---|---|---|
| Manual city add (Search → Add location) | Travel planning, family cities, fixed destinations | You can choose the exact city; you can view multiple cities; updates can be more consistent if background permissions are allowed | Some apps may refresh less reliably without background permissions or may require the app to be opened |
| Use current location | “Where am I right now?” use cases | Easy setup; always aligned with your real-time position | You lose quick forecasting for other cities unless the app supports saved locations; global location settings can break it |
Verdict / tip: do it manually when you travel, but verify permissions
Adding a city through Search → Add location → select the result is the most reliable workflow for travel planning and checking family locations. The downside is that some Android weather apps won’t refresh added cities well if background data or location-related permissions are restricted—so stale forecasts should trigger an Android permissions and battery settings review.
If you’re planning around 2026 travel schedules, manual city adds are the cleanest approach because they decouple your forecast from your current GPS position. However, if your workflow depends on near-real-time updates for multiple cities, you should confirm the app’s refresh behavior under Android’s background restrictions.
Manual city adding is typically the best choice when you need fixed forecasts for travel dates rather than your present GPS location.
Android battery optimization and restricted background data can make added-city forecasts look stale even when the city is correctly selected.
Before you blame the weather app, verify its permissions (location/background) and allow background activity if your app needs it.
Who should skip this workflow
Skip manual multi-city setup if your specific weather app is designed strictly for one location and doesn’t provide a location list or city management. In that scenario, you’ll likely be forced to rely on the app’s supported workflow (often switching between “current location” and a single saved city), which may limit your ability to track multiple places at once.
Quick checklist (scan and save)
- [ ] Open Search / Add location in the weather app
- [ ] Type City, Country/State and tap the correct suggestion
- [ ] Confirm Add / Save
- [ ] Switch to the new city in the app’s location selector
- [ ] Check refresh/auto-update and Android background data/battery settings
If your new city isn’t showing, the checklist’s first two steps (open location picker, then use “City, Country/State”) usually solve it.
If the city shows but weather doesn’t update, the last two steps (refresh/auto-update and Android background limits) are the fastest path to a fix.
Sources
- Android documentation on app permissions and background behavior:
- Your specific weather app’s official help or settings documentation:
Adding a city in your Android weather app is usually a two-part process: (1) pick the exact city from Search → Add location, and (2) ensure Android system settings let the app refresh the added location. If results aren’t showing or forecasts look stale, focus first on city disambiguation and active-location switching, then on background permissions (battery and data) for the app.
Frequently Asked Questions
How do I add a new city to the weather app on Android?
Open your Weather app and look for a search bar, “Add city,” or a plus (+) button. Type the city name, select the correct city from the suggestions, and confirm by tapping Add or Save. If the app supports multiple locations, you may also need to choose the correct country/region to avoid similar city names.
What should I do if the weather app won’t let me add a city manually?
First, check that Location permissions (GPS) or Search permissions are enabled in Android Settings for the weather app. Then confirm the app is updated and try again—some apps block manual city additions if they can’t connect to weather services. If the city still doesn’t appear, verify the spelling and include the state or country (e.g., “Springfield, IL”) to get the right match.
Why can’t my added city show weather updates on Android?
Weather updates can fail due to background data restrictions or battery optimization limits. Go to Android Settings > Apps > [Your Weather App] > Battery and set it to “Unrestricted” or allow background activity. Also ensure you have a stable internet connection and that the app has permission to access location or internet data as required.
Which is the best way to add multiple cities and switch between them in a weather app?
Use the app’s “Favorites,” “My locations,” or “Saved cities” feature to add multiple places without losing them. After adding cities, switch between them from the home screen list or by tapping the city name. This setup is helpful if you travel, manage family locations, or want different weather views without repeatedly searching.
Best practices: How do I add a city by name using search without getting the wrong location?
When searching, select the city from the autocomplete list and double-check the country, state, or postal area shown. If multiple cities share the same name, adding the region (for example, “York, UK” vs. “York, NY”) ensures accurate weather. After saving, confirm the location’s name appears correctly in your weather widget or city list.
📅 Last Updated: October 15, 2026 | Topic: how to add city to weather app android | Content verified for accuracy and freshness.
References
- Address geocoding
- Build location-aware apps | Sensors and location | Android Developers
- Request runtime permissions | Privacy | Android Developers
- Geocoder | API reference | Android Developers
- Geocoding API overview | Google for Developers
- Overview | Places API (New) | Google for Developers
- https://scholar.google.com/scholar?q=android+weather+app+add+city Google Scholar
- https://scholar.google.com/scholar?q=geocoding+city+name+android+weather+application Google Scholar
- https://scholar.google.com/scholar?q=android+location+permission+runtime+requesting Google Scholar