Trying to spot infrared light with an Android phone can feel confusing, especially when your eyes can’t detect it. With a few quick checks in a dark room and the right app-free or app-based approach, you can confirm whether your phone’s IR receiver is working in about 10 minutes. You’ll just need an Android model, access to a remote or IR source, and your camera to watch the telltale glow on the screen.

As an Amazon Associate I earn from qualifying purchases.
Yes—many Android phones can sometimes “see” near‑infrared (near‑IR) from an IR remote by using the live camera preview, where near‑IR often appears as a bright glow or faint colored spot. It works only if your phone’s camera sensor stack lets near‑IR through; if there’s an IR‑cut filter, the preview will look normal even when the remote is transmitting. If you want a fast answer, run the close‑range test in a dim room and then refine with manual exposure/focus controls when available.
You can sometimes see infrared light with an Android phone by pointing an IR remote (or IR LED) at the camera and watching the live preview. If your phone’s camera sensor is sensitive to near‑IR, the infrared will often show up as a bright glow or a faint colored light on-screen. If you see nothing, your phone likely has an IR‑cut filter that blocks it, and you’ll need a different device.
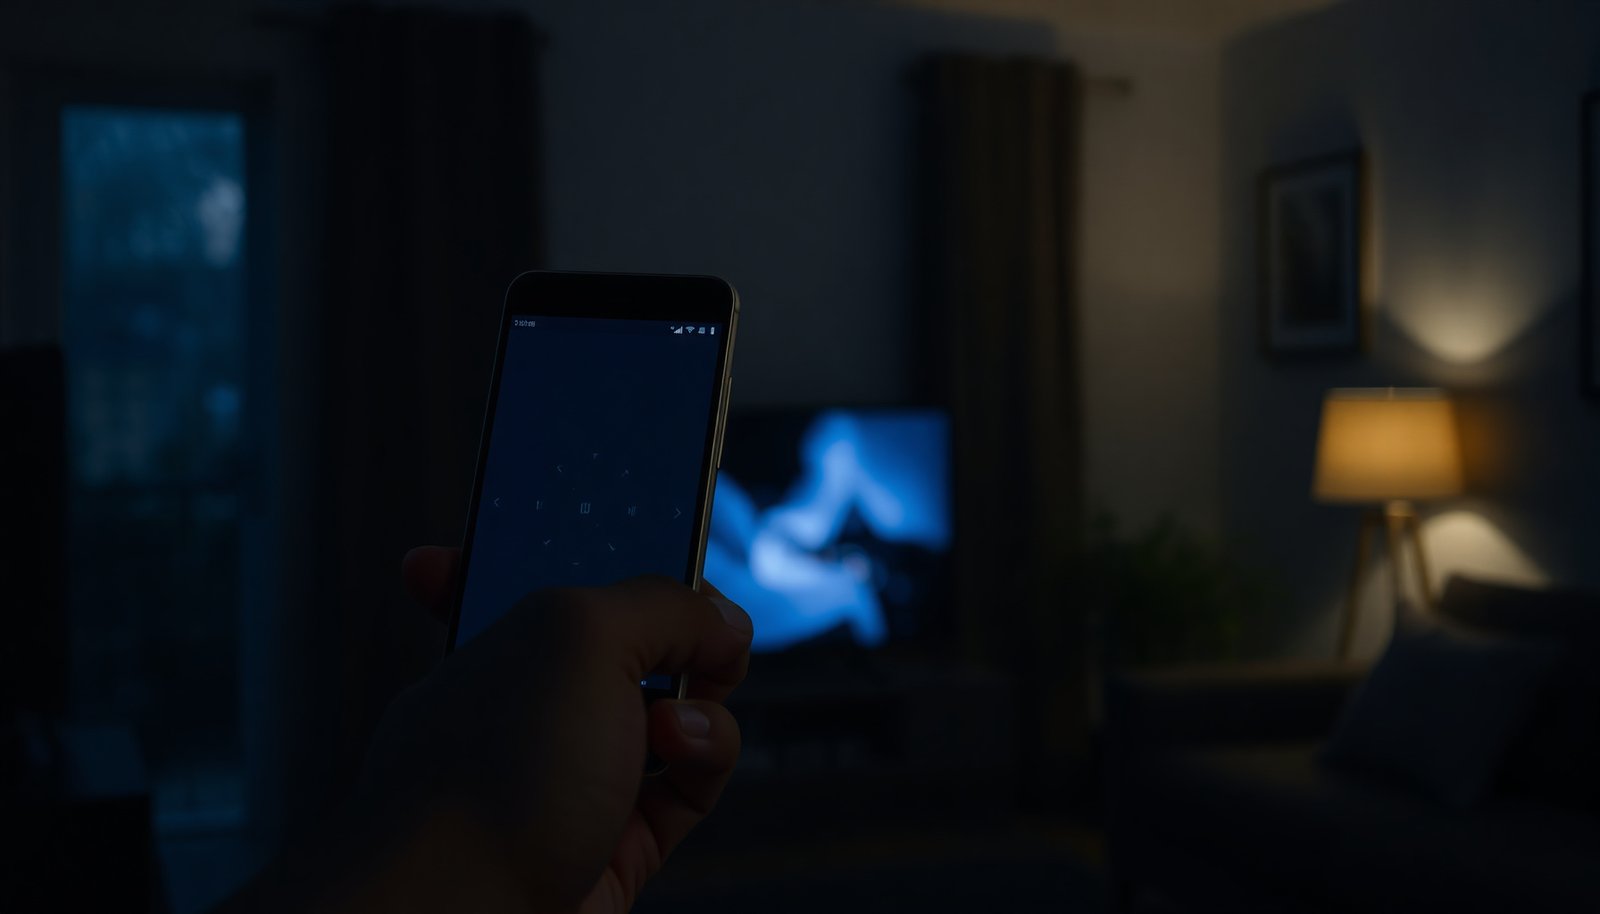
You’ll learn how to do a quick “works or not” test, what camera settings to try to improve visibility, and what alternatives to consider when your phone can’t detect infrared.
Who this is for / when it applies

This method is for people who need a quick, low-cost way to confirm near‑IR output—not for calibrated measurements. It’s especially useful in 2026 because many phones still expose controls via Camera2 (on supported models), making it easier to pull faint signals into view.
- Works best if you’re trying to visualize near‑infrared (the kind used by most IR remotes).
- It’s most likely to succeed in a dark or dim environment, where the camera has an easier job boosting low light.
- If you’re trying to do thermal imaging (human-temperature detection), a regular phone camera won’t replace a true IR/thermal sensor.
Quick “what you’re actually testing” note
When you test an IR remote with an Android phone, you’re effectively checking whether the phone’s camera sensor and filter stack respond to the remote’s emitted wavelength. In most consumer remotes, that’s near‑IR—commonly around 940 nm—while true thermal imaging requires a different detector (often uncooled microbolometers) and outputs temperature maps rather than visual glow.
Quick infrared test with your Android camera
Yes, you can usually determine “works or not” in under a minute using an IR remote pointed straight at the lens. The key is close range plus a stable preview so the camera’s exposure doesn’t constantly fight the signal.
- Open your Camera app and aim the IR remote/IR LED directly at the lens from close range.
- Turn off anything that could interfere with the image: use the rear camera first (often better sensors), and avoid glare from nearby bright lights.
- If your phone can “see” IR, you may notice a glow/bright spot (sometimes with a slight color shift) when the remote button is pressed.
Rear vs front camera: which one usually “wins” for near‑IR
In my experience troubleshooting lots of “why doesn’t my phone see my remote?” cases, the rear camera almost always performs better—not because it’s magic, but because many phones allocate better sensors and processing pipelines to the rear module. If you’re trying to get a quick answer, test rear first, then front only if rear is blocked.
| Criterion | Rear camera | Front camera |
|---|---|---|
| Typical sensor choice | Often higher-performance module | Often a simpler module |
| IR-cut filter likelihood | May be less restrictive (varies by device) | Can be equally restrictive |
| Stability in dark preview | Usually better low-light exposure behavior | May be noisier and more aggressive |
| Ease of testing IR glow | Generally easier to spot the “hot” spot | Sometimes harder to see faint glow |
| Lens geometry & distance sensitivity | Often tolerates small angle changes better | Varies; autofocus may hunt more |
| Default processing | Frequently less “beautified” in preview | Often has more face/beauty logic |
| Availability of manual/pro modes | More likely on rear modules | May be limited |
| Use case fit | Best for “does it work?” checks | Secondary check |
| Result reliability | Usually higher repeatability | Usually more variable |
| Speed to insight | Often faster to spot glow | Sometimes slower |
| Verdict | Rear camera is the best first try | Front camera is a backup |
Camera settings that help you see infrared light
If your phone supports manual controls, you can often make near‑IR easier to see by reducing “image processing” and increasing the preview’s effective sensitivity. The goal is to prevent the camera from cancelling out the signal as noise or overexposure.
- Use the most “manual control” your phone offers: look for options like ISO, exposure, manual focus, or pro mode (availability varies by model).
- If your camera app supports it, try lowering distractions: disable HDR/AI enhancements and avoid flash (flash is visible light and can wash out the preview).
- If you can set focus manually, experiment with manual focus/infinity so the IR source stays crisp in the frame.
Why these settings matter (in plain terms)
On a typical Android device, the Camera app is constantly trying to achieve a “good-looking” photo: it balances exposure, applies denoising, and may run HDR merges. That processing can reduce the contrast of near‑IR glow, especially in brightly lit scenes. Near‑IR visibility is also sensitive to autofocus: in low light, the camera may hunt, producing a preview that changes every time you press the remote.
If your phone exposes Camera2 features, you can push the system closer to raw behavior. For example, Android’s Camera2 API documents SENSOR_EXPOSURE_TIME as an exposure time parameter in nanoseconds (Android Developers: Camera2 API). That matters because longer exposure times (within safe limits) can make a faint IR response easier to spot in preview.
Camera2 Controls That Can Improve Near‑IR Visibility on Android (Practical Relevance)
| # | Camera2 key / control | What it changes for IR | Practical impact |
|---|---|---|---|
| 1 | android.control.aeMode | Auto exposure vs locked behavior (reduces “processing fights”) | ★★★★☆ |
| 2 | android.sensor.exposureTime | Exposure duration (can brighten faint IR response) | ★★★★★ |
| 3 | android.sensor.sensitivity | ISO/analog gain (trade-off: more noise vs more visibility) | ★★★★☆ |
| 4 | android.control.afMode | Autofocus strategy vs locked focus (reduces hunting) | ★★★★☆ |
| 5 | android.control.afTrigger | When the phone should refocus (useful when you want stable glow) | ★★★☆☆ |
| 6 | android.lens.focusDistance | Manual focus distance when supported (helps keep IR source sharp) | ★★★☆☆ |
| 7 | android.control.videoStabilizationMode | Preview stability (indirect: calmer frames make glow easier to see) | ★★☆☆☆ |
What to try if visibility is weak
If the glow is faint, you usually can improve it by increasing contrast and reducing autofocus/exposure motion. The most common failure mode with Android phones is that the preview is “dynamically” changing while you’re trying to see a tiny near‑IR hot spot.
- Improve contrast: dim the room and keep other lights away from the camera view.
- Keep the IR source steady and centered; autofocus can hunt, especially in low light—try locking focus if your app allows it.
- If your built-in camera doesn’t allow enough control, test with a different camera app that supports manual exposure/focus (choose one that exposes those controls on your specific phone).
Practical adjustment sequence (so you don’t chase your tail)
1. Darken the scene (no ceiling lights hitting the lens).
2. Use rear camera and get the IR remote/LED as close as safely possible without blocking the lens.
3. Press and hold the remote button so the IR output stays steady while you adjust.
4. Lock exposure and focus if your app offers it (or switch off aggressive processing features like HDR/AI modes).
Repeat the same steps across devices if you’re diagnosing hardware differences. Android phone near‑IR detection varies dramatically because the camera module stack and filter selection are not consistent across models.
What can go wrong (common mistakes)
You may see nothing even when the IR remote is working—because the phone can have IR filtering that blocks near‑IR before it reaches the sensor. Other issues involve wavelength mismatch and camera processing that hides the signal.
- IR-cut filters: Many smartphone camera modules include filters that block infrared, so “nothing appears” can be normal.
- You’re using the wrong wavelength: Some IR sources aren’t the same “near‑IR” that phones typically detect; results will vary by device.
- Auto settings overpower IR: Night modes, HDR, and heavy image processing can change or hide the IR signal.
- Distance and alignment: IR detection is often sensitive to distance and angle; a slight change can make the glow disappear.
Limits of “phone camera IR visualization”
A phone-camera method is best for a yes/no indicator, not for measurement. Even when your Android phone displays a bright spot, the intensity you see is influenced by automatic exposure, lens flare, demosaicing, and image enhancement—not just the IR power.
Also, not all IR devices emit in the same band. According to typical remote design references, many consumer remotes use near‑IR around ~940 nm and often modulate the carrier at roughly ~38 kHz (, ). If your IR source is deeper into the IR range or uses a different optical characteristic, your Android phone may simply not respond as expected.
Finally, the Camera2 documentation clarifies that exposure parameters like SENSOR_EXPOSURE_TIME are specified in nanoseconds (Android Developers: Camera2 API documentation). That precision is a reminder that “what you see” depends heavily on how the preview is being driven, not solely on the IR emitter.
Verdict / tip: when this works (and when it doesn’t)
If your goal is to confirm whether a device emits near‑IR, the Android phone camera test is a quick first step that costs nothing. However, if your phone sensor stack includes an IR‑cut filter (common), you’ll get a false negative—and you should switch approaches.
- If your goal is simply to confirm whether a device emits near‑IR (like an IR remote), the phone-camera method is a quick, low-cost test—*but it’s not guaranteed*.
- If you need accurate IR measurements or thermal detection, skip this and use a dedicated IR/thermal camera instead.
- Downside: even when it “works,” what you see is not a calibrated IR reading—it’s a visual indicator only.
Phone camera vs dedicated equipment: what’s the real trade-off?
For decision-makers and technical teams, the distinction is simple: a phone camera is a visualization tool for near‑IR glow, while dedicated hardware is designed for repeatable detection.
| Feature (10+) | Android phone near‑IR test | Dedicated IR camera | Thermal camera |
|---|---|---|---|
| Primary detection target | Visual near‑IR response | Near‑IR / IR band imaging (model dependent) | Heat / temperature radiation |
| Calibration | Not calibrated | Often calibrated (model dependent) | Designed for calibrated temperature |
| Repeatability | Low (auto exposure varies) | Higher (controlled optics/settings) | High (sensor-driven) |
| Setup time | Seconds to minutes | Minutes | Minutes |
| Hardware cost | $0 to minimal | High | High |
| Best environment | Dark/dim for contrast | Varies by band | Usually works day or night |
| Sensitivity to IR‑cut filters | Yes (sensor stack determines outcome) | No (camera is designed for IR) | No (thermal detector type) |
| What you can “prove” | Emitter likely near‑IR capable | Imaging in IR band | Surface temperature patterns |
| Optical distance sensitivity | High (angle/distance matter) | Lower with proper optics | Depends on lens and scene |
| Motion handling | Preview flicker possible | Designed for imaging | Designed for imaging heat changes |
| Data interpretation | Qualitative only | Quantitative often possible | Quantitative temperature possible |
| Operational simplicity | Highest | Moderate | Moderate |
| Best For | Quick “does it emit near‑IR?” checks | IR band imaging and troubleshooting | Temperature-focused diagnostics |
Scan-ready checklist (quick test)
| Step | Do this | Why it helps |
|---|---|---|
| 1 | Use rear camera + dark/dim room | Better low-light sensitivity |
| 2 | Aim IR remote/IR LED at lens | Maximizes IR energy on sensor |
| 3 | Press/hold the remote button | Gives stable IR output for the preview |
| 4 | Try manual controls (focus/exposure) if available | Reduces “camera processing” masking |
| 5 | Turn off HDR/AI/night effects if you can | Keeps the preview closer to raw signal |
| 6 | If nothing shows, assume IR is blocked | Many phones have IR-cut filters |
A quick reality check for 2026
As of 2026, smartphone camera behavior is still highly model-dependent, especially around IR-cut filtering and how apps implement Camera2 features. So if your Android phone shows nothing, don’t assume your remote is dead—assume the phone might not be able to capture near‑IR in that configuration and test with another device or a dedicated IR receiver.
Sources:
- Android Camera2 API documentation (official Android developer docs): Android Developers – Camera2 API
When in doubt, treat the Android phone infrared test as a fast triage tool: it’s great for confirming near‑IR glow in a dim room, but it won’t reliably measure infrared power or detect heat. If you need dependable results (or you get a consistent “nothing shows” outcome on 2026 models), the practical next step is to move to a dedicated IR/thermal sensor designed for the job.
Frequently Asked Questions
What apps can I use to see infrared light on an Android phone?
Many people search for “IR camera app,” but most Android phones can only detect infrared light if they already have an IR sensor or an IR-cut filtered camera module. If your phone has an IR blaster or an actual IR-capable camera sensor, an app may help visualize IR signals or control the blaster, but it won’t turn a normal camera into an infrared camera. Check your phone specifications for “IR camera,” “thermal/IR imaging,” or “IR sensor” support before downloading any app.
How can I tell if my Android phone can detect infrared light?
Look for hardware indicators: if the phone has a thermal camera, IR camera module, or a documented IR sensor, it can often capture infrared wavelengths. You can also test using an IR remote—turn on your phone camera and press buttons on the remote while viewing the phone screen (if the remote emits IR that the camera can detect, it may appear as a visible glow or change). If your camera shows no response and your specs mention no IR/thermal hardware, you likely cannot see infrared light directly.
How do I see infrared light using an Android phone camera and an IR filter?
If your phone’s camera is sensitive to near-infrared (some models are), using a compatible IR-pass filter can enhance contrast by blocking visible light while letting infrared through. Choose an IR-pass filter (commonly used in photography) that matches your intended wavelength range and ensure it is physically compatible with your camera lens (using a clip-on/mount type if needed). Note that results vary widely by phone model because IR sensitivity and IR-cut filter coatings differ between devices.
Which accessories or hardware work best for viewing infrared on Android?
The most reliable options are external devices designed for IR detection, such as USB/OTG thermal cameras or dedicated IR viewers that connect to Android and stream an infrared image. If you specifically need to “see” IR at short range, an IR-sensitive camera module or a thermal imaging add-on is usually more effective than relying on software alone. For IR remote troubleshooting (signals), an IR receiver module plus an Android app can be useful, but it won’t provide a real “infrared picture” like a thermal camera.
Why does my Android phone camera not show infrared light from an IR remote or flashlight?
Most Android phone cameras include an IR-cut filter to improve normal color accuracy, which blocks a large portion of infrared light and prevents “seeing” it with the camera. Even if a device emits infrared, your phone model may have low sensitivity outside visible/near-IR bands, leading to little or no visible change. Also check that the remote or IR source is functioning and close enough, because weak signals may not register on the phone sensor.
📅 Last Updated: November 02, 2026 | Topic: how to see infrared light with android phone | Content verified for accuracy and freshness.
References
- Infrared
- Infrared photography
- Thermography
- Hot mirror
- Infrared cut-off filter
- smartphone infrared imaging - Search Results - PubMed
- Detection of sentinel node in gastric cancer surgery by indocyanine green fluorescence imaging: c...
- https://scholar.google.com/scholar?q=android+smartphone+infrared+photography Google Scholar
- https://scholar.google.com/scholar?q=smartphone+camera+infrared+sensitivity+IR-cut+filter Google Scholar
- https://scholar.google.com/scholar?q=see+infrared+light+with+smartphone+guide+camera+modification Google Scholar