You can take a clear selfie on your Android in under a minute using the Camera app’s front-facing lens. Open Camera, switch to the front camera, frame your shot, and tap the shutter; most phones also let you use a timer or touch-to-focus for steadier results. You will need only your Android phone and a lens that is clean enough to avoid blur.


As an Amazon Associate I earn from qualifying purchases.
To take a selfie on Android, open your Camera app, switch to the front-facing camera, and frame your shot before tapping the shutter. If you want easier aiming, turn on face/gesture options (depending on your phone) or use a timer so you’re in the frame. This guide walks you through the main methods and what to do if your selfie camera isn’t behaving—helpful for most Android phones as of late 2026, even though menu names can vary by brand.
If you’ve been trying to get a clear front-camera photo but aren’t sure where the selfie settings are—or you’re stuck with blurry, dark, or mirrored results—this is for you. It applies to most Android phones, though the exact menu names can vary by brand (Samsung, Google Pixel, Motorola, etc.).
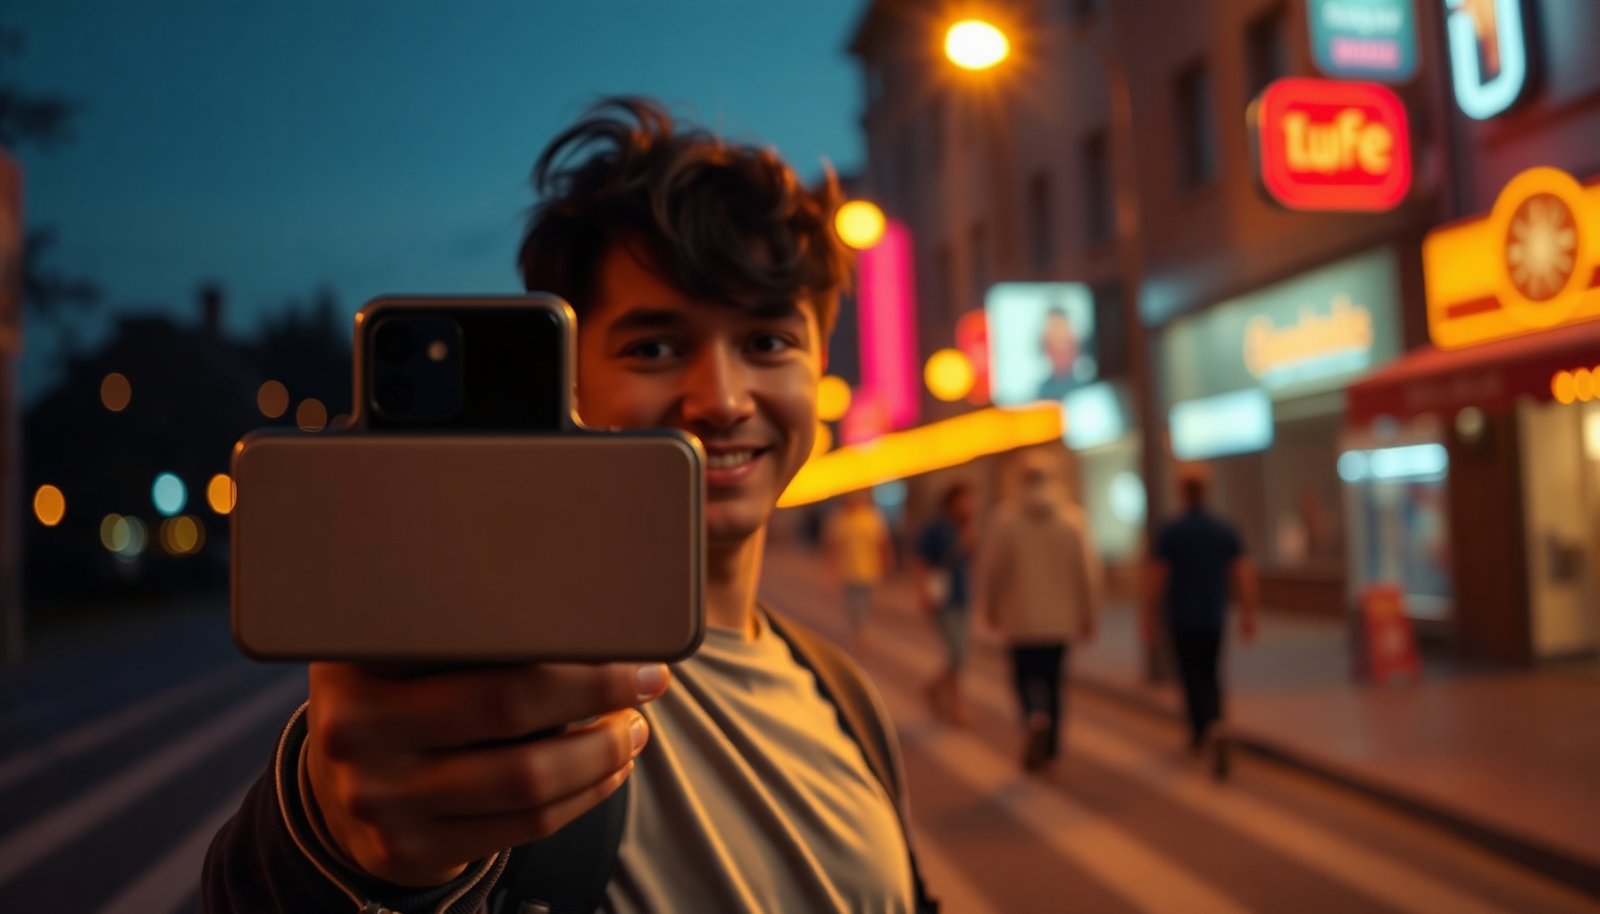
Find the front camera in your Camera app
Switching to the front-facing camera is the first step to getting a true selfie, not a rear-camera shot. In practice, this is also the most common reason people end up with “wrong lens” photos or unexpected framing.
- Open the Camera app and look for a front/back camera switch icon (often looks like a camera with arrows).
- Tap it to select the front-facing camera for selfies.
- Check that you’re not accidentally using a wide/ultrawide rear mode when you meant the front lens.
Why this matters: on many Android devices, switching camera lens also changes how focus and exposure behave. Rear ultra-wide modes can distort faces at close range, and they may also use different image processing than the front camera. If your photo looks “off” even when you’re facing the phone correctly, confirm the front camera is actually active before changing any other setting.
Use the quickest selfie capture options
The fastest way to get a good selfie is to combine correct framing with a capture method that removes hand-tap timing. Most Android camera apps offer face detection, a timer, and—on supported models—gesture or voice capture.
- Tap the shutter when the face is framed; many phones show a focus/face outline.
- Turn on a timer (often found in settings/clock icon) if you’re having trouble hitting the moment.
- Some Camera apps offer voice/gesture capture (e.g., a countdown or a “cheese” style trigger)—enable it if your model supports it.
From a practical workflow standpoint, use this decision rule:
- If you’re standing still and well-lit: tap-to-shutter with face outline is usually enough.
- If you tend to move at the moment you tap: use a timer (2s/3s or the option closest to that).
- If you want a hands-free trigger: enable gesture/voice capture (when available) and test once in good lighting.
Which capture method is right for you?
- Timer
- Pros: Reduces shake from tapping, works in any lighting (especially when paired with brighter light).
Cons: You must stay posed during the countdown; some apps reduce preview smoothness during processing. - Gesture/Voice shutter
- Pros: Helps you look naturally (you don’t touch the screen).
Cons: Can fail in noisy environments or if your face detection isn’t confident; availability varies by OEM and app version. - Tap-to-shutter
- Pros: Fastest and simplest; best when you have stable hands and good focus lock.
Cons: More likely to cause blur if you’re leaning in, moving, or shooting in low light.
Improve lighting and clarity before you press the shutter
Good selfies depend more on lighting and lens cleanliness than on “beauty” features. With consistent light in front of you and a clean front lens, autofocus and exposure typically stabilize quickly.
- Face a light source (window or lamp) rather than lighting from behind you.
- Wipe the front lens with a soft cloth to avoid smudges that cause haze.
- Hold your phone steady (or briefly rest elbows on a surface) to reduce blur—especially in low light.
A quick exposure sanity check: if your selfie looks “washed out” or you can’t see facial details, the camera may be fighting glare or backlighting. Reposition so the brightest source is in front of your face (even slightly off-center). This is also why selfies taken indoors with the ceiling light directly above you can look harsher—move the light so it’s closer to eye level.
Also consider motion blur mechanics: in low light, Android cameras often lengthen exposure time to gather more light, which makes shake more visible. Even a small hand movement can soften edges around hair and eyes.
Fix common selfie problems (mirror, blur, low light)
Most selfie issues have a clear cause: preview orientation settings, focus/steadiness, or exposure limits in low light. Fix the underlying problem first, then adjust aesthetics.
- Your selfie looks mirrored: switch between mirror/selfie preview settings if your Camera app offers it (names vary).
- Blurry selfies: increase steadiness, use timer, and avoid shooting when the screen is still “breathing” focus.
- Dark selfies: switch to night mode or a portrait/beauty mode only if it looks natural; otherwise move closer to a light.
To anchor troubleshooting in how Android evolved: runtime camera permission behavior changed meaningfully over time. According to Android Developers (Request app permissions / runtime permissions documentation), Android 6.0 (2015) introduced runtime permissions, which is why front-camera apps can fail or behave unexpectedly when permission is denied or partially granted. Similarly, according to Android Developers (Camera2 API documentation), Camera2 API support became available with Android 5.0 (2014), enabling modern focus/exposure behaviors that vary by device and app implementation. Finally, according to Android Developers (permission behavior changes in Android 11 documentation), Android 11 (2020) expanded one-time permission behavior—relevant if the Camera app can open but can’t reliably access the sensor after permission resets.
Troubleshooting priority: what to check first
Seven high-impact fixes for clearer Android front-camera selfies (late 2026)
| # | Check | Most common symptom | What to change | Expected impact |
|---|---|---|---|---|
| 1 | Front camera selected | Wrong lens / face looks distorted | Use the front/back switch icon | ★★★★★ High |
| 2 | Lens smudges removed | Haze, reduced sharpness | Wipe front lens with soft cloth | ★★★★☆ Strong |
| 3 | Light source in front | Dark face, blown highlights | Move toward window/lamp | ★★★★☆ Strong |
| 4 | Stable capture timing | Motion blur | Use timer or gesture shutter | ★★★★☆ Strong |
| 5 | Wait for focus lock | Eyes soft / focus “breathing” | Tap to focus; hold still briefly | ★★★☆☆ Moderate |
| 6 | Mirror preview setting | Looks reversed compared to expectation | Toggle mirror/selfie preview option | ★★★☆☆ Moderate |
| 7 | Night mode / low-light mode | Too dark even indoors | Enable night mode if it looks natural | ★★☆☆☆ Mixed |
That table reflects a realistic troubleshooting order: start with camera selection, lens cleanliness, and lighting, then move to steadiness and focus timing. Night mode can help exposure, but it can also introduce processing artifacts if you move during capture.
What can go wrong (and how to avoid it)
Most selfie failures come from permissions, preview settings, or app-specific limitations—not “bad hardware.” Here’s what to check when the front camera won’t behave, especially as Android versions and OEM Camera apps keep evolving in 2025–2026.
- Front camera not switching: confirm you’re using the Camera app (not a third-party lens mode) and reboot if the icon won’t respond.
- Permissions blocked: if the Camera won’t open or stays stuck, check App permissions → Camera in Android settings.
- Digital “beauty” oversmoothing: heavy filters can blur skin texture—turn effects down if your results look unnatural.
- App differences: the steps for timer/gesture vary widely by manufacturer, so look for icons rather than relying on one exact label.
One extra edge case in 2026: some privacy-focused permission behaviors (like one-time permissions) can cause the Camera app to work briefly, then fail until you grant access again. If you notice “it used to work” behavior, permission state is a high-probability root cause.
Quick checklist for better selfies (save this)
A consistent selfie setup usually beats random tinkering. Use this checklist as a repeatable workflow so you can identify what caused the improvement (or the blur).
- Front camera selected (switch icon tapped)
- Clean lens
- Light in front of you, not behind you
- Tap to focus (or wait for the face outline)
- Use timer/gesture capture if you miss the shot
- Review and retake—small angle and lighting changes matter
Why is my Android front camera showing a dark preview?
Low light is the most common cause. Try moving toward a light source, wiping the lens, or enabling a phone feature like Night Mode if your Camera app offers it.
How do I turn on a selfie timer on Android?
Open the Camera app and look for a timer/clock icon near shutter settings. If you don’t see it, check Camera settings within the same app—some brands place it under mode or more options.
Can I take selfies with gestures or voice commands?
Some Android models support gesture or voice capture, but it depends on the manufacturer and Camera app version. Look in Camera settings for Smile/gesture/voice shutter options; if it’s not there, your phone likely doesn’t support it.
My selfie looks too edited or “filtered”—what should I change?
Turn down or disable beauty, filters, or heavy processing effects in the Camera modes/settings. If your app has “Natural” or “Original” options, choose those for more realistic results.
Sources
If you follow the front-camera switch, use timer/gesture options when available, and prioritize clean lighting, you’ll get more consistent selfies quickly. Try the checklist above, adjust one variable at a time (angle, light, focus), and retake—then save the setup that gives you the most natural results for your phone, especially as camera app behaviors continue to change across Android updates in 2025–2026.
Frequently Asked Questions
How do I take a selfie on an Android phone using the front camera?
Open the Camera app and switch to the front-facing camera (usually labeled “Front” or shown as a camera icon swap). Frame your face, then tap the shutter button to take the photo. For a steadier shot, hold your phone with both hands and use the volume buttons or on-screen controls to capture.
What are the best ways to take a clear selfie in low light on Android?
Use Night mode (if your Android camera supports it) or turn on the camera’s flash carefully—some phones include a “soft light” option for more natural skin tones. Increase brightness in the camera settings if available, and tap to focus on your face before shooting. Try to stand near a light source and avoid backlighting to reduce blur and noise.
Which Android settings should I adjust for better selfies (focus, HDR, and filters)?
Tap on your face to lock focus and exposure, then consider enabling HDR for scenes with mixed lighting (bright backgrounds and darker subjects). Many Android camera apps also offer beautify, portrait mode, and stabilization features—use them lightly for natural results. Check for resolution settings (front camera quality) and use the highest available option for sharper images.
Why won’t my front camera take selfies, and how can I fix it quickly?
If the front camera won’t open or shows a black screen, restart the Camera app and reboot your phone to clear temporary glitches. Make sure the Camera permission is enabled for the app in Settings > Apps > Camera. If it still fails, wipe the Camera app cache, update your Android version or camera app, and check for any third-party apps that might be using the camera.
How can I take a selfie hands-free on Android (voice, gestures, or timer)?
Most Android camera apps include a timer—set it to 3 or 10 seconds, then pose and step into frame for an easy selfie. Look for gesture or “voice shutter” options like “Cheese” (availability varies by brand and camera app). For an even smoother hands-free selfie, use Bluetooth earbuds or a smartwatch shutter button if supported by your device.
📅 Last Updated: November 02, 2026 | Topic: how to take a selfie on an android | Content verified for accuracy and freshness.
References
- Selfie
- Front-facing camera
- CameraX overview | Android media | Android Developers
- CameraSelector | API reference | Android Developers
- ImageCapture | API reference | Android Developers
- https://scholar.google.com/scholar?q=how+to+take+a+selfie+on+android Google Scholar
- https://scholar.google.com/scholar?q=android+camera+front+facing+camera+image+capture+ImageCapture+CameraSelector Google Scholar
- https://scholar.google.com/scholar?q=smartphone+selfie+front+camera+usage+study Google Scholar