
Want to take pictures of the moon with Android that actually look sharp? This step-by-step guide shows the exact camera settings, focus method, and app tools that make lunar detail pop instead of turning into a fuzzy disk. Follow along and you’ll capture your first clear moon shot with minimal trial and error.
You can take sharp moon photos with an Android by using manual/pro controls (low ISO + short exposure) and stabilizing the phone so the camera can capture fine surface detail. This step-by-step guide shows the exact settings, focusing methods, and practical shooting techniques to consistently get clear, detailed results.
Introduction
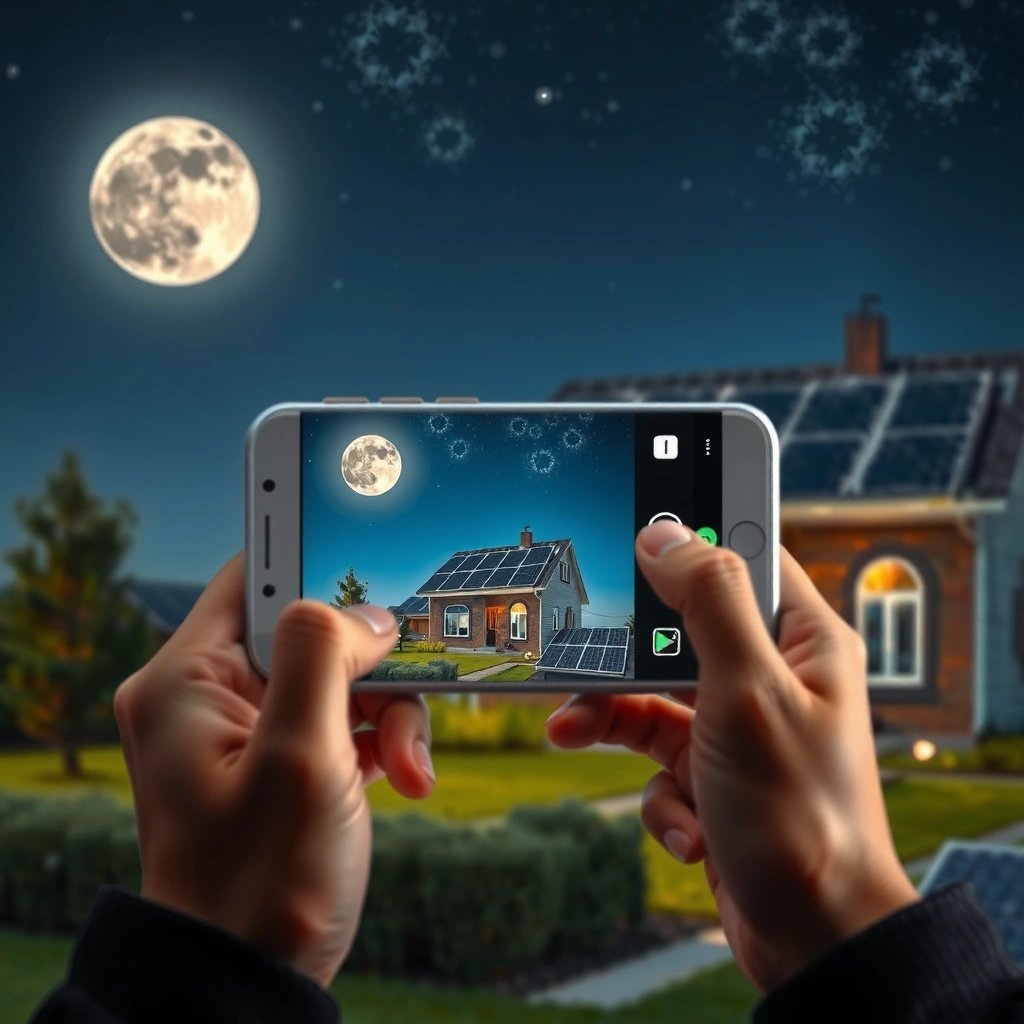
Photographing the Moon with an Android is less about “having a perfect camera” and more about controlling three things: exposure, focus, and stability. The Moon is bright compared to most night subjects, but it’s also far away—meaning your results depend heavily on optical reach, precise focusing, and minimal vibration. In this guide, you’ll learn how to set your Android for moon photography (often through Pro/Manual modes), how to prevent blown highlights, and how to capture sharper craters and maria using reliable, repeatable workflows.

Best Android Settings for Moon Photography
Moon photography works best when you treat it like a bright, distant object rather than a dark-night challenge. That changes the typical “long exposure at high ISO” instinct many people use for night skies.
- Use Pro/Manual mode (or a camera app with manual controls)
Pro/Manual mode lets you control ISO, shutter speed, and sometimes focus/exposure lock—critical for reducing blur and noise.
- Set a low ISO (around 50–400) to reduce noise
ISO controls sensor amplification. The Moon is bright enough that you usually do not need high ISO. Lower ISO helps preserve contrast and texture.
- Use fast shutter speeds (often 1/125–1/250 or shorter)
Even when the Moon is bright, longer shutter speeds increase blur from hand movement and slight tracking errors (even with a phone held steady). Fast shutter speeds are the simplest path to sharpness.
Quick reference: starting settings that work in most conditions
Recommended Android Settings for Moon Photos (Typical Shooting Scenarios)
| # | Scenario | ISO | Shutter | Exposure Value (EV) | Moon Detail Likelihood |
|---|---|---|---|---|---|
| 1 | Moon near first/last quarter (moderate brightness) | 100–200 | 1/160–1/250 | -0.3 to -0.7 | ★★★★☆ |
| 2 | Full Moon on clear night (bright target) | 50–100 | 1/200–1/320 | -0.7 to -1.3 | ★★★★★ |
| 3 | Thin clouds/haze (slightly dimmer Moon) | 160–320 | 1/125–1/200 | -0.1 to -0.4 | ★★★☆☆ |
| 4 | Windy conditions (risk of motion blur) | 80–200 | 1/250–1/500 | -0.5 to -1.0 | ★★★★☆ |
| 5 | You’re shooting at maximum zoom without a telescope | 100–400 | 1/160–1/250 | -0.3 to -0.9 | ★★★☆☆ |
| 6 | Longer “handheld” attempts (avoid if possible) | 200–640 | 1/320 or faster | 0.0 to -0.4 | ★★☆☆☆ |
| 7 | Attempting very dim moon detail (need contrast) | 50–200 | 1/200–1/320 | -0.7 to -1.0 | ★★★★☆ |
Use the Right Lens Setup
Your Android’s Moon photos will improve faster from optical reach and stable framing than from chasing extreme settings. Most phones rely on digital zoom, which magnifies noise and reduces sharpness. When possible, add a more capable optical path.
- Attach a phone telescope/telephoto adapter if possible
A telescope adapter can dramatically increase effective focal length. The payoff is craters and surface texture—especially on the Moon’s terminator (the boundary between light and shadow).
- Focus manually if your camera offers it, otherwise tap to lock focus
Autofocus often hunts because the Moon is small and high-contrast. If your app allows manual focus, set it until the craters look crisp, then avoid touching the phone.
- Avoid wide-angle zoom gaps—use optical or stable magnification
If your camera offers 2x or 3x optical zoom (or a “tele” lens), start there. Jumping into higher digital-only zoom can create soft detail and “mushy” edges.
Practical note: if you use a telescope adapter, align it carefully and expect that your framing will change slightly. Treat setup as part of the photography process, not a separate step.
Focus and Exposure Tips for a Clear Moon
Even with good settings, moon photos can come out washed out or blurry if focus and exposure aren’t controlled.
- Tap the moon to focus, then lock exposure/focus if available
Use tap-to-focus to get the camera near the right plane, then lock it so the phone doesn’t re-focus mid-sequence.
- Reduce highlights/adjust exposure so the moon isn’t blown out
The Moon’s bright regions can clip quickly. If your app has highlight control or exposure compensation (often “EV” adjustment), bias slightly darker. A common target is keeping the Moon’s bright edge from turning into a featureless white disk.
- Take multiple shots to find the best balance of sharpness and brightness
One reason moon photography works well is that you can shoot a short sequence and choose the sharpest frame. Your best image is often the one with the cleanest focus lock and the least micro-blur.
Tip for consistent results: Keep ISO low and shutter speed fast, then fine-tune exposure with EV compensation rather than swinging ISO up and down. This protects image quality.
Stability: How to Prevent Shaky Moon Photos
Stability is the difference between “disc in the sky” and “crater detail.” With higher magnification, even tiny hand movements become obvious.
- Use a tripod or phone mount for steady framing
A lightweight tripod plus a phone clamp makes a large difference. A gimbal-style mount can help if your phone tends to slide while zooming.
- Turn on a timer or use voice/shutter remote to prevent hand movement
Even pressing the shutter button can shift the frame. Use a 3–10 second timer, or pair a Bluetooth shutter remote if your Android supports it.
- Keep the phone stable during the shot, especially at higher zoom
Avoid touching the phone between frames. If you’re using a telescope adapter, keep the assembly balanced so it doesn’t “settle” after you press record.
Bonus stability tactic: turn off motion-creating features like “handheld night stabilization” if they cause the camera to change settings mid-capture. You want repeatability across frames.
Capture the Moon: Best Shooting Techniques
The Moon is predictable, but conditions are not. Technique determines whether you get crisp surface detail or a blurry, noisy outcome.
- Shoot when the moon is high and atmospheric conditions are calmer
When the Moon is closer to the horizon, atmospheric turbulence (heat shimmer and air movement) can soften detail. Aim for nights when the Moon is higher in the sky for a steadier view.
- Use burst mode or take a short sequence to improve odds
If your manual/pro mode supports it, capture 10–30 frames. In many cases, the sharpest image appears in the middle of the sequence when the phone has fully settled.
- Check the screen after a few shots and adjust settings quickly
Don’t wait until you get home to discover your shutter speed was too slow. After 3–5 frames, zoom in on the playback preview and confirm:
1) the craters look textured,
2) the bright areas aren’t fully clipped, and
3) focus hasn’t drifted.
If you see motion blur, prioritize shutter speed first (not ISO). If you see a flat gray Moon, prioritize exposure correction and highlight control.
Edit and Enhance Moon Photos on Android
Editing won’t create detail that isn’t captured, but it can dramatically improve contrast and clarity. The key is moderation: the Moon can become unnatural if you over-process.
- Use basic edits: slight contrast, sharpness, and noise reduction
Start with small adjustments. Increase contrast just enough to separate crater shadows from the bright plains.
- Avoid over-sharpening that creates halos or artifacts
Over-sharpening makes bright edges bloom and produces ringing. If you see halos, back off sharpening and rely more on careful exposure and cleaner focus in your next shot.
- Export at the highest quality for the cleanest final result
Use the highest export resolution and quality settings your editor offers. Moon photos are sensitive to compression artifacts, especially around the limb (the Moon’s edge).
Workflow recommendation:
1) Select the sharpest frame from your burst
2) Apply mild contrast/clarity
3) Add gentle noise reduction
4) Re-check the bright rim and shadows for clipping
5) Export at highest quality
Conclusion
To take pictures of the moon with Android, prioritize a steady setup, manual/pro-friendly settings (low ISO + short exposure), and accurate focus. Start with fast shutter speeds around 1/125–1/250 (or faster if needed), keep ISO mostly 50–400, and slightly reduce exposure to prevent highlight clipping. Then shoot a short sequence, review focus and texture on your screen, and fine-tune your EV and stability for the next attempt—until your best frame shows crisp crater detail you can confidently share.
Frequently Asked Questions
How can I take clear pictures of the moon with my Android phone?
Start by using a tripod or stabilizing your phone against a railing to reduce shake, since the moon moves slightly even during short shots. Use Night mode if your Android camera app offers it, but keep exposure controlled so the moon doesn’t turn into a bright white blob. Aim the camera at the moon in a dark sky, tap to focus on it, and take several photos to choose the sharpest one.
What are the best Android settings to photograph the moon at night?
If your phone supports Pro/Manual mode, use a low ISO (often 50–400), a faster shutter speed (roughly 1/100–1/250), and a lower to medium aperture setting if available. Turn off HDR for moon photography because it can over-brighten highlights, and avoid excessive digital zoom. Lock focus and exposure (AE/AF lock) on the moon, then adjust slowly until craters and edges look crisp.
Why does the moon look blurry or overexposed in my Android photos?
Most blur comes from hand shake, autofocus hunting, or moving cloud cover, so stabilizing and manually focusing can help a lot. Overexposure usually happens when the camera’s metering prioritizes brightness—try reducing exposure compensation (often -1.0 to -2.0) or using a lower ISO. Taking test shots and reviewing at 100% zoom in your gallery will quickly show whether the moon is retaining detail.
Best way to zoom in on the moon using an Android phone without losing image quality?
For best results, use optical zoom if your Android device has it; digital zoom typically reduces sharpness and adds noise. If you’re limited to digital zoom, take the photo at the camera’s highest native resolution and crop afterward. Using a telescope adapter or telephoto lens mount for your Android can improve detail significantly, but remember to keep the phone steady and focus precisely.
Which apps or camera modes work best for photographing the moon on Android?
Many users get better control with a Pro mode (manual exposure, ISO, shutter, and focus) built into their camera app or supported by third-party apps that allow manual settings. Night mode can help in general low-light scenes, but for the moon you’ll often want more controlled exposure and less aggressive processing. Look for features like AE/AF lock, manual focus/tap-to-focus, and RAW support so you can fine-tune the moon’s contrast and details after the shot.
References
- Astrophotography
https://en.wikipedia.org/wiki/Astrophotography - Moon
https://en.wikipedia.org/wiki/Moon - Exposure
https://en.wikipedia.org/wiki/Exposure - Shutter speed
https://en.wikipedia.org/wiki/Shutter_speed - Film speed
https://en.wikipedia.org/wiki/ISO_speed - Color balance
https://en.wikipedia.org/wiki/White_balance - Telephoto lens
https://en.wikipedia.org/wiki/Telephoto_lens - Google Scholar Google Scholar
https://scholar.google.com/scholar?q=photographing+the+moon+with+smartphone+android - Google Scholar Google Scholar
https://scholar.google.com/scholar?q=afocal+photography+smartphone+camera+telescope - Google Scholar Google Scholar
https://scholar.google.com/scholar?q=smartphone+night+sky+photography+camera+settings+exposure+focus