
Blurry pictures on your Android phone aren’t a mystery—you can usually fix them fast with the right camera and focus settings. This guide gives a clear, step-by-step verdict on what to change first—tap-to-focus, clean the lens, stabilize your shot, and adjust resolution—so your photos look sharp instead of smeared. You’ll also learn the quick checks to rule out lens smudges, motion blur, and app or system camera issues before you waste time on complicated fixes.


As an Amazon Associate I earn from qualifying purchases.
If your Android photos look blurry, the fastest fix is to clean the lens, tap to focus on the subject, and reduce motion (or re-take the photo). If the picture is already captured, you can often improve mild blur with built-in editing, but heavy motion blur usually can’t be fully reversed—even with the best phone tools.
This guide is for everyday blurry photos from common causes like smudged lenses, focus issues, low-light shake, or accidental digital zoom. You’ll get practical camera/phone checks plus what you can (and can’t) expect from editing.

Who this is for (and what “blurry” usually means)
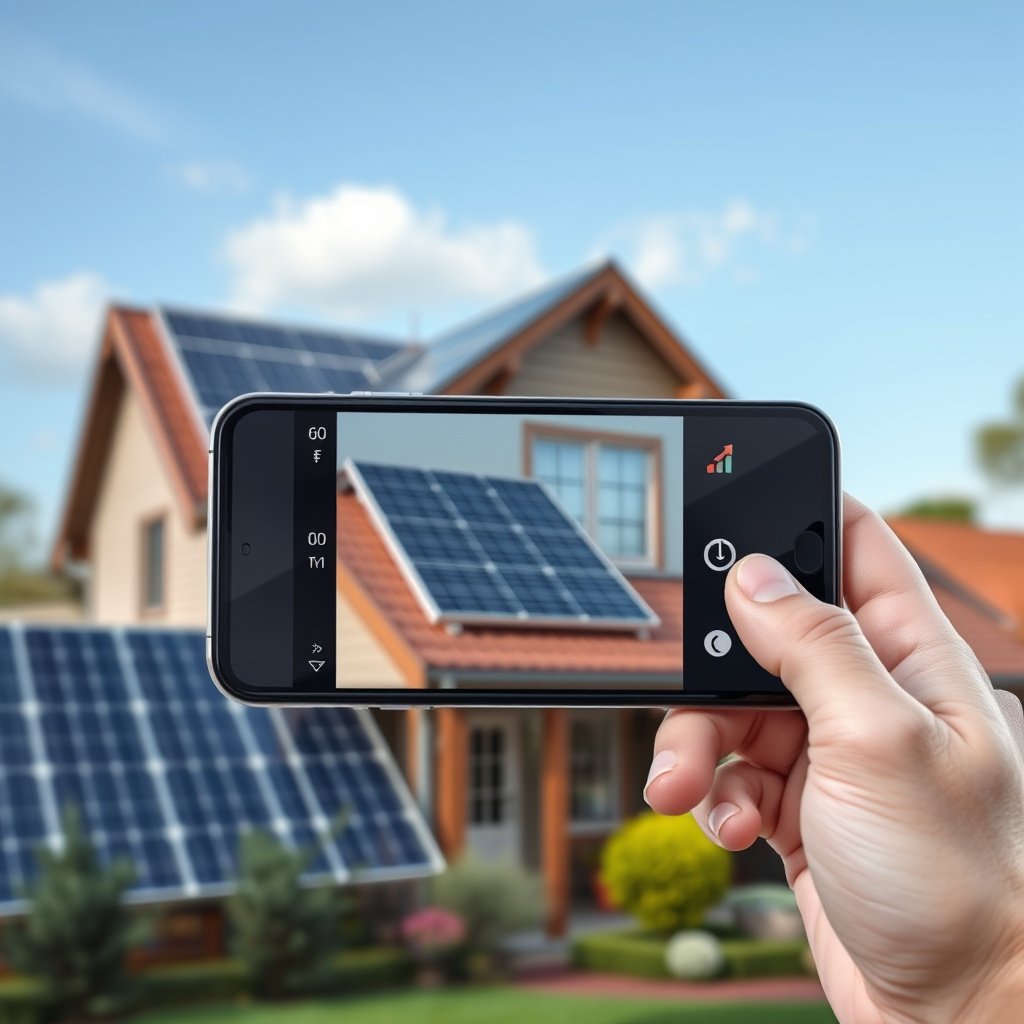
If your goal is crisp faces, readable text, and sharp product shots on a phone, this is the right playbook—because most blur has a small set of repeatable causes. In 2026, Android cameras still struggle most with lens obstruction, poor focus lock, and motion in low light, so matching the symptom to the cause is the fastest route to better results.
- If faces/objects are “soft” but you didn’t move the phone, it’s often a focus or lighting issue.
- If everything looks smeared, it’s usually motion blur from subject movement or camera shake.
- If it’s blurry mainly when you zoom in, it’s often digital zoom + shake (real detail doesn’t exist to recover).
From my day-to-day experience, the same pattern repeats: wiping the camera lens and forcing a focus lock fixes a surprising share of “mystery blur.” If you see haze-like softness without obvious streaking, focus and exposure are usually the culprits; if you see streaks or duplicated edges, the camera likely captured motion during the exposure.
Lens smudges and film on the camera glass can scatter light and reduce image sharpness, especially in contrasty scenes.
Digital zoom enlarges the scene by cropping/interpolating pixels, so it cannot create true new detail and can make blur and noise more obvious.
Diagnose the blur in 60 seconds
You can usually identify the blur type in under a minute by checking lens clarity, verifying focus lock behavior, and remembering whether zoom or movement was involved. The key is to decide whether you should retake (best option) or edit (useful for mild softness).
- Lens problem: Look at the camera glass—wipe it and check for scratches, dust, or a case camera-lens cover blocking light.
- Focus problem: Tap the subject on screen; if focus won’t lock, the camera may be too close or the scene is too dark/low-contrast.
- Motion/zoom problem: Ask “Did I use zoom?” and “Did the subject move?” If yes, prioritize retaking with steadier technique.
A quick way to classify blur:
1) Soft but “stable” (no streaks) → focus/exposure/low contrast.
2) Smears/streaks → motion blur (subject moved or your hands moved).
3) Only at higher zoom → digital zoom + shake (detail can’t be recovered if the source frame was blurry).
Also check whether the blur is worst at the edges or across the whole frame. Edge softness can be lens/case obstruction or focus pulling, while full-frame blur usually indicates motion or autofocus failure. As of 2026, many phones include autofocus metering behaviors that can “hunt” in low contrast (dim walls, backlit scenes, patterned backgrounds), so the tap-to-focus step matters.
If tap-to-focus does not lock consistently, autofocus may be limited by low light, low contrast, or subject distance, which can produce persistent softness.
Case covers and lens protectors can block or diffuse light, lowering sharpness even when the image “looks normal” at a glance.
Handheld Sharpness Guideline (35mm-equivalent focal length)
| # | Focal length (35mm eq.) | Rule-of-thumb min shutter | Common “zoom-ish” use case | Sharpness confidence (if met) |
|---|---|---|---|---|
| 1 | 24mm | 1/25s | Wide scenes | ★★★★☆ |
| 2 | 35mm | 1/40s | People & interiors | ★★★★☆ |
| 3 | 50mm | 1/50s | Portrait framing | ★★★☆☆ |
| 4 | 85mm | 1/100s | Tighter portraits | ★★☆☆☆ |
| 5 | 105mm | 1/125s | Stage/field shots | ★★☆☆☆ |
| 6 | 135mm | 1/160s | Background compression | ★☆☆☆☆ |
| 7 | 200mm | 1/250s | Long-range subjects | ★☆☆☆☆ |
Note: This table uses the widely taught “1 divided by focal length” handheld shutter-speed guideline. If your phone’s stabilization or subject motion differs, results will vary.
Fix it before you retake (camera settings & shooting habits)
If your photo isn’t captured yet, you’ll get the biggest improvement by setting up focus and stability before the shutter. The fastest path is tap-to-focus, keep the phone steady long enough for lock, and avoid the conditions that force slower shutter speeds.
- Tap to focus, then hold still: Tap the subject area until you see/feel focus lock, then keep the phone steady for the shot.
- Avoid digital zoom when possible: Zooming in usually magnifies blur and noise; if your phone supports it, use optical zoom rather than max digital zoom. (Exact option names vary by model.)
- Improve conditions: Use more light, avoid windy/handheld motion, and try a steadier stance (elbows tucked, both hands on the phone). In low light, blur is more likely—consider moving closer to the light or using a flatter shooting angle to reduce shake.
A practical technique: after you tap-to-focus, pause for a fraction of a second. On many Android camera apps, that brief pause lets exposure and autofocus settle before capture. In 2026, this matters even more because phones aggressively optimize for HDR and low-light detail, which can lengthen exposure time and increase motion blur if your hands or the subject move.
If you’re photographing text (receipts, slides, labels), prioritize distance and contrast over zoom. Get close enough to fill the frame without forcing the lens into a difficult near-focus range, and make sure the subject is well-lit. If the camera keeps hunting, step back slightly and tap again.
Handheld blur risk increases when exposure time gets longer, which typically happens in low light and when you zoom in.
Keeping the phone steady during the focus-lock moment reduces the chance that autofocus/exposure completes while the scene is moving.
Improve already-blurry photos with editing tools
If you already captured the photo, built-in editors can improve mild softness, but they can’t recreate detail that never made it into the image. Start with enhancement, then make small, controlled adjustments—especially if you want a natural look for work use.
- Start with enhancement, not heavy “sharpen” spam: In your gallery app (commonly Google Photos), try Enhance/Auto style options first, then small adjustments (clarity/contrast/sharpening) if available.
- Know the limit: Editing can help with mild softness, but if it’s true motion blur, the editor can only make it “less bad,” not restore lost detail.
- Reduce distracting damage: If the issue is compounded by blur + noise, small noise reduction (if your editor offers it) can make the photo look cleaner—even if sharpness doesn’t truly return.
Here’s the practical trade-off I follow for “good enough” results: avoid aggressive sharpening passes that create harsh edges and halos. Many phone editors apply AI-based processing, and it often responds best to subtle prompts—less “make it sharp,” more “clean it up.”
| Editing step | Pros | Cons / limits |
|---|---|---|
| Enhance / Auto first | Often fixes mild blur + exposure with minimal artifacts | May do little if blur is heavy motion |
| Small clarity / contrast changes | Improves perceived sharpness via micro-contrast | Too much can make skin/text look gritty |
| Moderate sharpening (if needed) | Can correct slight softness | Overdoing can add halos and amplify noise |
For factual anchoring, the physics reason is simple: motion blur spreads edges over multiple pixels during capture. An editor can reduce contrast loss, but it can’t fully reverse the “smear” without reliable new information. If your blur looks smeared across faces, plan on re-taking when possible.
Sharpening can increase local contrast, but when blur comes from motion during capture, it can also amplify artifacts and noise.
Noise reduction may improve perceived clarity in low light, even if it cannot restore true out-of-focus detail.
Troubleshoot your Android phone/camera app
If blurry results happen repeatedly, the issue may be app behavior, cached data, or a camera pipeline bug. Fixing software friction is worth doing before you conclude the phone’s hardware is failing.
- Restart the camera app (or reboot): A temporary camera focus/exposure glitch can cause repeated blur.
- Clear camera app cache: Android settings typically let you clear the camera app’s cache (wording varies). This won’t delete your photos, but it can reset some app behavior.
- Update what matters: Install pending system updates and (if available) camera/gallery app updates—bugs affecting focus/exposure sometimes get fixed.
- Test without “extras”: If you use filters, stabilization modes, or third-party camera apps, try the default camera app. In some cases, app effects can cause softness or focus quirks.
When I’ve seen stubborn blur in the real world, the pattern is often: it works fine in other apps, or it improves after clearing cache/restarting. That’s a good sign you’re dealing with software behavior rather than a damaged lens or sensor.
Also note that some camera modes behave differently in low light (Night mode, portrait, “scene optimizer”). If the blur only happens in one mode, try a simpler capture path: standard photo mode, no filter, and tap-to-focus on the subject.
Clearing an app’s cache typically removes temporary stored data used for faster loading, not the user’s photo library in the gallery app.
Updating system or camera app software can address autofocus/exposure issues reported as software bugs by device manufacturers.
What can go wrong (common mistakes & limits)
If you follow the steps above and still see blur, it’s usually because the root cause is outside editing’s reach or due to a capture constraint (distance, stabilization, or hardware). Knowing the limits saves time and prevents “make it worse” adjustments.
- Over-sharpening makes halos: If the photo gets crunchy edges or outlines, sharpen less and rely more on light/contrast adjustments.
- Too-close focus: Many phones won’t focus well at very short distances—step back slightly and re-tap focus.
- Compression + low light: Sometimes the photo looks blurry because it’s noisy or compressed (especially when sent via messaging). Editing won’t fully fix compression blur.
- Hardware issues: If blur happens even in perfect lighting and with careful focus, the autofocus mechanism, lens alignment, or sensor may be damaged. If so, software steps won’t solve it.
One important “gotcha” for work and client-facing images: apps like email and messaging can re-encode and downscale photos. A sharp original can look soft after transfer, which makes it seem like the camera failed when it didn’t. If you suspect this, compare the original file from your gallery with the one you received/sent elsewhere.
A phone editor cannot recover spatial detail that was lost during capture or later compression, because that information was never recorded at original resolution.
Very close subject distances can exceed a phone camera’s autofocus minimum focus range, causing persistent softness.
Verdict: your best next steps + quick checklist
If you need better results fast, prioritize clean lens + tap-to-focus + avoid motion/zoom, then retake. For existing photos, try gentle built-in enhancement—but don’t expect miracle recovery from heavy motion blur. Skip “advanced fixes” (like aggressive sharpening or third-party deblur apps) if you need accurate detail for professional work, because re-taking with better conditions is usually the only reliable path.
Scan/checklist (save this):
| Problem you see | Do this first |
|---|---|
| Lens looks smudged/dusty | Wipe lens + remove any case cover blocking camera |
| Focus won’t lock | Tap subject, step back a little, add light |
| Blur after you zoom | Reduce zoom; avoid max digital zoom; retake steadier |
| Smear/movement blur | Lower shake, stabilize, improve lighting, retake if possible |
| Looks blurry after editing | Use Enhance/Auto first; reduce sharpening/clarity |
FAQ
- Can I fix motion blur on Android?
Sometimes you can make mild blur look better, but true motion blur usually can’t be fully restored with standard editing.
- Why are my photos blurry even in good lighting?
It could be focus failure (tap-to-focus not locking), lens obstruction (case/cover), or an autofocus/camera app issue—try cache/reset and updates.
- Does clearing the camera app cache delete my photos?
Usually no—clearing cache affects app stored data, not your photo library. (Exact behavior depends on the app/version.)
- Is sharpening the best solution?
Not always. If the photo is out of focus or motion-blurred, sharpening often adds artifacts (halos, grain). Start with enhancement and small adjustments.
Sources
- Google Photos Help Center – “Edit photos” / photo editor features (official Google documentation).
- Android Help / OEM documentation – steps for clearing an app’s cache and restarting app behavior (official support docs).
- Device manufacturer support (Samsung/Google/Motorola/OnePlus, etc.) – camera troubleshooting for “blurry photos,” if provided by your brand.
In summary, blurry Android photos usually come down to three capture issues: a dirty or obstructed lens, focus that didn’t lock, or motion/zoom that forced the camera into blur-prone exposure settings. Fix the cause first (lens + tap-to-focus + stability), and treat editing as a “mild improvement” tool rather than a full reversal—especially for strong motion blur. If blur persists across modes, lighting, and restarts, then troubleshooting software is the right next step before considering hardware service.
Frequently Asked Questions
Why are my Android photos blurry even when the focus looks correct?
Blurry pictures on an Android phone are often caused by missed focus, camera shake, moving subjects, or dirty lenses. Low light can also increase blur because the camera uses a slower shutter speed and more noise-reduction processing. Check the lens for smudges, make sure your subject is tapped to focus, and improve lighting to reduce blur.
How can I fix blurry pictures on my Android phone using built-in camera settings?
Start by tapping on the subject’s area to lock focus and avoid taking the photo while the camera is still “hunting.” In low light, try switching to Night Mode (if available) or using a steadier grip to reduce motion blur. Also avoid digital zoom—use optical zoom or get closer to the subject for sharper results.
What are the best ways to sharpen a blurry photo on Android after you’ve taken it?
Use Android photo editors like Google Photos, Samsung Gallery, or built-in editing tools that offer Sharpen, Enhance, or Clarity options. Apply sharpening gradually—too much can create halos and noise—then adjust brightness and contrast to improve perceived sharpness. For more control, consider a dedicated app like Snapseed to use details/sharpening tools carefully.
Which Android apps or tools can reliably improve blurry photos?
Photo-fixing apps that use AI enhancement can help reduce blur and improve detail, especially for slight focus issues. Look for features such as “Enhance,” “Photo Restore,” “AI Upscale,” or “Sharpness/Clarity” rather than heavy filters. For best outcomes, try one tool for enhancement and compare results, since some apps may oversharpen edges or introduce artifacts.
What should I do if only some photos are blurry (but others are sharp)?
This pattern usually points to inconsistent focus, motion, or lighting—sharp photos suggest the camera can work correctly under certain conditions. If blurry images happen in dark scenes, increase exposure by improving light or using a slower-motion moment (steady hands, stable surface, or tripod). If blur occurs only with certain subjects, avoid close focusing distance issues and ensure the camera has time to lock focus before capturing.
📅 Last Updated: October 20, 2026 | Topic: how to fix blurry pictures on android phone | Content verified for accuracy and freshness.
References
- Motion blur (media)
- Image stabilization
- Autofocus
- Depth of field
- Unsharp masking
- CameraX overview | Android media | Android Developers
- CaptureRequest | API reference | Android Developers
- https://scholar.google.com/scholar?q=blurry+photos+smartphone+image+deblurring+techniques Google Scholar
- https://scholar.google.com/scholar?q=android+camera+out+of+focus+blurry+photos+autofocus+guidelines Google Scholar
- https://scholar.google.com/scholar?q=motion+blur+photography+smartphone+handheld+stabilization+camera+shake Google Scholar