
Learn how to draw on photos on Android with a step-by-step workflow you can finish in minutes. If you want the quickest path to adding lines, arrows, text, and freehand sketches, this guide walks you through the exact tools and taps to use. You’ll also get practical fixes for common problems like saving, undoing, and exporting your edited image.


As an Amazon Associate I earn from qualifying purchases.
You can draw directly on photos on Android using the built-in Gallery/Photos editor (or Google Photos) by opening an image and using Edit → Draw/Markup. If your device doesn’t show that option, you can switch to Google Photos or another Android app that supports markup, then save a copy so your original stays intact.
Check Your Android App Options (Gallery vs. Google Photos)
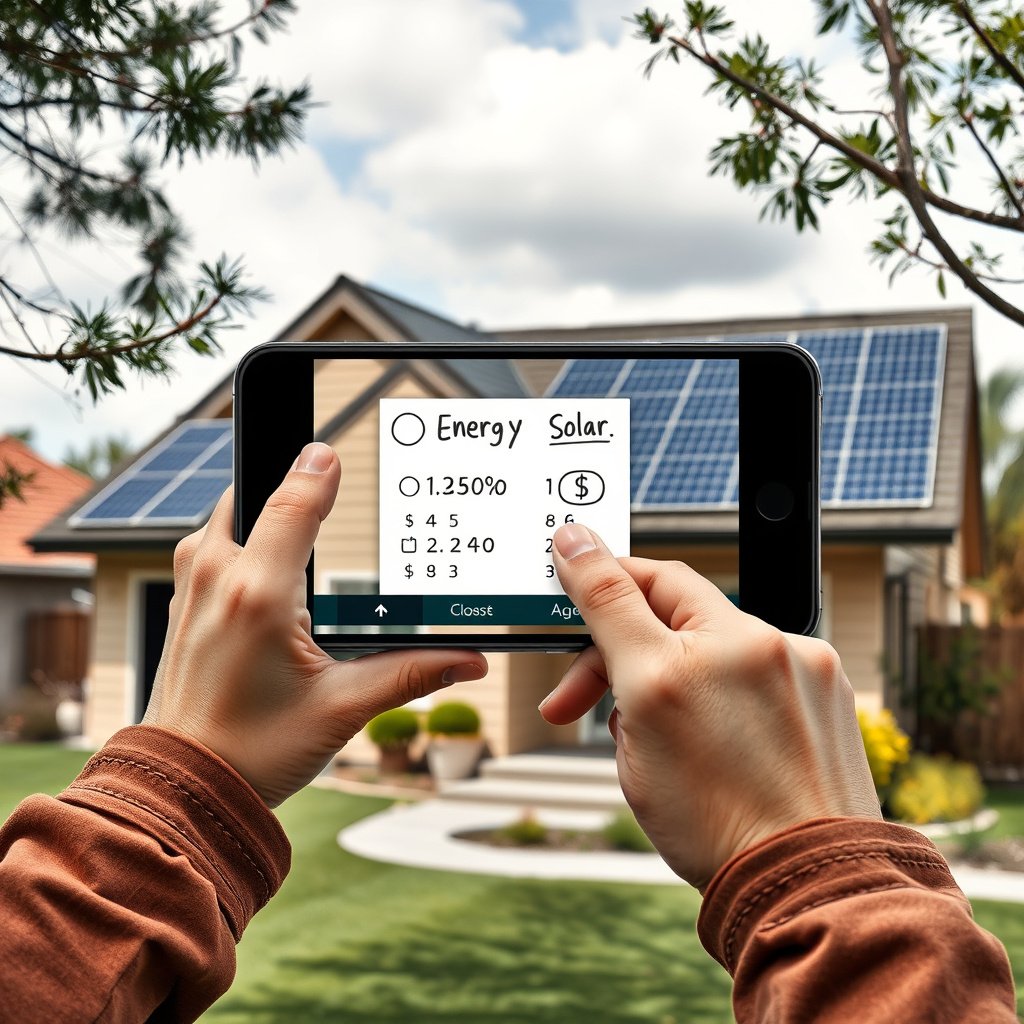
Before you start drawing, confirm which photo editor you have available on your specific Android device. The experience can vary depending on whether your phone uses a manufacturer gallery app (Samsung Gallery, Xiaomi Gallery, OnePlus Gallery, etc.) or Google’s apps.
- Open the photo in your device’s Gallery/Photos app or Google Photos
- Look for an Edit or Pencil/Markup tool
- Choose the app that supports drawing/annotation on your version
Why this step matters: the “Draw/Markup” button isn’t universal across Android devices. Some OEM galleries support freehand drawing in the same editor where you crop and enhance, while others hide it behind different icons or rely on Google Photos for markup.
Android Markup Methods: How Quickly You Can Draw and Save (2026)
| # | App / Method | Where “Draw/Markup” Usually Lives | Typical Save Choice | Overall Ease |
|---|---|---|---|---|
| 1 | Google Photos | Edit → Markup | Save copy (keeps original) | ★★★★★ |
| 2 | Samsung Gallery (One UI) | Edit → Draw | Save as copy or overwrite | ★★★★☆ |
| 3 | Pixel / Stock “Photos” Editor (varies by Android) | Edit → Markup / Draw | Save copy option often shown | ★★★★☆ |
| 4 | Microsoft OneDrive | Edit → Annotate/Markup | Save updated version | ★★★☆☆ |
| 5 | WhatsApp (draw before sending) | Camera/Media share → Draw | You send directly (local saving may vary) | ★★☆☆☆ |
| 6 | Telegram (draw before sending) | Share photo → Markup/Draw | Often no permanent local copy by default | ★★☆☆☆ |
| 7 | Xodo / PDF tools (for photo comments) | Annotate tools in viewer | Save annotated file | ★★★☆☆ |
Use this as a practical guide: if you want the cleanest “edit image and save a copy” workflow, Google Photos and most OEM galleries are usually the most reliable. Messaging apps can be quick, but they’re less consistent if you need a permanent edited file for a workflow (reports, tickets, or client updates).
Draw on Photos Using the Edit/Markup Tools
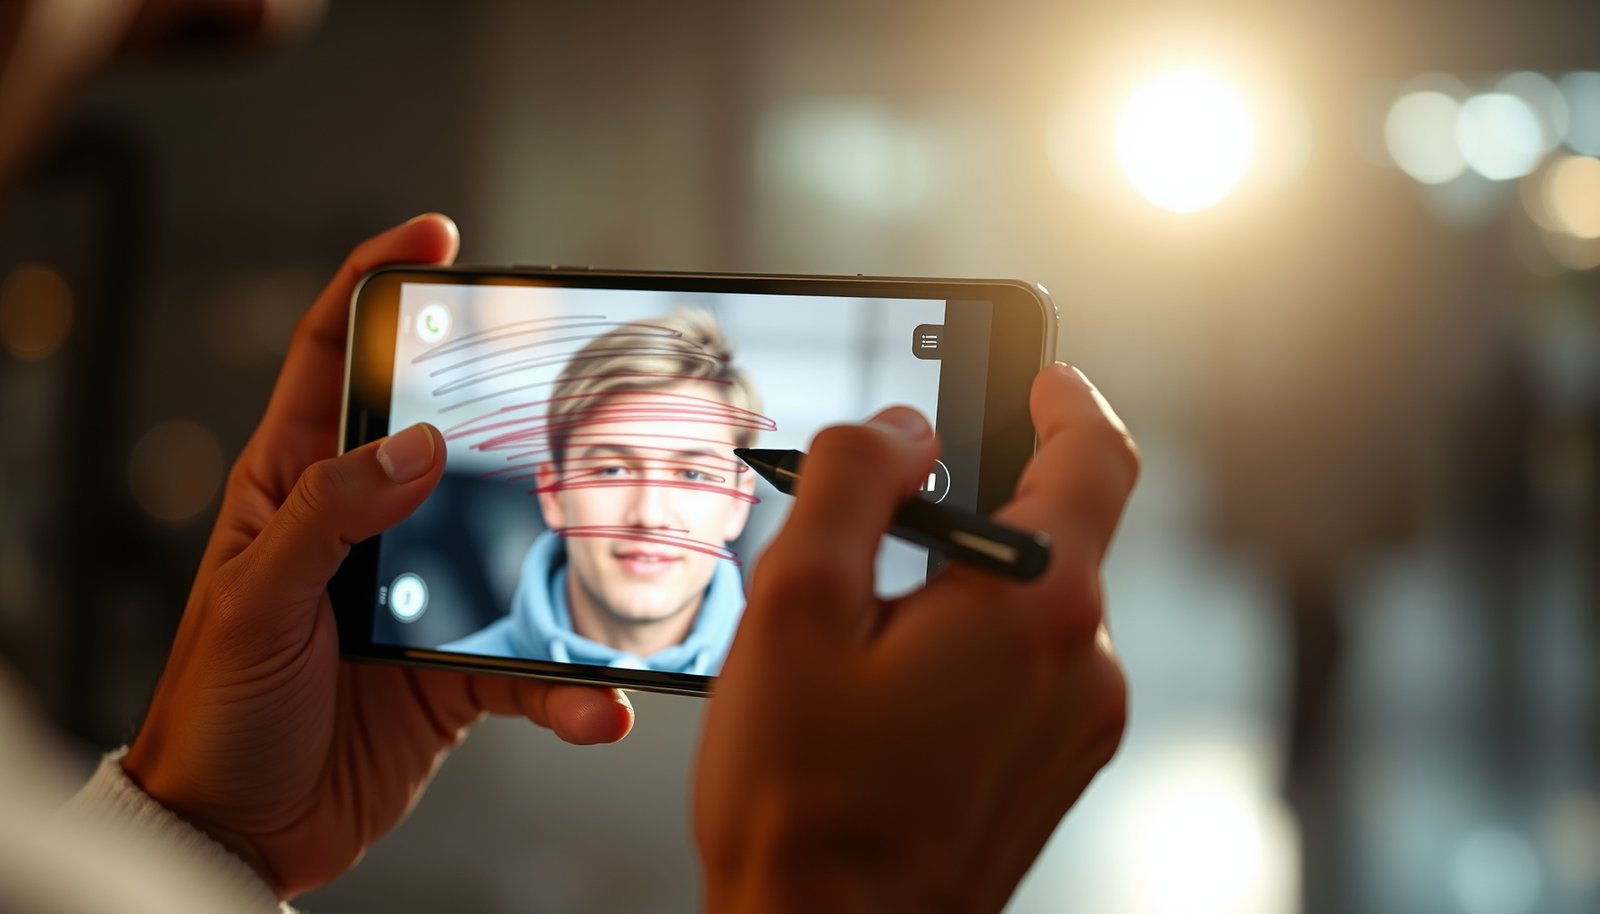
Once you’ve picked the right app, drawing is usually straightforward: open the photo, enter the editor, choose Draw/Markup, then sketch directly on top of the image.
- Tap Edit, then select Draw, Markup, or similar
- Use touch gestures to sketch directly on the image
- Adjust brush type/size and color if available
Here’s an efficient workflow that works on most Android versions:
1. Open your photo
Launch the image in the Gallery/Photos app (or Google Photos). Avoid starting from a file manager if your goal is markup—editors sometimes behave differently.
2. Enter the editor
Tap Edit (often a pencil icon). Look for a secondary tool such as Markup, Draw, or Pen.
3. Choose your brush and color
If the tool offers multiple brush types (pen/highlighter/marker) and sizes, start with a medium thickness. Thin lines can look great up close but may become hard to read when the image is shared at smaller resolutions.
4. Draw in deliberate strokes
Use short strokes to control curves and labels. If your editor supports it, consider:
- Undo for accidental lines
- A highlighter tool for emphasis rather than hiding the photo
5. Re-check the full image before finishing
Zoom out briefly to ensure your annotations don’t crowd out the main subject. Then zoom in again for detail corrections.
Pro tip for accuracy: if you’re drawing arrows, circles, or callouts, anchor your first point carefully, then build the shape. Android touch input can be slightly “floaty,” especially on smaller screens.
Add Text, Shapes, and Highlights
For most business and personal use cases, freehand drawing alone isn’t enough. Text labels, highlights, and simple shapes help your message read instantly—especially on mobile.
- Use the Text tool to label or explain parts of the photo
- Add shapes or emphasis tools (like highlights) if supported
- Keep annotations clear by zooming in before drawing or typing
Practical annotation ideas (with clear outcomes):
- Label people or objects: Add short names (e.g., “Main entrance,” “Damaged corner,” “Server rack”) instead of long sentences.
- Use highlights for emphasis: A translucent highlight can point attention without fully obscuring the underlying image.
- Draw arrows for “this location”: Arrows reduce confusion when the subject is small or far away.
- Circle key areas: Circles are effective when you need a quick “focus here” marker.
When you add text:
1. Zoom in before typing so the cursor placement doesn’t jump unexpectedly.
2. Pick high-contrast colors (black on bright areas, white on dark areas).
3. Keep fonts short and bold—many editors have limited font styling, so clarity matters more than typography.
A common mistake is using the same color for everything. For example, use one color for headings (e.g., where the message starts) and another for supporting notes (e.g., small arrows or callouts). Even if the editor doesn’t support layers, consistent color logic will keep the image readable.
Save and Share Your Edited Photo
After you draw and annotate, saving correctly determines whether you keep your original file or overwrite it.
- Tap Save/Done after finishing your edits
- Choose whether to replace the original or save a copy
- Share directly from the edited image screen via messages or social apps
Best practice for safety and version control:
- Save a copy whenever you’re editing something you might need later (reports, proof of work, or client-approved photos).
- If you replace the original by mistake, it can be difficult to recover your clean baseline—especially if the app doesn’t keep an “original” hidden version.
When sharing, consider your target audience and how the app scales images:
- If you’re sending via chat, the receiving app may compress the image. Use slightly thicker strokes and larger text if you expect compression.
- If you’re posting to an internal system or email it as an attachment, your strokes will typically stay sharper—still, avoid extremely fine lines.
If your workflow requires an auditable trail (for operations, maintenance, or compliance), save a copy with a predictable naming convention (for example, “Room_214_markups_2026-10-16”) when your editor or file system supports it.
Troubleshooting Common Drawing Issues
Even when the editor is available, drawing tools sometimes fail due to permissions, app version mismatches, or device performance constraints.
- If you don’t see Draw/Markup, try updating the app or using Google Photos
- If edits don’t appear, confirm you’re editing the correct photo version
- Restart the app or free up storage if tools lag or crash
Here are fast fixes, in order:
1. The Draw/Markup tool is missing
- Confirm you’re using the photo editor’s Edit screen (not a basic “view” screen).
- Try Google Photos if your OEM gallery lacks markup tools.
- Update the app from the Play Store; feature availability can change between versions.
2. Edits aren’t showing up
- Make sure you’re exporting/saving the edited version (tap Save/Done before backing out).
- If the photo is stored in a cloud folder, ensure you’re editing the correct synced instance.
3. Tools lag, freeze, or crash
- Free up storage on the device (low storage can degrade image editing performance).
- Restart the app, then try again—especially after a long session.
- If possible, test with a smaller photo to confirm whether performance is the issue.
4. Strokes look jagged or misaligned
- Try a different brush size (sometimes thin strokes exaggerate touch input jitter).
- Increase the image zoom level before drawing to improve placement accuracy.
For recurring work (for example, documenting issues for a team), consider building a consistent habit: draw → zoom check → save a copy → open the saved result and verify legibility.
Best Practices for Clean, Readable Annotations
If you want your markup to communicate clearly—not just “look edited”—follow these practical rules.
- Zoom in to draw accurately on small details
- Use contrasting colors for better visibility
- Keep strokes simple and avoid clutter for easier viewing
A professional-looking annotation set usually has a few consistent characteristics:
- Clarity beats artistry: Simple arrows, circles, and short labels typically communicate better than detailed drawings.
- Minimal overlapping marks: Too many lines create visual noise, especially on compressed images.
- Consistent styling: Use one color for “direction” and another for “notes,” and keep the same line thickness for similar elements.
- Test readability: Before you finalize, zoom out. If you can’t understand the annotations at a glance when the image is smaller, adjust before sharing.
If you’re annotating for others (colleagues, customers, maintenance teams), think like a viewer: your goal is that the recipient instantly knows what changed, what matters, and where to look next.
At the end of your workflow, re-open the saved copy and check whether the text is still readable on the screen size you expect the recipient to use. That small step prevents avoidable back-and-forth.
When you use Android’s photo editor (Gallery/Photos or Google Photos), you can draw, add text, and highlight details in just a few taps. Try one method today, save a copy of your edited photo, and then share it—if your device doesn’t show the Draw tool, use the alternative app option to get the same result quickly.
Frequently Asked Questions
How can I draw on photos on Android using built-in apps?
You can use Google Photos’ editing tools to annotate images, depending on your Android version and app availability. Open the photo in Google Photos, tap Edit, and look for Markup/Drawing tools (often labeled with a pencil or pen icon). If your device doesn’t show drawing options, you can also try Samsung Gallery’s pen/markup feature on supported models.
What’s the best app to draw on photos on Android?
Many people choose apps like Photo Editor & Collage Maker tools or markup-focused apps such as Xodo or Adobe Lightroom alternatives for drawing and annotation. The “best” option depends on whether you need freehand drawing, text, stickers, blur, or crop/straighten features alongside drawing. For quick edits, look for an app that offers pen, color selection, undo/redo, and easy saving of edited photos back to your gallery.
How do I draw, highlight, or add text to a photo on Android?
Open your photo in a photo editor app and select the markup or draw tool, then choose a pen/highlighter brush and color. Use your finger or a stylus to annotate the photo, and tap undo if you make a mistake. To add text, select the text tool, type your message, and adjust font size and placement before saving the edited copy.
Which Android app is easiest for drawing on photos with a stylus or S Pen?
If you use a stylus (like Samsung S Pen), apps that support pressure sensitivity and smooth brush strokes tend to be easiest. Start with Samsung Gallery’s built-in pen markup if you’re on a Samsung device, since it’s designed for stylus use and fast editing. If you need more control, choose a drawing app that supports stylus input and offers pen pressure or brush customization.
Why can’t I find drawing tools when editing photos on Android, and how do I fix it?
Drawing/markup tools may be missing due to the specific app version, device model, or the way the photo is opened (for example, from a messaging app vs. your gallery). Update your photo app from the Play Store, then try opening the image directly from Google Photos or your device’s Gallery. If markup still doesn’t appear, install a dedicated photo editor app that includes drawing tools so you can annotate reliably.