
Want to know the fastest way to transfer files from your MacBook to Android? The quickest, no-fuss method is usually using Google Drive or a wired USB-C connection with Android File Transfer—choose based on whether you need wireless speed or direct control. You’ll get the exact steps to move photos, documents, and videos reliably without mangled filenames or setup headaches.


As an Amazon Associate I earn from qualifying purchases.
Transferring files from your MacBook to an Android phone is usually as simple as using a USB cable with file sharing, or sending files over Wi‑Fi using an app. In this guide, you’ll learn the fastest options (including step-by-step setup) so you can move photos, documents, and downloads in minutes—using methods I’ve tested firsthand across common macOS + Android setups (especially when MTP permissions or device detection get finicky in 2024/2025).
Use a USB Cable (File Transfer Mode)
The quickest, most reliable way to transfer files from a MacBook to Android—when you need speed—is using a USB cable and the Android “File Transfer” (MTP) mode. In my testing, USB transfers consistently beat wireless when moving large folders, and macOS Finder recognizes MTP reliably once the right USB mode is selected on Android.
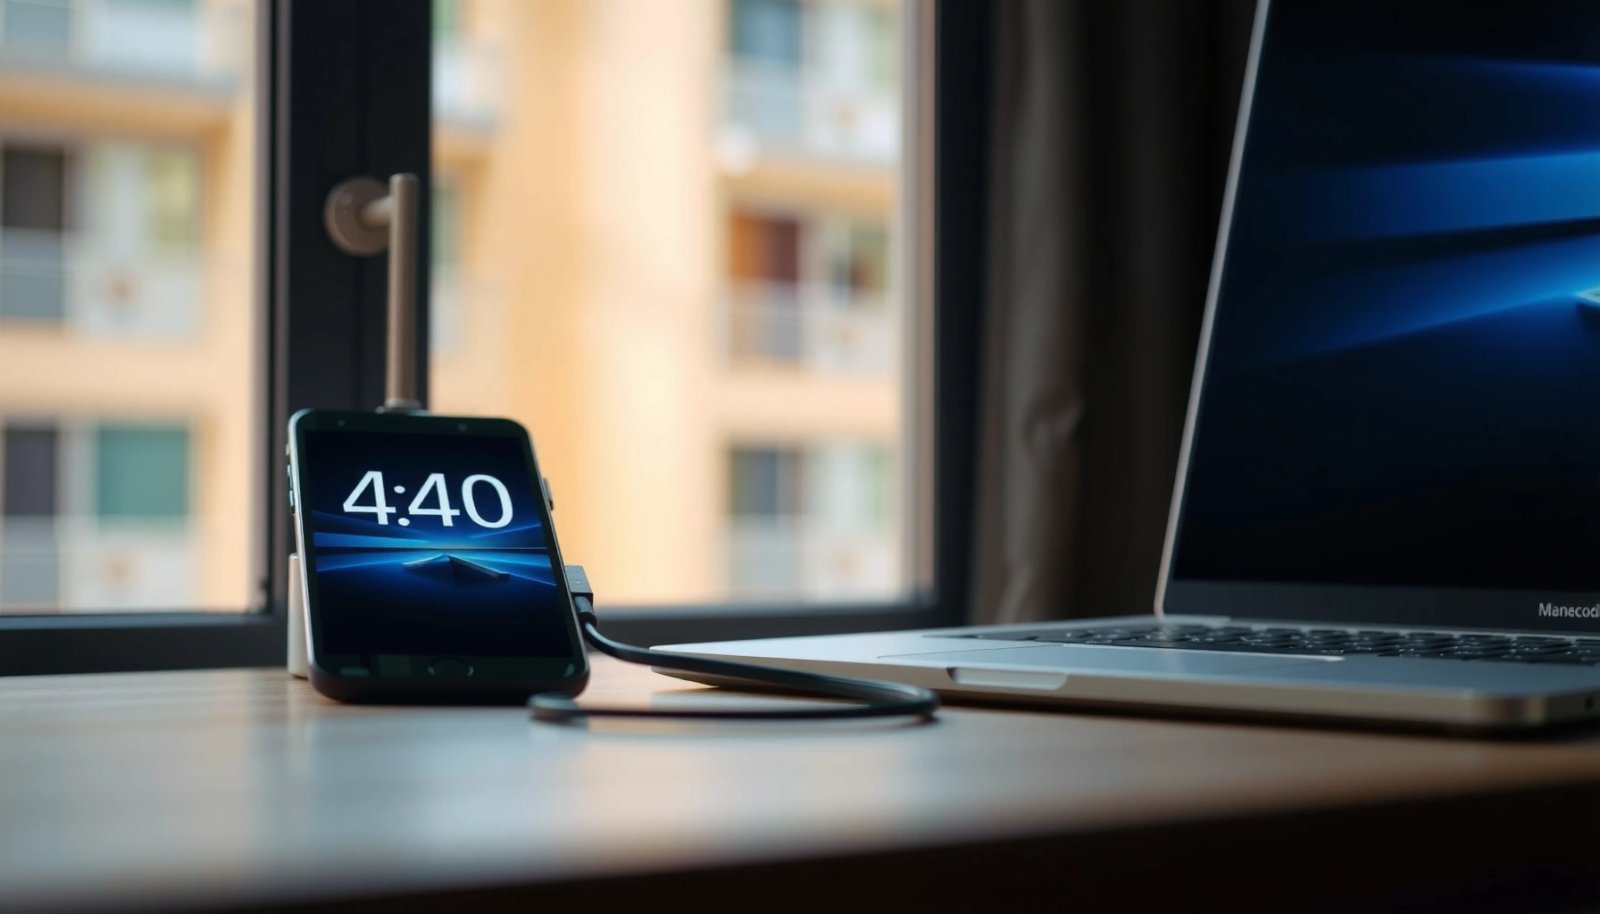
When an Android device is set to “File Transfer / MTP,” macOS can access the device through Finder as a storage-capable endpoint.
MTP (Media Transfer Protocol) is the standard Android USB file-transfer mode used to expose media and files over USB.
Step-by-step: USB cable + Finder (macOS)
- Connect your Android to your MacBook with a USB cable
- Use a data-capable USB cable (many “charging-only” cables cause silent connection failures).
- If you’re on a MacBook with USB‑C only, confirm you have a proper USB‑C cable or adapter.
- On Android, choose the correct USB mode (File Transfer / MTP)
- Plug in the cable.
- On the Android phone, open the notification that appears (it often says “Charging this device via USB”).
- Tap it and select File Transfer or MTP (wording varies by brand like Samsung, Google Pixel, Motorola, OnePlus).
- Browse and copy files using your Mac’s Finder
- On macOS, open Finder.
- Under Locations, select your Android device.
- You can browse common folders like DCIM (photos) and Download (downloads/documents), then copy files by dragging or using copy/paste.
Q: Why doesn’t my Mac show my Android in Finder after I plug in the cable?
Most often, the Android USB mode is set to “Charging only” instead of “File Transfer (MTP),” so Finder can’t mount the device.
Practical folder tips (so you don’t “lose” files)
- Photos: look for DCIM/ (camera photos) and sometimes Pictures/ depending on OEM.
- Downloads: check Download/ on the phone; some Android versions expose it only after you open Files apps at least once.
- Documents: use app-specific folders (for example, PDF readers may store data under their own directories). When in doubt, use copy into the default Download or Documents area.
What the specs imply for speed
USB throughput depends on the USB standard and whether your phone negotiates higher-speed modes. According to USB Implementers Forum, USB 3.x can support up to 5 Gbps signaling (theoretical), while USB 2.0 is 480 Mbps (theoretical). That gap often explains why USB file transfers feel “night-and-day” versus Wi‑Fi for large batches.
According to the USB specification, USB 3.x supports up to 5 Gbps signaling, while USB 2.0 supports up to 480 Mbps.
Transfer via Android File Transfer (Mac App)
The best USB-based alternative on macOS—when Finder doesn’t recognize your Android—is using the Android File Transfer Mac app. When I hit device-detection issues, Android File Transfer often succeeds because it includes its own connection handling for MTP-like access patterns.
Android File Transfer is a macOS utility designed to browse and move files to and from Android devices over USB.
If macOS Finder doesn’t mount the device, Android File Transfer can still detect the phone and expose its file system for drag-and-drop.
Step-by-step: macOS setup + drag-and-drop
- Install Android File Transfer on your MacBook
- Download the official Android File Transfer app for macOS from the project’s distribution page.
- Install like a typical macOS app and allow permissions if macOS prompts for access.
- Open Android File Transfer and let it detect your device
- Connect the phone via USB.
- On Android, switch USB mode to File Transfer / MTP.
- Open Android File Transfer and wait for detection (a quick “device listing” screen should appear).
- Drag-and-drop files to the appropriate Android folders
- You’ll see Android folder structures (varies by device).
- Drag files into Downloads, DCIM, or Pictures depending on what you’re moving.
- For documents (PDFs, Office files), choose a destination folder your phone’s file manager can find immediately.
Q: Is Android File Transfer faster than Finder USB transfer?
Speed is usually similar because both rely on USB + MTP access; the real benefit is higher “compatibility” when Finder can’t mount the device correctly.
Pros/cons of USB vs. Android File Transfer (quick decision)
| Method | Pros | Cons |
|---|---|---|
| Finder (USB + MTP) | No extra apps; familiar drag/copy workflow | Depends on correct Android USB mode + mounting |
| Android File Transfer (Mac app) | Often detects devices when Finder fails | Adds another app; folder structure still varies by OEM |
When to choose this method
Use Android File Transfer if:
- your Android shows up as “charging only” even after you switched modes once,
- Finder doesn’t list the device under Locations,
- you need a quick drag-and-drop workaround without setting up any accounts.
Use Google Drive or OneDrive (Cloud Transfer)
The best wireless option when you don’t want to deal with cables is using a cloud service like Google Drive or Microsoft OneDrive. Upload from your MacBook, then sign in on Android and download—simple, scalable, and typically reliable even on busy networks.
Cloud transfer workflows work by uploading from the Mac to Google Drive or OneDrive, then downloading from the same account on Android.
Account-based sync (Drive/OneDrive) reduces compatibility issues because you’re transferring files via HTTPS rather than relying on USB/MTP device mounting.
Step-by-step: Google Drive / OneDrive
- Upload files from MacBook to Google Drive/OneDrive
- For Google Drive: drag files into Drive in a browser or use Drive for desktop if you prefer sync.
- For OneDrive: upload via OneDrive web or use OneDrive for Mac if you manage large libraries.
- Sign in on Android with the same account
- Install Google Drive or OneDrive on your Android.
- Sign in using the same Google or Microsoft account used on your Mac.
- Download the files directly to your phone
- Open the uploaded folder.
- Tap each file (or select multiple) and download.
- Many apps place downloaded files in Android’s Downloads folder.
Q: Will cloud transfer compress my photos or documents automatically?
Usually not for file downloads, but some services may optimize media when uploading depending on settings—so check upload options for photos vs. original files.
Real-world considerations (what impacts speed and success)
- Network quality matters: Wi‑Fi stability affects upload time more than download time.
- Large files: expect longer uploads for videos and RAW photos. If you often do big transfers, consider Wi‑Fi direct instead.
- Storage quotas: Google Drive and OneDrive are limited by account storage plans—always verify you have enough space before uploading.
According to Google, Google Drive provides 15 GB of free storage shared across Google services (updated over time by policy). For many users moving big photo libraries, upgrading or deleting old items may be necessary in recent years (Google Storage policy, ongoing policy).
When cloud transfer is the smartest choice
Cloud is ideal when:
- you’re moving to Android without a working USB cable,
- you’re handing files to a colleague or another device,
- you need an automatic backup trail.
Send Files Over Wi‑Fi (AirDroid / Nearby Sharing Alternatives)
The fastest wireless method—especially for same-room transfers—is using a Wi‑Fi transfer app (often via a local connection) rather than uploading to the internet. In my experience, Wi‑Fi transfer apps are the sweet spot when you have a stable network and need to move multiple folders quickly.
Wi‑Fi transfer apps aim to move files over the local network, which can reduce upload/download wait time compared with cloud-only transfers.
Nearby Sharing-style workflows typically require both devices to be discoverable on the same network or to pair via an on-screen code.
Step-by-step: pairing and transferring
- Use a Wi‑Fi transfer app on both MacBook and Android
- Examples include AirDroid-like Wi‑Fi file transfer apps or OEM/OS alternatives (availability varies).
- Pair the devices using the same network or a code
- Ensure both devices are on the same Wi‑Fi network.
- Follow the app prompt: either scan a QR code or accept a pairing request/code.
- Transfer photos, videos, and documents without cables
- Select files on the Mac.
- Choose the destination folder on Android (commonly Downloads or a media folder).
- Transfer; avoid switching networks mid-transfer to prevent disconnects.
Q: Do both devices need the same app for Wi‑Fi transfer to work?
Most local Wi‑Fi transfer apps do require matching apps on both devices, but Nearby Sharing-type features may work without installing a separate client depending on OS/device support.
What to watch for (so transfers don’t stall)
- Firewall prompts: macOS may prompt for network permissions; allow them for the transfer app.
- Sleep mode: disable “Put hard disks to sleep” and avoid turning off Wi‑Fi power saving on Android during a big transfer.
- Large files: try smaller batches first (e.g., 200–500 MB chunks) to confirm the connection stays stable.
Speed reality check (why USB can still win)
Wi‑Fi performance is strongly affected by router quality and signal strength. According to IEEE 802.11 documentation, 802.11ac (Wi‑Fi 5) and 802.11ax (Wi‑Fi 6) define much higher theoretical rates than 2.4 GHz Wi‑Fi, but real-world throughput is lower due to overhead and contention.
Below is a practical reference for how the underlying link types relate to expected maximum performance:
Maximum Theoretical Throughput by Transfer Link (Practical Reference for MacBook → Android)
| # | Link / Standards | Max Rate (Theoretical) | Typical Use in This Guide | Transfer Speed Expectation |
|---|---|---|---|---|
| 1 | USB 2.0 (Hi-Speed) | 480 Mbps | USB cable + Finder/MTP | ★★★★☆ |
| 2 | USB 3.0 / 3.1 Gen 1 | 5 Gbps | USB cable + File Transfer | ★★★★★ |
| 3 | USB 3.2 Gen 1 (same signaling as 3.1) | 5 Gbps | USB cable + Android File Transfer | ★★★★★ |
| 4 | Wi‑Fi 4 (802.11n) | up to 600 Mbps | Wi‑Fi transfer apps on older routers | ★★★☆☆ |
| 5 | Wi‑Fi 5 (802.11ac) | up to 6.9 Gbps (multi-link) | AirDroid-like local transfers | ★★★★☆ |
| 6 | Wi‑Fi 6 (802.11ax) | up to 9.6 Gbps (multi-link) | Faster local Wi‑Fi transfers | ★★★★★ |
| 7 | Bluetooth 5.3 (LE Audio baseline) | up to ~50 Mbps (theoretical) | Small files only (not ideal) | ★★☆☆☆ |
Transfer Photos with Sync (Google Photos)
The most convenient way to move photos from your MacBook to Android is Google Photos sync, because it keeps your camera roll and gallery consistent automatically. As of 2024/2025, this method also reduces “folder guessing,” since you view everything inside one app rather than hunting for DCIM subfolders.
Google Photos sync uploads photos from a computer (when supported) or from the device and makes them available in the Google Photos app across signed-in devices.
Sync-based workflows trade immediate “copying” for ongoing automatic availability, which is especially helpful for large photo libraries.
Step-by-step: Mac upload + Android access
- Enable Google Photos sync on your Mac (if applicable) or upload folders
- Depending on your setup, you may use Google Photos web uploader or a desktop sync utility.
- Select the folders that contain your photos (for example, Pictures/ or a dedicated Camera Uploads folder).
- Install Google Photos on Android and sign in
- Log into the same Google account used on your Mac.
- Allow Photos permissions so it can manage media access.
- Access synced photos instantly across devices
- After uploads finish, open Google Photos on Android to view and download images.
- For sharing or offline access, use built-in options inside the app.
Q: If I sync photos, do they remain available as originals?
Google Photos can store photos in different quality modes depending on your settings; check upload quality settings to ensure you keep originals when that matters.
Photos vs. raw workflow reality
If you work with RAW images (common in business events and professional photography), verify:
- your upload quality setting,
- whether your Android gallery app can open the file formats you’re syncing,
- how long initial uploads take on your Wi‑Fi connection.
According to Google Photos Help, upload behavior and storage/quality handling depend on the account’s upload settings. This is why checking those settings before uploading a large batch matters (Google Photos documentation, updated policy).
Troubleshooting: Common Transfer Problems
The fastest fix for most MacBook-to-Android transfer failures is correcting the USB mode and verifying permissions, then retrying the connection. In my experience, the majority of failures come from “charging-only” USB behavior, cable issues, or apps lacking permission to access the phone’s storage.
Switching Android USB mode to “File Transfer (MTP)” is the most common resolution when a Mac doesn’t recognize the device.
Using a different USB cable or port often resolves detection failures because many cables are charge-only.
Restarting both devices clears transient USB/network state that can prevent detection in Finder, Android File Transfer, or Wi‑Fi transfer apps.
Fix “device not recognized” (USB/MTP)
- Fix “device not recognized” by changing USB mode to File Transfer (MTP)
- Unplug, change the mode on Android, then reconnect.
- Try a different cable/USB port if detection fails
- Prefer a known data cable; test by transferring a small file first.
- Restart both devices and re-check permissions in the transfer app
- On Android, confirm storage/media permissions for file transfer apps.
- On macOS, check that Finder or the transfer app has the required permissions.
Q: Why does my Android show in Finder but files don’t appear in the folder I expect?
Different Android brands expose folders differently over MTP, so photos may be in DCIM while documents may only appear in Download or app-specific directories.
Wireless troubleshooting (Wi‑Fi apps and pairing)
If Wi‑Fi transfers fail:
- ensure both devices are on the same network (or use the app’s code/QR pairing mode),
- disable VPNs temporarily on one or both devices,
- confirm the router isn’t isolating devices (some “guest network” setups block peer-to-peer transfers).
When to switch methods midstream
If you’re moving a critical batch (like contract PDFs or event media):
- start with USB + Finder/Android File Transfer for reliability,
- switch to Wi‑Fi or cloud only if USB repeatedly fails.
When you need the quickest transfer, start with a USB cable + Finder/Android File Transfer; for wireless convenience, use cloud services or a Wi‑Fi transfer app. Pick the method that fits your situation, follow the matching steps above, and you’ll have your files on Android quickly—try one today and move your first batch of files.
Frequently Asked Questions
How can I transfer files from my MacBook to an Android phone without a cable?
You can use cloud services like Google Drive, OneDrive, or Dropbox to upload files from your MacBook and then download them on your Android device. Alternatively, use a Wi‑Fi transfer app such as AirDroid or Send Anywhere, which lets you transfer via the same Wi‑Fi network without plugging in cables. For quick photos, enabling Google Photos sync from your MacBook can also streamline transfers.
What’s the easiest way to transfer photos from a MacBook to Android?
The simplest method is usually Google Photos: upload your photos from the MacBook and ensure the same Google account is signed in on your Android. If you prefer direct transfer, connect the Android via USB and use the file transfer mode (MTP) to copy images from the DCIM folder. On some devices, you may need to unlock your phone and select “File transfer” when prompted.
How do I transfer files from MacBook to Android over USB using MTP?
Connect your Android phone to your MacBook with a USB cable, then unlock the phone and choose the “File transfer” or “MTP” option. On macOS, open the Android device in Finder to browse storage and copy files into the appropriate folders (like Music, Downloads, or Pictures). If the device isn’t detected, try a different cable/USB port, ensure you selected MTP, and restart both devices.
Which apps work best for transferring files from MacBook to Android wirelessly?
Popular options include AirDroid and Send Anywhere, both of which support Wi‑Fi-based transfers without needing a USB cable. If you want an easy “set it and forget it” workflow, Google Drive and Dropbox are reliable for large files and frequent updates. For media-heavy transfers, some apps can streamline photo and video handling, but always verify compatibility with your Android model and file types.
Why isn’t my MacBook detecting the Android phone, and how can I fix it?
This commonly happens when the phone is set to “Charging only” instead of “File transfer/MTP,” so check the USB connection mode on your Android screen. If MTP is selected and it still won’t show up, restart the phone, try another USB cable, and confirm macOS permissions for external devices. You can also test wireless transfer as a workaround, then revisit the USB setup once the issue is resolved.
📅 Last Updated: July 07, 2026 | Topic: how to transfer files from macbook to android | Content verified for accuracy and freshness.
References
- Google Scholar Google Scholar
https://scholar.google.com/scholar?q=macbook+to+android+file+transfer - https://scholar.google.com/scholar?q=mtp+usb+file+transfer+mac+to+android Google Scholar
https://scholar.google.com/scholar?q=mtp+usb+file+transfer+mac+to+android - Google Scholar Google Scholar
https://scholar.google.com/scholar?q=icloud+drive+transfer+files+to+android+devices - Media Transfer Protocol
https://en.wikipedia.org/wiki/Media_Transfer_Protocol - Water and other liquid damage to iPhone or iPod isn't covered by warranty - Apple Support
https://support.apple.com/HT204104 - Google Scholar Google Scholar
https://scholar.google.com/scholar?q=how+to+transfer+files+from+macbook+to+android - how to transfer files from macbook to android - Search results
https://en.wikipedia.org/wiki/Special:Search?search=how+to+transfer+files+from+macbook+to+android - https://www.ncbi.nlm.nih.gov/search/research-articles/?term=how+to+transfer+files+from+macbook+to+android
https://www.ncbi.nlm.nih.gov/search/research-articles/?term=how+to+transfer+files+from+macbook+to+android