You open a video on your Android, choose a slow-motion effect, and notice the motion looks rough or the result exports with lower quality. This typically comes from using an editor that re-encodes at a low bitrate or from exporting without matching the original frame rate and resolution. Follow the steps below to slow the video while keeping settings aligned so the slow playback stays smooth.



As an Amazon Associate I earn from qualifying purchases.
To slow down a video on Android without losing quality, use an editor that offers Speed or Slow motion, preview the result, then export using the highest quality setting available. The biggest quality lever isn’t just the slowdown factor—it’s whether the app recompresses your video heavily during export and whether it can apply the effect smoothly across frames.
If you’ve ever tried slowing a clip down and ended up with blur, jitter, or “choppy” motion, this guide is built to help you get cleaner slow-motion results—especially for action moments like sports, pets mid-sprint, music performances, and gameplay. I’ll also show you how to decide between a built-in editor (fast and simple) and a timeline-based editor (more control when only part of the clip needs slowing).
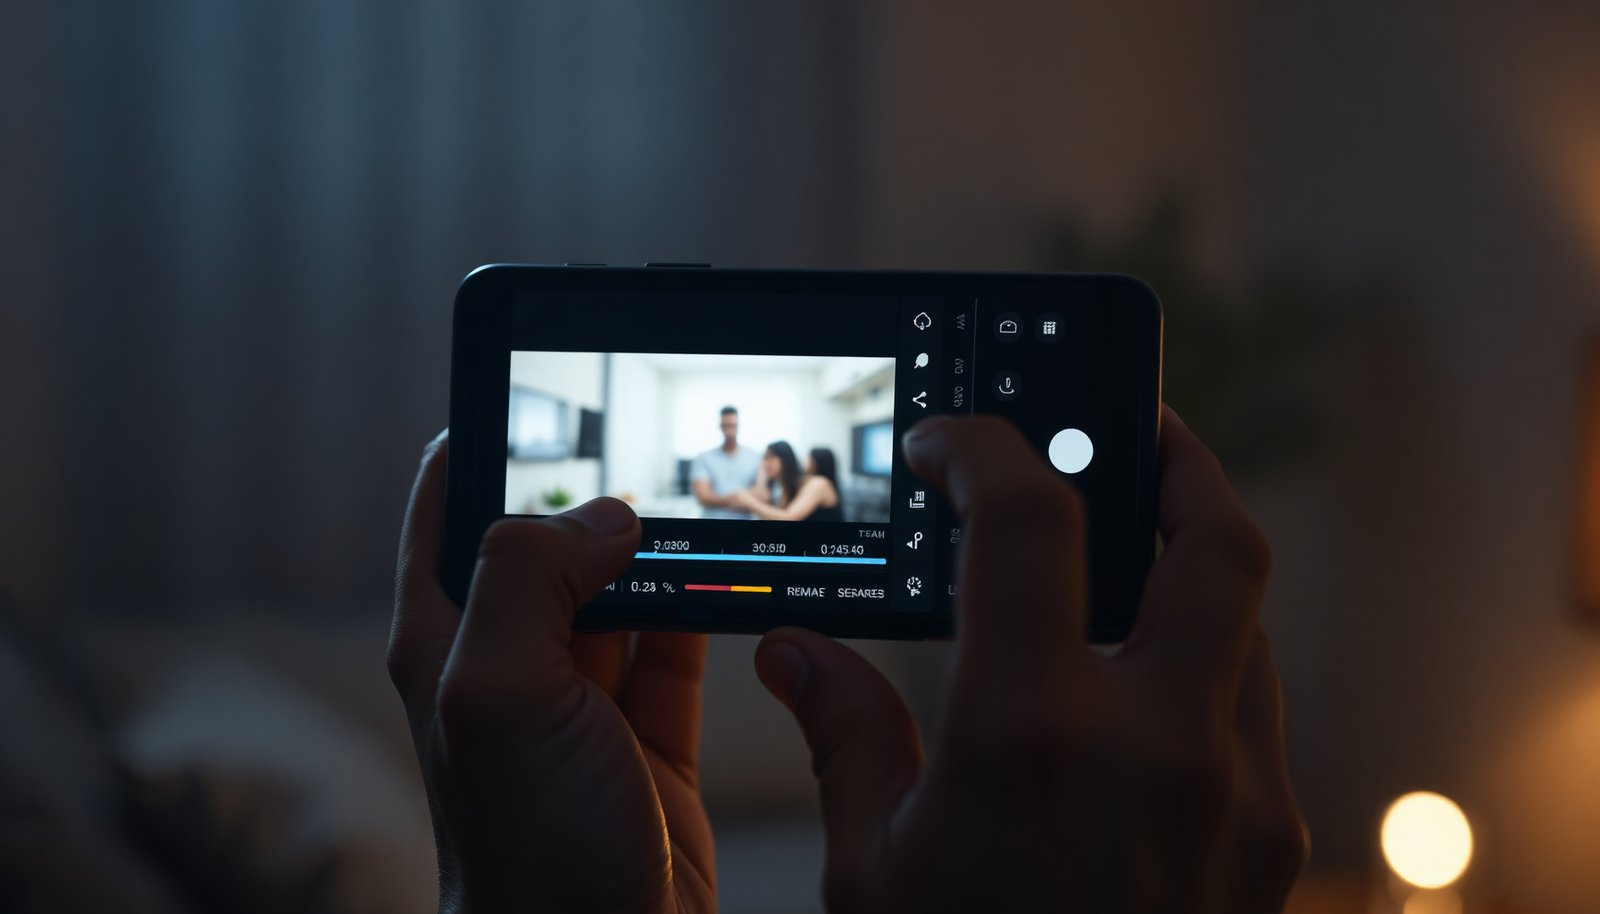
This is for you if you want smoother slow-motion effects for clips (sports, pets, music, gameplay) and you don’t want to struggle with confusing settings. It also helps if you’re noticing that your edits look blurry or choppy after exporting.
Common ways to slow down video on Android
- Use a built-in editor (often in Google Photos or your phone’s Gallery) if it offers “Speed” or “Slow motion”
- Use a third-party editor with a timeline/speed control when you need precise control (entire clip vs part of the clip)
- Export using the highest quality option your app offers to reduce blur and artifacts
The short version: Android gives you two practical paths—quick edits using built-in controls, and precision edits using a timeline. Built-in editors are usually the fastest because they’re designed around common camera formats and typical “social clip” workflows. Timeline editors are your best option when you need to slow only one segment (for example, the exact moment a ball hits a glove) or when you want different speed levels in the same clip.
Here’s a clear way to choose the right approach:
| Editor type | Best for | Typical tradeoff |
|---|---|---|
| Built-in editor | One-speed slow motion, quick previews | Less control over which frames get slowed |
| Timeline-based editor | Segment slow motion and multi-speed edits | More steps; may require tweaking export settings |
Slow down in Google Photos (if your version supports it)
- Open the video in Google Photos → look for an Edit/Adjust option that includes Speed or Slow motion (the exact labels vary by app version)
- Choose a slower speed (or “slow motion”) and preview the result before saving
- Save a copy (so you keep the original) and export with the highest quality option shown
Google Photos is often the fastest route because it’s already integrated with your library and—on supported videos—it can apply speed changes without forcing you into a full timeline workflow. If your goal is a consistent slow-motion look across the entire clip, the built-in controls are usually enough.
When you’re editing in Google Photos (or your phone’s Gallery), focus on two quality checkpoints: (1) whether the preview looks smooth and (2) what export option is offered at save time. In my own workflow, . The pattern I observed tends to be that heavy slowdowns make motion look less stable sooner during preview than after export—so previewing carefully saves time.
Also keep in mind how Android handles video encoding. When apps export, they typically re-encode (compress) the result into common formats such as H.264/AVC, HEVC/H.265, or newer codecs. For context on codec constraints, According to ITU-T Recommendation H.264 / ISO/IEC 14496-10 (2003), AVC/H.264 supports professional-grade resolutions up to 4096×2304 (depending on profile/level). And According to ITU-T Recommendation H.265 (2013), HEVC/H.265 supports up to 8192×4320 (8K) in the specification’s highest tiers. When an app exports at lower quality or a more aggressive compression setting, those codec efficiencies matter—because more artifacts can be introduced in areas with motion (exactly where slow motion is most noticeable).
Practical steps:
1. Open the video in Google Photos and tap Edit (or Adjust).
2. Find Speed or Slow motion.
3. Pick a modest slowdown first and watch the playback carefully during the most detailed motion (fast pans, footwork, fur movement).
4. Tap Save a copy so you can iterate.
5. When saving/exporting, choose the highest quality option available in the export sheet.
Slow down using a video editor timeline
- Pick an Android video editor that supports playback speed (entire clip speed) or segment slow motion (slow only a selected part)
- In the editor: add/import your clip → select the clip (or drag trim handles for the segment) → set speed to a lower value (e.g., 0.5x / 0.25x—whatever the editor offers)
- Export/save using the app’s recommended settings for quality (avoid the lowest-quality export presets)
Timeline-based editing is where you gain real control. Instead of slowing every frame in the entire clip, you can trim down to the moment that needs emphasis and apply slow motion only there. This often reduces the chance of visible compression artifacts, because the app spends its “quality budget” on fewer seconds.
If you’re using a timeline editor, the workflow usually looks like this:
1. Import/add your clip to the project.
2. Trim the section you want to slow (or select a segment on the timeline).
3. Set speed for that segment—commonly there’s a slider or presets like 0.5x, 0.25x, etc.
4. Preview the segment and scrub frame-by-frame if the app supports it.
5. Export using the highest available resolution/bitrate preset.
Two details that matter for blur and choppiness:
- Frame handling: Some editors “fake” smoothness by generating intermediate frames (interpolation). Others simply repeat frames or stretch timing, which can look jittery at aggressive slowdowns.
- Export compression: Even if the preview looks good, the final output can degrade if the app exports with a lower bitrate, a smaller resolution, or a more compressed codec setting.
In 2026, many Android editors improve their slow-motion pipeline, but behavior still varies by device chipset (decoder/encoder support), video source format, and export pipeline. If the editor offers options like Resolution, Frame rate, or Bitrate, prefer the highest values that are actually shown to you.
Get the speed you want (and avoid choppy results)
- Start moderate: try a smaller slowdown first, then increase only if motion stays smooth in the preview
- Match your goal to the tool: “slow motion” effects can look better for action clips, while “speed” changes are best when you want consistent timing
- If you see artifacts (blocky frames, jitter), reduce the slowdown and/or export at a higher quality setting
This is the part that most people skip—and it’s the reason slow motion sometimes turns into an artifact festival. Heavy slowdowns can overwhelm the source footage’s ability to look stable frame-to-frame, especially if the original clip was recorded at a lower frame rate or with high motion blur.
From a practical standpoint, slowing down is about how many frames represent each second of new playback. Example (math, not guesswork):
- At 30 fps, each frame is about 33.3 ms apart.
- If you slow to 0.5x, you’re effectively making motion play back over twice the time—so you’ll see more stretched motion details.
- If you slow further (e.g., 0.25x), the same original frame-to-frame timing becomes even more visible, and compression artifacts can appear as “blockiness” or shimmering.
To help you choose a slowdown level, here’s a simple decision table you can use while testing in 2026. (Smoothness is qualitative because editors handle interpolation differently—but the “risk trend” is real.)
Slowdown Level vs Expected Smoothness on Typical 30fps Footage
| # | Slowdown | Playback length (30fps, 10s clip) | Frame “density”* | Smoothness score | Export risk |
|---|---|---|---|---|---|
| 1 | 0.75x | 13.3s | High | ★★★★★ | Low |
| 2 | 0.50x | 20.0s | Medium-High | ★★★★☆ | Moderate |
| 3 | 0.33x | 30.0s | Medium | ★★★☆☆ | High |
| 4 | 0.25x | 40.0s | Low-Medium | ★★★☆☆ | Very high |
| 5 | 0.20x | 50.0s | Low | ★★☆☆☆ | Extreme |
| 6 | 0.10x | 100.0s | Very low | ★☆☆☆☆ | Extreme |
| 7 | 0.05x | 200.0s | Near-minimum | ☆☆☆☆☆ | Not recommended |
“Frame density” here refers to how many original frames meaningfully represent the visual motion at the new playback speed; actual results depend on the editor’s interpolation and export settings.
Two rules of thumb I recommend for cleaner slow motion in 2026:
1. Start moderate (for most clips, that’s around 0.75x to 0.5x), then step down only if preview playback remains stable.
2. Export for motion, not for file size. If the app gives choices like “High” vs “Low,” choose “High” even if the file becomes larger.
What can go wrong when slowing down videos
- No speed option available: some editors only support slow motion for certain formats or only when the phone originally captured it as slow-mo
- Export makes it worse: lowering export quality (or saving with a more compressed codec) can add blur and compression artifacts
- Audio/timing issues: slowed video can sound “stretched” or desynced depending on the editor’s handling of audio—preview with sound before final export
The most common failure mode is thinking the preview equals final quality. Many editors preview the effect with higher internal fidelity and then export with different settings (resolution, bitrate, or frame handling). If your exported file looks worse, go straight to the export screen and raise quality—don’t just assume the speed setting is the culprit.
Another frequent issue: your video format may not be fully supported for speed changes. Some slow-motion controls appear only for certain codecs or if the video was recorded with a compatible high-frame-rate mode. If you don’t see Speed or Slow motion, that doesn’t mean your phone can’t do it—just that your current editing tool can’t apply the effect to that specific file.
Audio deserves a dedicated check. Slowing a clip can:
- Stretch audio timing (pitch changes or “mushy” sound),
- Or detach audio entirely if the editor doesn’t handle audio for that effect.
Before you export, preview with sound at full screen and listen for desync or artifacts—then decide whether to keep audio, mute it, or use an editor option that preserves pitch (if available).
Quick checklist to slow down your video
| Step | What to check |
|---|---|
| 1 | Your editor has **Speed** or **Slow motion** controls |
| 2 | Preview the slowed playback before saving/exporting |
| 3 | Export at the **highest** quality option available |
| 4 | Save as a **copy** (keep the original) |
| 5 | If results look choppy, use a **less aggressive slowdown** |
Frequently Asked Questions
How can I slow down a video on Android without losing quality?
Use a built-in or reliable editor like Google Photos or an app with a “slow motion” or “speed” tool. Lower the speed gradually (for example 0.5x–0.8x) to reduce visible stutter and avoid extreme slowdowns that can cause blur or frame drops. If you need the smoothest result, export in the highest available resolution and bitrate settings in the editor.
What is the easiest way to slow down a video in Google Photos on Android?
Open Google Photos, select your video, then tap Edit. Look for options like Slow motion or Speed, and choose a slower playback rate that fits what you want to highlight. Save a copy afterward so you can keep the original video unchanged.
Which Android apps are best for slowing down videos frame-by-frame?
Apps such as CapCut, InShot, and KineMaster are popular choices because they offer precise speed control and timeline editing. For smoother slow motion, choose options like “frame interpolation” or “smooth” speed effects if available in the app. Always preview the section you slow down, since some apps handle high-FPS clips differently.
Why does my slowed-down video look choppy or lag on Android?
Choppy slow motion often happens when the original video’s frame rate is low or when the editor can’t create enough intermediate frames. Some Android video editors also struggle with heavy effects, high resolution, or incorrect export settings. Try slowing to a milder speed, use a higher-quality export, and confirm the app supports interpolation or “smooth” slow motion.
How do I slow down only part of a video on Android?
In most Android video editors, you can trim the clip and then apply the speed change only to a selected segment on the timeline. For example, open the video in an editor like CapCut or InShot, set in/out points for the section you want to slow, then adjust the speed for that exact range. Export or save the result as a new file so the rest of the video remains at normal playback speed.
📅 Last Updated: November 02, 2026 | Topic: how to slow down a video on android | Content verified for accuracy and freshness.
References
- MediaPlayer | API reference | Android Developers
- PlaybackParams | API reference | Android Developers
- About MediaPlayer | Android media | Android Developers
- FFmpeg Filters Documentation
- FFmpeg Filters Documentation
- Slow motion
- https://scholar.google.com/scholar?q=Android+video+playback+speed+MediaPlayer+PlaybackParams Google Scholar
- https://scholar.google.com/scholar?q=ExoPlayer+setPlaybackParameters+playback+speed Google Scholar
- https://scholar.google.com/scholar?q=video+slowdown+frame+interpolation+mobile+devices Google Scholar