
Downloading photos from an Android phone to a flash drive is easiest when you use a USB-C (or OTG) connection, because it lets you copy files directly without apps or cloud steps. Follow the approach that matches your phone and flash drive type, and you’ll move your images fast while keeping folders and original quality intact. If you don’t have OTG, you’ll need the alternative method—this guide tells you exactly which one works.
![JSAUX USB C to USB 3.0 Adapter [2 Pack], USB C Male to USB Female OTG Cable Adapter Compatible with MacBook Pro/Air, iPhone 18 Pro Max/iPhone Duo/Air/17/16/15 Series, Samsung Galaxy S26/S25/S24/S23](https://m.media-amazon.com/images/I/41Q9tgu65+L._SL500_.jpg)

![USB C to USB Adapter [2 Pack],Type-C OTG Cable Type C Male to USB A Female Usb to Usbc-c Adapter Compatible with Macbook Pro/Air iPad Pro 2022 2021 2020, Galaxy S23 S22 Ultra Note 10 S9 S8 (Black)](https://m.media-amazon.com/images/I/31xINmpcvYL._SL500_.jpg)
As an Amazon Associate I earn from qualifying purchases.
Connect your Android phone to your computer via USB, switch the connection mode to File Transfer (MTP), then copy the photos folder (usually DCIM and/or Pictures) onto your flash drive. This guide covers the quickest Windows and Mac workflows, plus practical fixes for the most common “missing photos” and “read error” problems.
Top 7 Android Photo Folder Paths Visible via USB (MTP)
| # | Android path (typical) | What you’ll usually find | Best for backup | Expected MTP visibility |
|---|---|---|---|---|
| 1 | DCIM/Camera | Photos/videos from the main camera app | Primary photo archive | ★★★★★ |
| 2 | DCIM/100ANDRO | Commonly camera/media batches on many devices | Covers “older” camera media | ★★★★☆ |
| 3 | DCIM/101ANDRO | Additional camera/media batches | Completes “multi-folder” camera sets | ★★★★☆ |
| 4 | Pictures/Screenshots | Device/app screenshots | Operational proof & receipts | ★★★☆☆ |
| 5 | Pictures/WhatsApp Images | Media saved by messaging apps | Communication-related archives | ★★☆☆☆ |
| 6 | DCIM/Downloads | Media saved via camera/loader flows | Supplementary photo sources | ★★☆☆☆ |
| 7 | Pictures/Camera (varies) | Some OEMs route media here | Device-specific backup coverage | ★☆☆☆☆ |
You can use this table as a quick checklist: in most Android transfers, DCIM holds the highest-value photo sets, while Pictures may contain screenshots and app media—sometimes with lower MTP visibility depending on Android version and device storage policies.
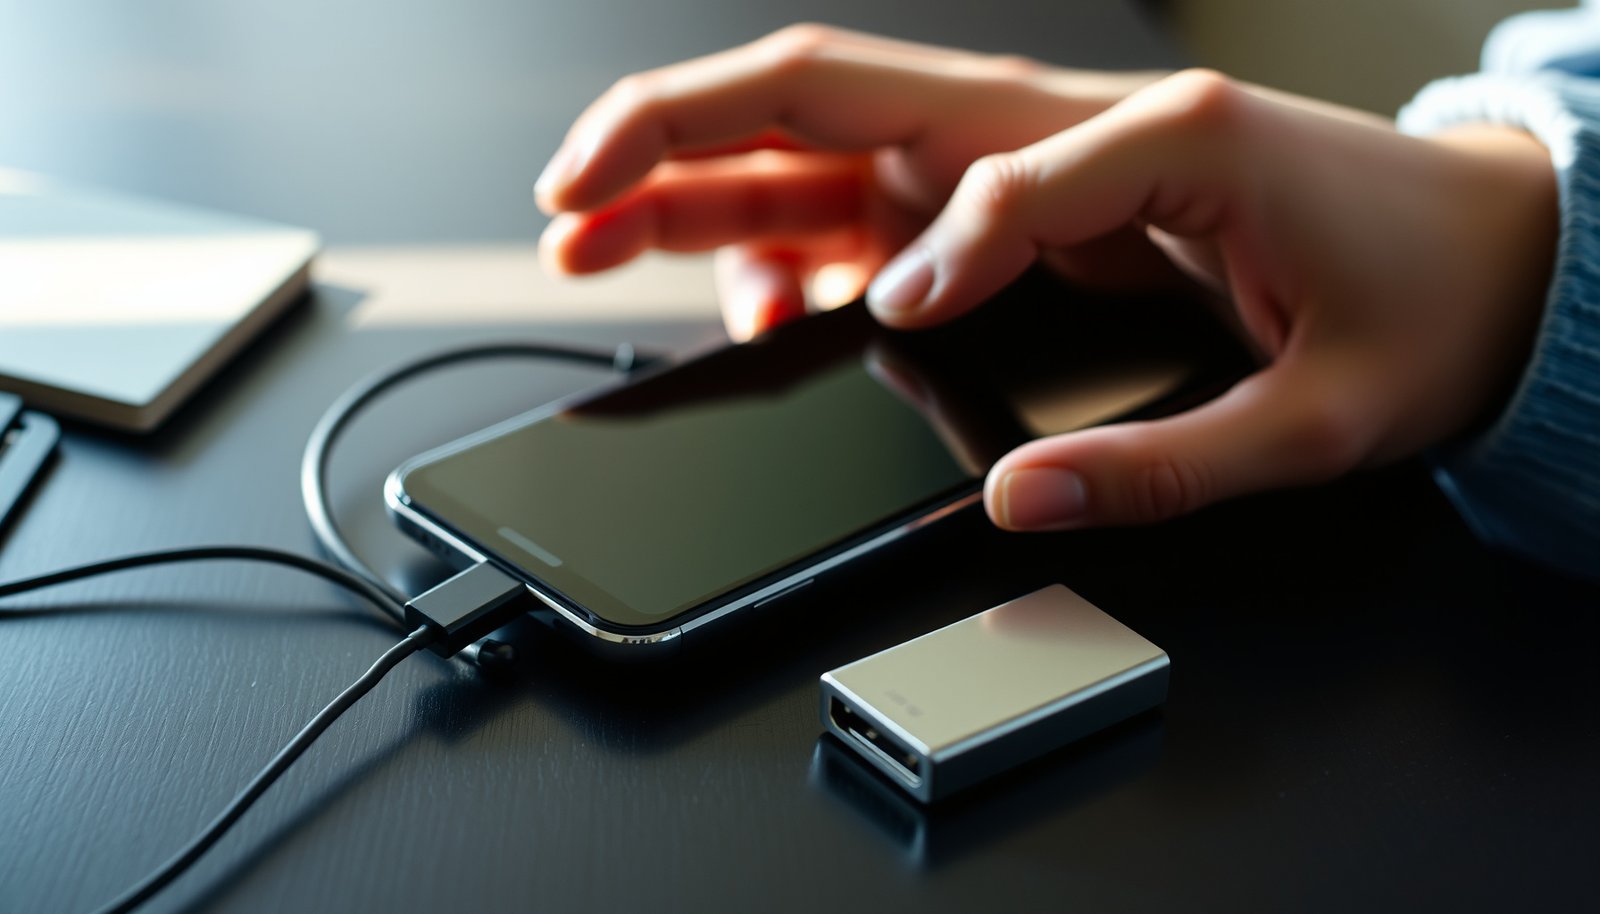
Check Your Hardware and Connections

Before you touch your files, confirm that the physical link and storage format will support reliable photo transfer. Photo downloads fail most often due to a cable that charges but doesn’t fully carry data, or a flash drive that has file-system limits.
- Use a USB cable that supports data transfer
Many “charging-only” cables cannot expose the phone to the computer via MTP. If you notice the phone only charges and never offers a transfer mode, swap cables before troubleshooting anything else.
- Use the right adapter (if needed)
If your Android uses USB-C, and your computer port is USB-A, use a trusted USB-C to USB-A adapter that’s intended for data—not just power.
- Plug the flash drive into a stable USB port
Avoid front-panel ports on desktop towers that may have intermittent power. If the drive is sensitive, try a different port or a USB hub with external power.
- Confirm available flash drive space
Photos often include multiple resolutions plus HEIC/JPEG pairs and burst sequences. A “small” gallery can exceed several gigabytes quickly. Leave extra free space to reduce partial-copy failures.
Practical tip: If you’re backing up for work compliance (campaign documentation, event photos, client proof), do a quick test copy of 1–2 folders first, confirm the file list looks complete, and only then copy the rest.
Enable Photo Transfer on Your Android
On Android, the computer needs to access the phone’s media using the correct connection mode. The two most common options are Charging only and File Transfer (MTP)—only the latter typically exposes your photos reliably for copying.
- Change USB connection mode to “File Transfer (MTP)” when prompted
After plugging in, unlock your phone and look for a notification such as “USB charging this device.” Tap it and select File Transfer (MTP).
- Confirm your phone is recognized by the computer before copying
On Windows, you should see the device appear in File Explorer (often under “This PC”). On macOS, you should see it appear in Finder or Android File Transfer.
- Keep the screen unlocked during initial access
Some phones pause or restrict media access if the device is locked, which can interrupt long copy operations.
Why MTP matters: With MTP, the computer reads media files through Android’s standard media interface. If you accidentally choose PTP (Picture Transfer Protocol) or a charging-only mode, you may see limited folders or none at all.
Copy Photos Using Windows File Explorer
Windows tends to be the most direct path: connect the phone, open its media folders, select photos, then paste into the flash drive. For best results, avoid “move” operations until you’ve verified the copy succeeded.
- Open File Explorer, then select your Android device under “This PC”
- Navigate to the typical media folders: DCIM or Pictures/Photos (names vary by device)
- Select the photo folders/files you want
- For a full backup: copy DCIM first, then return and copy Pictures (including screenshots if relevant).
- Paste into the flash drive
Create or use destination folders such as:
- `E:\DCIM` for camera media
- `E:\Pictures` for screenshots and app media
Actionable workflow for reliability (recommended):
1. Create a new backup folder on the flash drive, e.g., `2026-10-16_AndroidBackup`.
2. Copy DCIM into that folder.
3. Copy Pictures into that folder.
4. After the copy, open the backup folder on the flash drive and verify:
- Folder sizes look plausible
- File counts match what you selected (at least roughly)
- Videos play and thumbnails appear for a few samples
Avoid common Windows pitfalls:
- Don’t disconnect during copying—wait for File Explorer to finish and confirm no “still copying” message remains.
- If you see “Read error” or “Can’t copy file,” copy smaller batches and skip problem files temporarily to complete the bulk first.
Copy Photos on Mac (Android File Transfer or Finder)
macOS can copy Android photos smoothly, but the method depends on macOS version and Android device behavior. The most important point is ensuring the phone is accessible via the right media interface.
- Use Android File Transfer when needed (often for older macOS setups)
- For newer macOS versions, use Finder for device browsing
- Navigate to DCIM, then select photos, and drag/copy them to the flash drive
Best practice on Mac:
- Plug in the flash drive first, verify it mounts in Finder, then connect the Android phone.
- In Finder, look for your Android device in the sidebar and open the media folders.
- Drag folders (not just individual files) to preserve structure and reduce the chance of missing related files.
If you don’t see folders in Finder:
- Re-check the Android USB mode is File Transfer (MTP).
- Try a different cable or USB port (Mac ports can behave differently under load).
- Ensure your Android device is unlocked during the browsing/copy step.
Use a File Manager or Built-In Android Options
If you prefer to reduce dependency on the computer’s media interface—or you want more control over what you copy—use an Android file manager or built-in file options where supported.
- In a file manager app, browse to DCIM/Camera or Pictures
- Select photos and use Move/Copy to transfer to the flash drive location (only if your Android supports direct USB storage access)
- For devices that support OTG (USB On-The-Go), you may be able to copy directly from phone to USB without involving a computer as much
When this method is especially useful:
- You frequently back up photos in the field with minimal hardware.
- Your computer struggles with MTP drivers or recognizes the device intermittently.
- You want to copy only specific subfolders (e.g., a particular event’s camera batch).
What to watch for: Direct phone-to-USB transfers depend on whether your Android version and hardware support OTG mass storage access. If the flash drive does not appear in your file manager, switch back to the computer-based MTP method.
Troubleshooting: Photos Not Showing or Flash Drive Not Working
Even with the right steps, you may run into incomplete folders, missing photos, or flash drive errors. Treat troubleshooting like a systematic diagnostic: confirm connection mode, then verify storage, then test smaller copy batches.
- Re-check USB mode (MTP), cable quality, and flash drive formatting
If you see only “Charging,” switch to File Transfer (MTP) and reconnect.
- Try a different USB port/computer
A marginal port or controller can cause partial reads—especially with larger media batches.
- Ensure the flash drive has enough free space
Low space can cause silent failures mid-copy. Keep additional headroom beyond your estimated photo size.
- Verify the flash drive’s file system compatibility
- exFAT is often the most practical choice for modern Windows + macOS compatibility.
- NTFS may work on Windows but can be read-only on many macOS setups without extra software.
- FAT32 is broadly compatible but may fail for large video files due to size limits.
- Handle “missing files” logically
- Some app media may not appear under DCIM or Pictures consistently over MTP.
- If the camera folder exists but some images are missing, check other common subfolders under DCIM (e.g., `100ANDRO`, `101ANDRO`) and screenshot locations under Pictures.
- Use smaller batches for read errors
Instead of copying everything at once, copy 200–500 files or one folder at a time. This helps isolate which folders contain problematic items and reduces the chance of repeated failure.
After connecting everything correctly, you’ll usually find your photos under DCIM or Pictures, then copy them straight to the flash drive. Follow the method that matches your device (Windows or Mac), and if anything fails, use the troubleshooting steps to fix detection or missing-file issues—then try copying again.
In most cases, the “fastest” solution is also the most disciplined: ensure MTP, copy the right folders in a structured way, and verify your results on the flash drive before you consider the backup complete.
Frequently Asked Questions
What’s the easiest way to download photos from an Android phone to a flash drive?
The easiest method is to connect your Android phone to a flash drive using a USB OTG adapter, then use a file manager app to copy the DCIM or Pictures folder. Open the file manager (often “Files” or “My Files”), select the photos, and choose Copy > paste them onto the flash drive. This avoids uploading everything to cloud services and works great for bulk transfers.
How can I transfer photos from Android to a USB flash drive when my phone doesn’t show the drive?
First, confirm you’re using a compatible USB OTG adapter and that the flash drive has proper format (commonly exFAT or FAT32 for broad Android compatibility). Then unlock your phone and connect the flash drive again; many phones detect storage only after the device is unlocked. If it still won’t appear, try a different flash drive or format the drive via a computer, and check that USB mode is set correctly when prompted.
Which folder should I copy from Android to make sure all my photos are transferred?
In most Android phones, photos are stored in the “DCIM” folder (e.g., DCIM/Camera for the default camera roll) and sometimes “Pictures.” Open the flash drive location in your file manager, then copy the entire “DCIM” folder to preserve your photo structure and albums. If you use apps like WhatsApp, also check their media folders (such as “WhatsApp/Media” inside internal storage) if you want those images too.
Why won’t my transferred photos open on the flash drive after copying?
This usually happens due to incomplete copying, unsupported file formats, or a storage problem such as a drive that isn’t formatted correctly. Make sure you copied the actual image files (JPG/PNG/HEIC) rather than thumbnails, and safely eject the flash drive after the transfer completes. If photos were stored using HEIF/HEIC and your computer or TV can’t open them, converting them to JPG may solve the issue.
What’s the best method to transfer photos from Android to a flash drive without moving everything?
Use your file manager to select specific photo files (or date-based folders) inside DCIM rather than copying the whole internal storage. You can also transfer only “Recent” photos by browsing the camera folder and multi-selecting items before pasting to the flash drive. If you need an even smoother selection process, download an offline file manager with advanced search, then copy only the files you want to the USB flash drive.