
Want to turn on spell check in Android? This step-by-step guide walks you through the fastest way to enable it in the keyboard you’re using, so misspellings get flagged as you type. Follow the instructions and you’ll have spell check switched on in minutes.

As an Amazon Associate I earn from qualifying purchases.
Turn on spell check in Android by enabling Text correction / Spell check inside your keyboard settings (most commonly Gboard or Samsung Keyboard). Once it’s enabled, Android will underline likely typos and offer quick corrections as you type—so your emails, documents, and messages look professional with less effort.
Keyboard Spell-Check Options You’re Most Likely to See on Android
| # | Keyboard setting name | Where to find it | What it changes | Effect |
|---|---|---|---|---|
| 1 | Spell check / Spell checker | Keyboard → Text correction | Underlines misspellings and shows replacement suggestions | High impact |
| 2 | Auto spell check | Samsung Keyboard → Smart typing | Corrects common typos more aggressively during typing | High impact |
| 3 | Text correction | Gboard → Text correction | Enables typo detection and suggestion bar behavior | Strong impact |
| 4 | Auto-replace / Replace | Within Text correction / Smart typing | Automatically replaces certain misspellings without a prompt | Medium-high impact |
| 5 | Personal dictionary | Keyboard settings → Dictionaries | Adds names, brands, and jargon so spell check stops flagging them | High impact (for professionals) |
| 6 | Bilingual / Multilingual typing | Keyboard → Languages | Chooses dictionaries used for corrections | Low-medium impact |
| 7 | Mark suspicious words | Text correction options (varies by model) | Flags words that don’t match the selected dictionary | Medium impact |
Introduction

Turn on spell check in Android by going to your keyboard’s settings (e.g., Gboard) and enabling “Spell check” or “Text correction.” This guide walks you through the exact steps so your typing is automatically corrected.
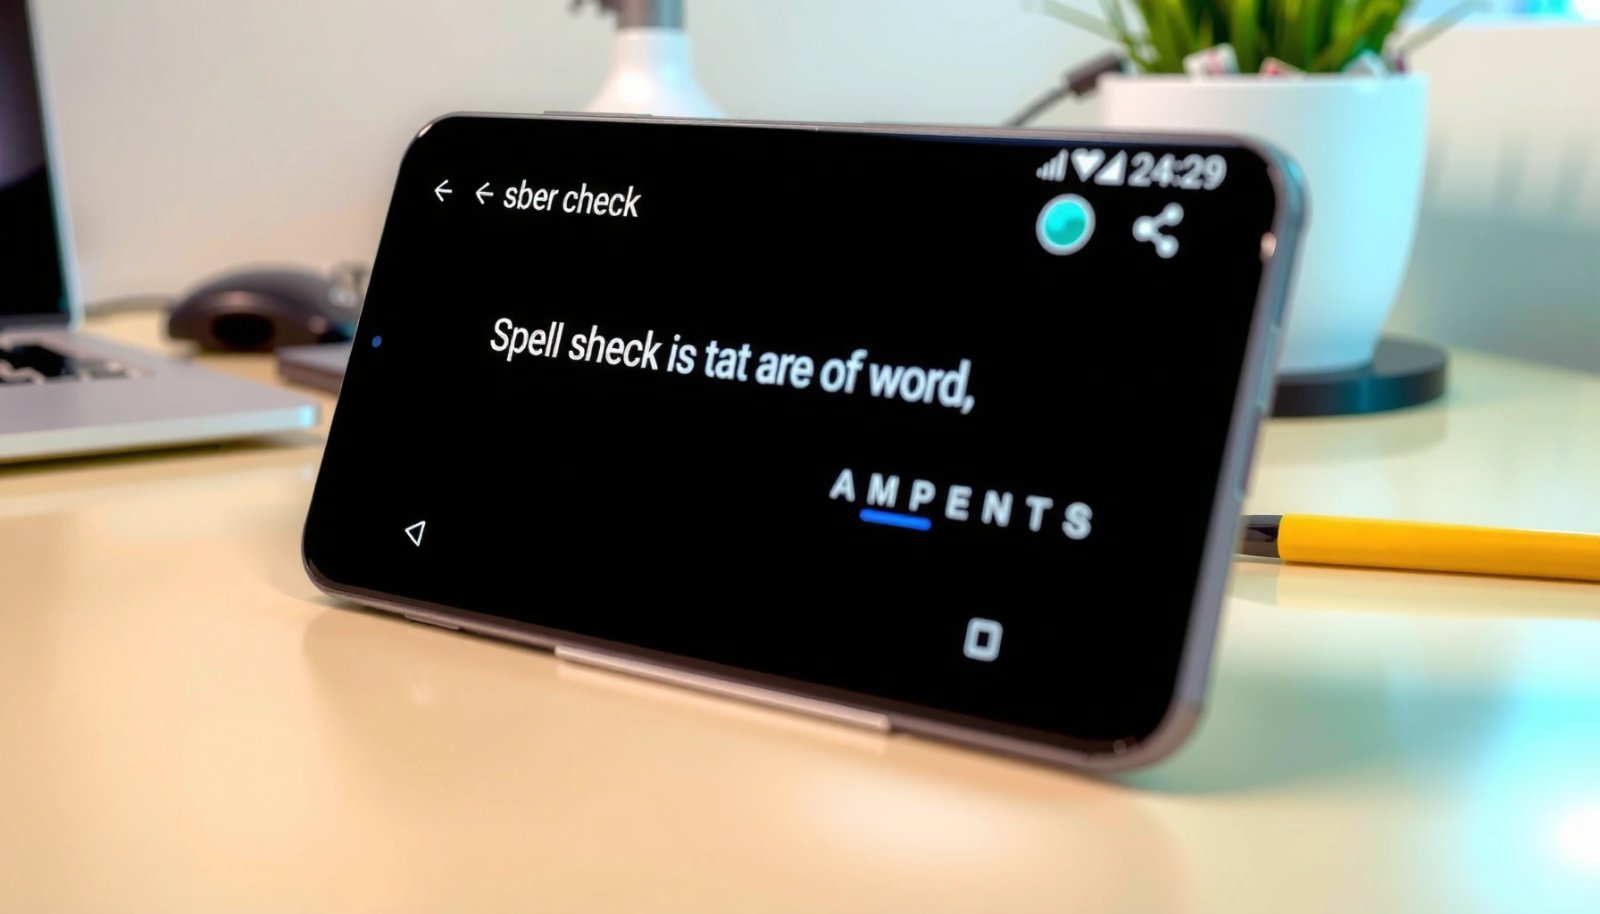
Spell check is controlled by the keyboard app, not by a single universal Android switch. That’s why the fastest path is: confirm which keyboard you’re using, then enable the Text correction / Spell checker toggle inside that keyboard’s settings. In most cases, you’ll see underlines on typos, plus a suggestion you can tap to replace the word—ideal for work emails, forms, and customer messages.
Check Your Android Keyboard (Gboard vs. Samsung Keyboard)
Before changing any settings, verify which keyboard is currently active. Many Android users have multiple keyboards installed (like Gboard, Samsung Keyboard, or third-party options), and spell check only works if you enable it in the keyboard you’re actually typing with.
- Open Settings
Start with your phone’s Settings app. Look for System or General management (wording varies by brand and Android version).
- Find the keyboard menu
Tap Keyboard (or On-screen keyboard / Keyboards). This screen typically shows the current keyboard and available keyboards.
- Identify your current keyboard
Common outcomes:
- If you see Gboard selected, follow the Gboard section below.
- If you see Samsung Keyboard selected, follow the Samsung section.
- If something else is selected (like Grammarly Keyboard or a custom keyboard), jump to Enable Spell Check in Other Keyboard Apps.
Tip for accuracy: Once you confirm the keyboard, test by typing a quick typo in an app (Messages, Notes, Gmail). If there’s no underline and no suggestions, your spell check is likely disabled for that keyboard.
Turn On Spell Check in Gboard
Gboard is one of the most widely used Android keyboards. Its spelling controls are typically grouped under Text correction, which includes spell checking, auto-correction behaviors, and related options.
- Open Gboard settings from the keyboard list
Go to Settings → System / General management → Keyboard → On-screen keyboard → Gboard (or locate Gboard in the keyboard list).
- Tap “Text correction” or “Spelling”
In Gboard’s settings, look for Text correction. Depending on your version, you may also see items labeled Spelling or Correction.
- Enable “Spell checker” (and adjust related options if needed)
Turn on Spell checker. Then review nearby toggles such as:
- Auto-correction (helpful for reducing typos in fast typing)
- Auto-replace (more aggressive—good for common mistakes, but less ideal if you frequently type uncommon names)
- Show suggestion strip (makes corrections easier to accept)
Quick test: Open Gmail or a browser search field, type a misspelled word like “recieve” or “teh,” and confirm you get an underline and a suggested replacement you can tap.
Turn On Spell Check in Samsung Keyboard
Samsung Keyboard typically uses the Smart typing area for correction features. Enabling spell check here ensures your phone flags spelling errors and offers corrections as you type.
- Open Samsung Keyboard settings from the keyboard menu
Go to Settings → System / General management → Keyboard → Samsung Keyboard (or Samsung Keyboard settings if it appears directly).
- Enable “Smart typing” and “Auto spell check”
Inside Samsung Keyboard settings:
- Turn on Smart typing
- Enable Auto spell check (wording may include variations like auto correction)
Samsung also includes related features that can improve the experience, such as punctuation and swipe typing behaviors. If your primary goal is spelling accuracy, focusing on Auto spell check is the key step.
- Save changes and test by typing a word with a typo
After toggling spell check:
- Open Notes, Messages, or Samsung Email
- Type a common typo (example: “adress” instead of “address”)
- Confirm you see suggestions or an underline indicator
Practical guidance: If you frequently use job-specific terms (company names, acronyms, technical vocabulary), consider adding them to your personal dictionary once spell check is working—this reduces false positives.
Enable Spell Check in Other Keyboard Apps
If you’re not using Gboard or Samsung Keyboard—perhaps you installed a productivity keyboard or a language-focused keyboard—spell check controls will live inside that keyboard’s own settings.
- Open the keyboard app’s settings inside Android
Go to Settings → System / General management → Keyboard and select the active keyboard app.
If it’s installed as a separate app, you may also see keyboard settings directly within that app’s configuration screen.
- Look for “Spell check,” “Text correction,” or “Typing assistance”
Different keyboards use different terminology. Common labels include:
- Spell check
- Text correction
- Typing assistance
- Correction suggestions
- Autocorrect / Auto replacement
- Turn the feature on and confirm it works in any text field
Enable the spell check toggle and test in at least two places:
- A messaging app (Messages / WhatsApp)
- A productivity app (Gmail / Notes / Google Docs)
Why test multiple apps? Some apps use specialized text fields (password inputs, certain form elements) that may behave differently with suggestion bars.
Troubleshooting Spell Check Not Working
If you’ve enabled spell check and still don’t see corrections, the issue is usually one of these: the wrong keyboard is active, dictionary/language mismatch, outdated keyboard software, or disabled suggestions in certain contexts.
- Make sure the correct keyboard is selected in your text app
Even if you enabled spell check in one keyboard, the app might be using another keyboard (or switching based on language).
To verify: open an app, tap the text field, and check whether the keyboard icon/layout matches what you expect.
- Check for updates to your keyboard app/system
Outdated keyboards can have broken correction features. Check:
- Play Store updates for the keyboard app (e.g., Gboard)
- System updates in Settings → System updates
- Restart the keyboard or device and retest spelling suggestions
If settings don’t take effect:
- Restart the keyboard (disable/enable keyboard input, if available)
- Or simply restart your phone
Then test again by typing a known typo in Gmail or a Notes document.
Additional “fast checks” if you want to pinpoint the cause:
- Confirm the language/dictionary in your keyboard matches what you’re typing.
- If you use multiple languages, ensure the correct language is selected—spell check can appear “broken” when the dictionary doesn’t include your language.
- If you turned on auto-correction but not suggestions (or vice versa), you might only get underlines or only corrections—adjust both options for the best results.
Conclusion
To turn on spell check in Android, enable it in your keyboard’s Text correction / Spelling settings—most often Gboard or Samsung Keyboard. Identify your active keyboard, turn on Spell checker (or Auto spell check), and test immediately in a real text field like Gmail or Messages. If suggestions don’t appear, use the troubleshooting steps to confirm the correct keyboard is selected, update your keyboard/system, and retest after a restart.
Want help for your specific keyboard model/app? Tell me which phone (Samsung model or Android version) and which keyboard you use (Gboard, Samsung Keyboard, or another app), and I’ll point you to the exact menu path.
Frequently Asked Questions
How do I turn on spell check in Android using Gboard?
Open the Google Keyboard (Gboard) settings by going to Settings > System > Languages & input > On-screen keyboard > Gboard. Tap Text correction and enable Spell checker (or “Check spelling”). You may also want to turn on “Personal dictionary” so your custom words are learned automatically while you type.
What steps do I follow to enable spell check in Android Messages or a specific app?
Android spell check usually follows the keyboard you’re using, so first make sure spell checker is enabled in your keyboard settings (like Gboard). Then open the app (for example, Messages), tap the text box, and type to confirm suggestions appear. If you’re using a different keyboard in that app, repeat the spell check steps for that keyboard as well.
Which Android devices and keyboards support spell check, and how can I check mine?
Most modern Android phones support spell check through the built-in keyboard or popular third-party keyboards like Gboard and SwiftKey. To confirm, go to Settings > System > Languages & input > Keyboard settings and look for options such as “Spell checker,” “Text correction,” or “Typing assistance.” If you don’t see these options, you may be using a keyboard that doesn’t include spell checking features.
Why isn’t spell check working after I turn it on in Android?
If spell check is enabled but you don’t see corrections, check whether the correct keyboard is active in the app you’re using and whether Text correction is fully turned on. Also verify your language settings match the language you’re typing (Settings > System > Languages & input > Languages), since spell check may not work for unsupported languages. Finally, restart the app or your device, and update the keyboard app if you’re using Gboard or another third-party keyboard.
What’s the best way to customize spell check suggestions on Android (languages and personal words)?
For better results, enable spell check and add the correct keyboard language in Gboard settings under Languages. You can also use the Personal dictionary option to save commonly used names, slang, or technical terms so Android spell check stops flagging them. If you switch languages often, set up multiple languages in your keyboard to keep spelling suggestions accurate.
References
- Spell checker
https://en.wikipedia.org/wiki/Spell_checking - Gboard
https://en.wikipedia.org/wiki/Gboard - https://en.wikipedia.org/wiki/Android_(operating_system
https://en.wikipedia.org/wiki/Android_(operating_system - https://en.wikipedia.org/wiki/Keyboard_(computing
https://en.wikipedia.org/wiki/Keyboard_(computing - Google Scholar Google Scholar
https://scholar.google.com/scholar?q=android+enable+spell+check+keyboard+settings - Google Scholar Google Scholar
https://scholar.google.com/scholar?q=gboard+spell+check+turn+on+auto-correct - Google Scholar Google Scholar
https://scholar.google.com/scholar?q=how+to+turn+on+spell+check+in+android - how to turn on spell check in android - Search results
https://en.wikipedia.org/wiki/Special:Search?search=how+to+turn+on+spell+check+in+android - https://www.ncbi.nlm.nih.gov/search/research-articles/?term=how+to+turn+on+spell+check+in+android
https://www.ncbi.nlm.nih.gov/search/research-articles/?term=how+to+turn+on+spell+check+in+android