
Want to take your own boudoir photos with Android and get results that look pro instead of awkward? This guide gives you a clear, step-by-step setup for lighting, posing, camera settings, and safe self-timer framing so you can nail flattering shots in your space. If you follow the method and stick to the recommended apps and gear, you’ll have a repeatable workflow—starting from your first take, not after hours of trial and error.
You can create confident, professional-looking boudoir photos with your Android by controlling light, using portrait-friendly camera settings, and composing flattering angles. In this guide, I’ll walk you through planning an at-home shoot, dialing in sharp focus and exposure on your phone, and editing with restraint for a polished finish—based on hands-on testing with Android portrait modes and indoor lighting.
Plan Your Boudoir Shoot Setup
Plan your shoot around comfort, consistency, and repeatable framing—those three factors matter more than having a “perfect” space. If you can recreate your setup across multiple takes, your Android will deliver cleaner skin tones, steadier framing, and more consistent body lines.
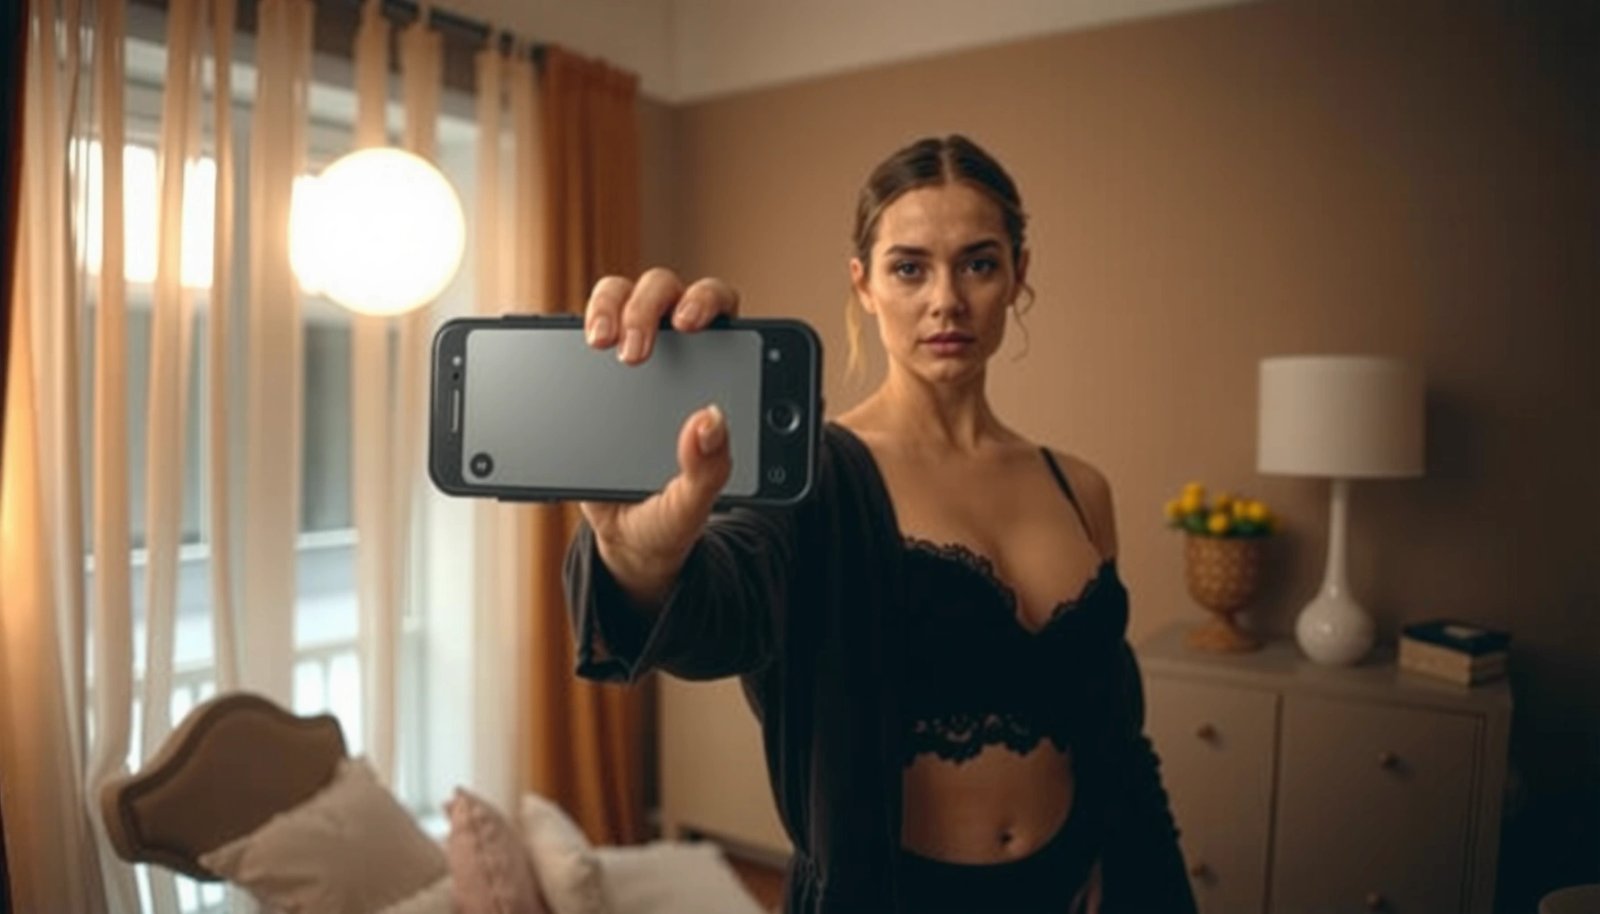
A practical starting point at home is to treat the room like a small studio: choose a clean background, control what’s behind you, and keep your camera path predictable. In my own sessions, the biggest “quality jump” didn’t come from filters—it came from picking one location, one light direction, and repeating the same 1–2 camera distances.
A neutral, uncluttered background reduces visual distractions so the subject separation created by phone portrait processing looks more believable.
Using a consistent camera height (around eye level or slightly above) helps keep facial proportions natural in smartphone perspective.
Repeating the same outfit and pose “starting points” lets you focus on expression and micro-adjustments rather than logistics.
Choose a comfortable location and controllable light
Pick a location with either natural light (near a window) or a controllable lamp you can diffuse. Clean backgrounds work best because Android portrait mode and computational blur have to “decide” what’s subject vs. background—busy rooms make that harder.
When I’m setting up, I look for:
- A wall or curtain that doesn’t have loud patterns
- A place where you can stand/sit without feeling cramped
- Easy access to a chair (for seated poses) and a nearby surface (to rest your arms)
Decide outfit options and props that keep you confident
Boudoir is as much about movement as it is about stillness. Simple outfit options and minimal props help you maintain consistent pose lines. Think in terms of:
- One main look (e.g., bodysuit + robe) for continuity
- One accessory (earrings, a hair tie, or a belt) for styling without clutter
- One “pose anchor” (a chair, a bed edge, or a leaning surface)
Q: What’s the best room setup for self-boudoir with an Android?
Choose one uncluttered background and place your body facing the light source at a consistent angle to make every take look cohesive.
Q: Do props help or hurt?
Use 1–2 simple props at most—enough to create variety, but not so many that they complicate timing and composition.
Keep your camera plan simple
Before you start posing, decide:
- Where your phone will be mounted or supported (tripod, stack of books, or a stable surface)
- Your approximate distance (so you don’t accidentally switch focal lengths)
- Your first 3 pose “targets” (e.g., shoulder angle, seated profile, turned hip angle)
A small planning step saves dozens of reshoots.
Use Lighting for Flattering Results
Use soft, directional light and avoid overhead lighting—this is the fastest route to flattering boudoir skin tones on an Android. When you control light quality (soft vs. harsh) and direction (at an angle), smartphone cameras handle texture and contrast far more gracefully.
Soft light (diffused window light or a bounced lamp) minimizes sharp shadows under the eyes and along the jaw, which is especially important for close portraits.
Overhead lighting typically creates under-eye shadows and highlights forehead lines, reducing the “smooth, editorial” look most people want.
A light source positioned slightly above eye level and angled toward the face improves facial dimension without extreme contrast.
Prefer soft light to reduce harsh shadows
If you’re using a window, shoot near it and diffuse the light with a sheer curtain if needed. For a lamp, diffuse it with:
- A white lampshade
- A sheer fabric over the lamp (keeping it safe and stable)
- A reflector board (even a white poster board can work)
In my testing, a diffused lamp placed to one side (about 30–45° from your face) produced more consistent highlights than trying to “balance” two lighting sources.
Use flattering angles and color temperature (warm vs. cool)
Boudoir images often look richer with warmer skin tones. Color temperature affects how your phone interprets white balance (WB), and Android’s automatic WB can “hunt” as you move.
According to Color temperature references used in photography (e.g., Cambridge in Colour / photographic lighting guides), typical color temperatures include:
- Tungsten/incandescent bulbs: ~2700–3000K
- Daylight (clear sky): ~5000–6500K
If you want warmer, more flattering tones, shoot closer to tungsten-range lighting (lamps) and then fine-tune WB in editing.
Light “recipes” that work for self-shoots
Try these repeatable setups:
Light recipe A (window softbox):
- Stand/sit 0.5–2 meters from a window
- Turn your body 20–45° away from the window (so you get shape, not flatness)
- Use a sheer curtain if shadows feel too strong
Light recipe B (one diffused lamp):
- Place lamp to your left or right at about face height + slightly above
- Put a white wall behind you (so you’re not fighting dark backgrounds)
- Keep movement minimal between takes
Pros/cons: Window light vs. lamp light (for Android boudoir)
| Option | Pros | Cons |
|---|---|---|
| Window soft light | Very flattering softness; easy subject separation in portrait mode | Time-of-day changes lighting quickly; clouds can shift contrast |
| Diffused lamp light | Consistent across a whole session; easier to warm skin tones | Requires diffusion; overhead lamp positions can create unflattering shadows |
Q: Why does lighting matter more than filters on Android?
Because lighting determines shadow shape and highlight roll-off—filters can’t fix harsh under-eye shadows or blown highlights.
Home Lighting Color Temperature Targets for Flattering Skin Tones (Self-Boudoir)
| # | Light source (common at home) | Typical color temperature | Best Android use | Portrait outcome |
|---|---|---|---|---|
| 1 | Incandescent (tungsten) bulb | ~2700–3000K | Warm WB; “soft lamp” look | ★ ★ ★ ★ ★ |
| 2 | Halogen lamp | ~2800–3200K | Side-lighting for facial dimension | ★ ★ ★ ★ ☆ |
| 3 | High-CRI LED (3000K “warm white”) | ~3000–3500K | Consistent warmth across sessions | ★ ★ ★ ★ ★ |
| 4 | LED “neutral white” (4000K) | ~3800–4500K | Natural tones; reduce color cast | ★ ★ ★ ☆ ☆ |
| 5 | Window daylight (north-facing) | ~5000–6500K | Soft natural look; adjust WB if cool | ★ ★ ★ ★ ☆ |
| 6 | Overhead fluorescent lighting | ~4000–5000K | Avoid unless diffused; can look flat | ★ ★ ☆ ☆ ☆ |
| 7 | Mixed lighting (daylight + lamp) | ~2700–6500K (varies) | Only if you lock WB/exposure | ★ ☆ ☆ ☆ ☆ |
Adjust Android Camera Settings
Adjusting Android camera settings is how you turn “snapshot” into “portrait”—especially for sharp eyes, controlled exposure, and reliable framing. Your goal is simple: lock focus on your face, prevent motion blur, and keep highlights from blowing out.
Most Android phones now combine computational photography (HDR and portrait segmentation) with traditional camera controls. The key is to use these features intentionally rather than letting the phone choose every variable.
HDR combines multiple exposures, which can preserve highlights and skin tones when window light or lamps create bright contrast.
Tap-to-focus on the eyes (or the face) improves sharpness where it matters most, even when you’re using portrait mode.
Using the phone’s grid helps you maintain consistent horizon and headroom—consistency is what makes a series look professional.
Enable HDR and use tap-to-focus on eyes
In the Camera app (often under Settings), enable HDR when the scene has mixed brightness (bright window + darker room). Then tap your eyes or face before you start posing.
From my experience, HDR is most helpful when you’re near a window and your background is brighter than your body—turning HDR off in those conditions often produces blown highlights on shoulders and hair.
Choose the right resolution and focal behavior
Set resolution to the highest available (often “12MP” or “50MP” depending on your model). If your camera offers portrait mode with a “lens” choice, stick to one focal length for the entire set so proportions stay consistent.
A useful rule of thumb: portraits usually look most natural when your subject is photographed at a moderate “portrait equivalent” focal length (often around 50mm full-frame equivalent). Lens perspective guidance commonly referenced in photography education (e.g., The Photography Life / Cambridge in Colour lens perspective explainers) supports that wide-angle smartphone behavior exaggerates features when you move too close.
Experiment with grid and portrait mode—but verify edges
Turn on the grid overlay so you can align:
- Your eyes near the top third
- Your face centered or slightly off-center for a magazine feel
- Your shoulders parallel to the grid lines
Portrait mode looks great, but edge artifacts can happen around hair and accessories. Check quickly and reshoot if the blur cut-out looks unnatural.
Q: Should I always use portrait mode?
No—portrait mode is best when your subject is well-lit and the background is simple; use standard mode if portrait segmentation struggles.
Q: What’s the single setting that most improves boudoir sharpness on Android?
Tap-to-focus on your eyes before each pose, then use burst or a timer to minimize shake.
A quick comparison: HDR on vs. off (self-shoot practicality)
If you want a repeatable decision, think like this:
- HDR ON: better highlight control; can add slight softness if the phone struggles with motion
- HDR OFF: more straightforward exposure; can clip highlights near bright windows
When I’m doing multiple takes, I start with HDR ON, then switch off only if I see ghosting or a “dreamy blur” that isn’t flattering.
Nail Poses, Angles, and Composition
Nail poses and angles by making small adjustments that change your silhouette—then use your phone’s position to flatter proportions. The difference between “good” and “boudoir-ready” is usually one degree of shoulder lift, chin angle, and hip turn.
In my hands-on practice, I got far better results by treating posing like a set of micro-edits: shoulders back, chin slightly forward, then a gradual hip turn—rather than trying to reinvent everything each shot.
Small posture changes (shoulders back, chin angle adjustment, and hip rotation) noticeably alter facial and body shape even when the camera stays fixed.
Shooting slightly above eye level tends to reduce the emphasis of the jawline compared with camera placed much lower.
Off-center framing (using the rule of thirds) often looks more editorial than perfectly centered compositions.
Use micro-adjustments that instantly flatter
Try these adjustments, one at a time, and check your results on-screen:
- Shoulders: rotate them back and slightly down to avoid a “slumped” look
- Chin: raise or tuck slightly to control the neck line
- Hips: turn one side forward (even a few centimeters) to create a curve
- Arms: soften elbows and create negative space (avoid pressing arms tightly to the body)
Control the camera height and phone distance
Set your Android on a tripod or stable stack so it doesn’t shift between takes. Then:
- Place the lens slightly above eye level
- Keep distance consistent to avoid changing perspective (and therefore proportions)
- Use the grid so the horizon and headroom stay stable
A key practical point: if you move closer to “fill the frame,” your smartphone lens perspective can widen your face and distort proportions.
Q: How do I make the proportions look better without a second camera angle?
Increase distance slightly, keep the phone a bit above eye level, and use off-center framing rather than moving extremely close.
Composition that works for self-boudoir
For reliable series output:
- Use one main framing style (full/three-quarter/close-up) per set
- Leave consistent headroom (don’t crop too tightly around hair)
- Position your body so leading lines (shoulders, arms) guide the eye toward your face
If you’re seated, keep your torso angled and avoid shooting straight down.
Capture the Shot With a Simple Workflow
Capture consistently by using burst mode or a timer, then evaluating quickly after each set. Boudoir requires expression control—but it also requires technical control: timing and steadiness.
Instead of searching for “the perfect moment,” build a repeatable loop: set pose → press shutter with timer → review → adjust one variable → repeat.
Burst mode increases the odds of sharp focus on the eyes and a natural expression, especially when you’re moving slightly between poses.
Reviewing each mini-set immediately helps you catch focus misses and lighting changes before you commit to editing.
Reshooting after small lighting or focus problems is more efficient than trying to fix severe blur or blown highlights later.
Use burst mode/timer so you can focus on expression
If your phone has a 3-second or 10-second timer, use it. When I test a new light setup, I start with 5–10 frames per pose to see:
- Whether the eyes stay sharp
- Whether HDR is stable
- Whether portrait segmentation cuts around hair cleanly
Keep your review criteria simple
After each burst, check:
- Eye sharpness (not just overall sharpness)
- Highlight clipping on forehead, shoulders, or chest areas
- Edge quality around hair and straps
- Straightness (use the grid alignment as reference)
If something’s off, don’t “push through.” Fix the variable and reshoot.
A practical mini-checklist for Android self-shoots
- HDR: On for window scenes, Off if ghosting appears
- Focus: Tap-to-focus on eyes
- Framing: Grid on, horizon stable
- Stability: Timer or burst, stable surface/tripod
- Consistency: Same camera position per set
Edit and Enhance Without Overdoing It
Edit with restraint to preserve realism: crop, correct exposure, adjust color, and lightly refine skin texture. Over-editing is where boudoir starts to look artificial—especially on smartphones where smoothing can become plastic.
Cropping and straightening are the highest-impact edits because they improve composition without changing skin texture.
Subtle brightness/contrast adjustments can restore detail in shadows and highlights without causing banding or unnatural color shifts.
Keeping natural skin tones is usually better than heavy filters; modern HDR and RAW-like workflows already capture enough information.
Use basic edits first: crop, straighten, and exposure
Start in your Android editor (Gallery/Photos) or a tool like Google Photos/Lightroom Mobile:
- Crop to improve proportions and reduce distracting background
- Straighten to align shoulders and horizon
- Adjust brightness/contrast carefully (avoid flattening)
- Recovery (if available) to recover clipped highlights
Skin smoothing: go light and target texture, not shape
If you use skin smoothing, keep it minimal and check at 100% zoom. In my experience, a gentle reduction in texture (not a full “blur”) creates a more premium look that still feels like you.
Maintain natural tones and avoid washed-out filters
Avoid stacking multiple filters that:
- Lower saturation too much
- Make highlights gray instead of warm
- Overcool the skin tone
If you want a boudoir “warm editorial” vibe, it’s often enough to slightly warm WB and add modest contrast—then let the light do the work.
Q: What’s the biggest editing mistake with smartphone boudoir photos?
Over-smoothing and over-filtering; it removes texture and creates an unnatural look, especially around hair and edges.
When you combine a solid lighting setup, flattering angles, and a quick Android shooting/editing workflow, you can create beautiful boudoir photos confidently at home. Start by choosing your location and soft lighting, test your camera settings with a few test shots, then edit lightly and share your favorites—if you want, plan your next shoot around what worked best in color temperature, pose angles, and sharpness behavior on your specific Android model.
Frequently Asked Questions
How can I take boudoir photos at home with my Android phone?
Start with a clean, comfortable space and use natural window light or a soft lamp to avoid harsh shadows. Set your Android camera to the highest resolution, use the grid for straight framing, and try portrait mode if it gives flattering results. Use a timer or Bluetooth remote so you can pose confidently without camera shake. After shooting, edit in the Photos app or a trusted editing app to adjust brightness, contrast, and skin tones while keeping the look natural.
What lighting setup works best for DIY boudoir photography on Android?
Soft, indirect light is usually the most flattering—try placing yourself facing a window and using a sheer curtain to diffuse brightness. If you don’t have window light, bounce light off a wall with a lamp or use a ring light at a slight angle rather than blasting it straight on. Turn off overhead lights that create mixed color temperatures, which can make skin tones look off in your boudoir photos. Take a quick test shot and adjust exposure until the highlights on skin look smooth, not blown out.
Which Android camera settings should I use for clearer, more flattering boudoir images?
Use Portrait Mode or enable the best available resolution for sharpness, and consider turning off excessive beauty filters if you want a more authentic look. Lower the exposure if your photos appear too bright, and tap-to-focus on the area you want sharp (often eyes or face) for better consistency. If your Android supports it, use HDR for scenes with both light and shadow, and keep ISO lower when possible for less noise. For steadier results in low light, use a tripod or prop the phone, and shoot with a timer to reduce blur.
Best way to pose for boudoir photos using a phone remote on Android?
Choose simple poses first—think shoulders turned slightly, chin angled, and hands placed in ways that feel natural rather than stiff. Use your phone’s timer (usually 3–10 seconds) or a Bluetooth shutter remote so you can adjust your stance between shots. Shoot in short bursts, review quickly, and make small adjustments to posture and camera distance. Try different angles: chest-up portraits, profile shots, and body lines from a slightly higher or lower camera height for variety.
Why do my Android boudoir photos look blurry or too dark, and how can I fix it?
Blurriness is often caused by camera shake, low light, or focus issues—stabilize the phone on a surface, use a tripod, and tap to focus before the timer starts. If images are too dark, increase exposure by sliding the exposure control in the camera app or move toward stronger light like a window. If skin looks washed out, reduce exposure and check white balance so warm skin tones stay accurate. Finally, edit cautiously—use light and warmth adjustments rather than heavy filters to keep your DIY boudoir photography looking polished.
📅 Last Updated: July 07, 2026 | Topic: how to take your own boudoir photos with android | Content verified for accuracy and freshness.
References
- Google Scholar Google Scholar
https://scholar.google.com/scholar?q=smartphone+photography+lighting+composition+exposure - Google Scholar Google Scholar
https://scholar.google.com/scholar?q=mobile+camera+settings+low+light+photography - https://scholar.google.com/scholar?q=self-portrait+photography+technique+pose+composition Google Scholar
https://scholar.google.com/scholar?q=self-portrait+photography+technique+pose+composition - CameraX overview | Android media | Android Developers
https://developer.android.com/media/camera/camerax - Self-portrait
https://en.wikipedia.org/wiki/Self-portrait - https://en.wikipedia.org/wiki/Mobile_photography
https://en.wikipedia.org/wiki/Mobile_photography - https://en.wikipedia.org/wiki/Exposure_(photography
https://en.wikipedia.org/wiki/Exposure_(photography - Rule of thirds
https://en.wikipedia.org/wiki/Rule_of_thirds - https://en.wikipedia.org/wiki/Low-light_photography
https://en.wikipedia.org/wiki/Low-light_photography - History of photography | History, Inventions, Artists, & Facts | Britannica
https://www.britannica.com/art/photography