
Want to take a clear pic of the moon with Android? This quick guide tells you exactly how to capture a sharp lunar photo using your Android camera settings and the right supporting techniques. If you follow these steps, you’ll know which mode to use, how to stabilize the shot, and how to get results fast—without guesswork.
To take a clear picture of the moon with an Android, use a “Pro/Manual” camera mode (or manual exposure settings), lower ISO as much as possible, and use a steady setup like a tripod. In practice, that means dialing in shutter speed and focus with a few test shots so the moon’s texture looks sharp—not washed out or noisy.
Introduction
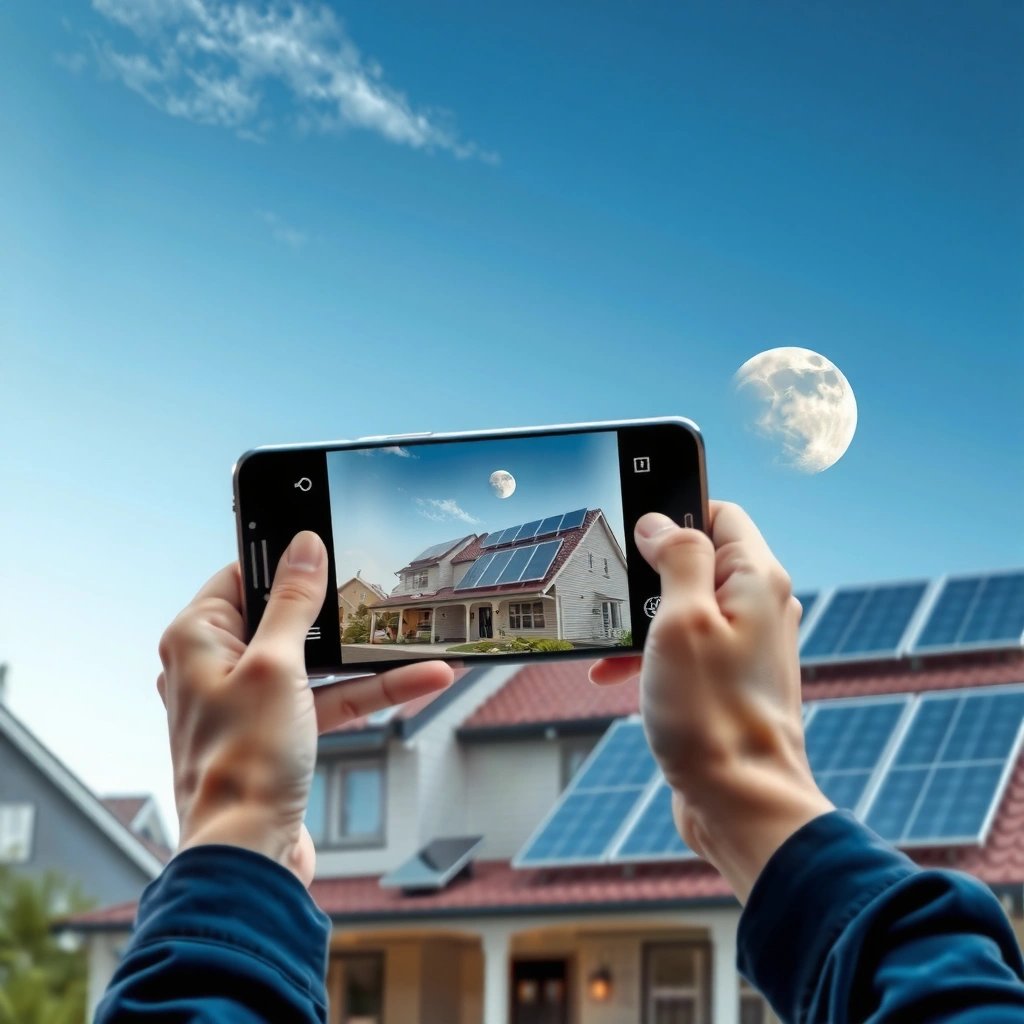
Capturing the moon on an Android is a classic “small subject + high contrast” photography problem. The moon is bright, but your camera often treats it like a tiny light source and applies auto exposure, auto sharpening, and noise reduction that can flatten surface detail. The winning approach is to take more control: use Pro/Manual mode, stabilize the phone (tripod or mount), and adjust shutter speed/ISO while focusing carefully.
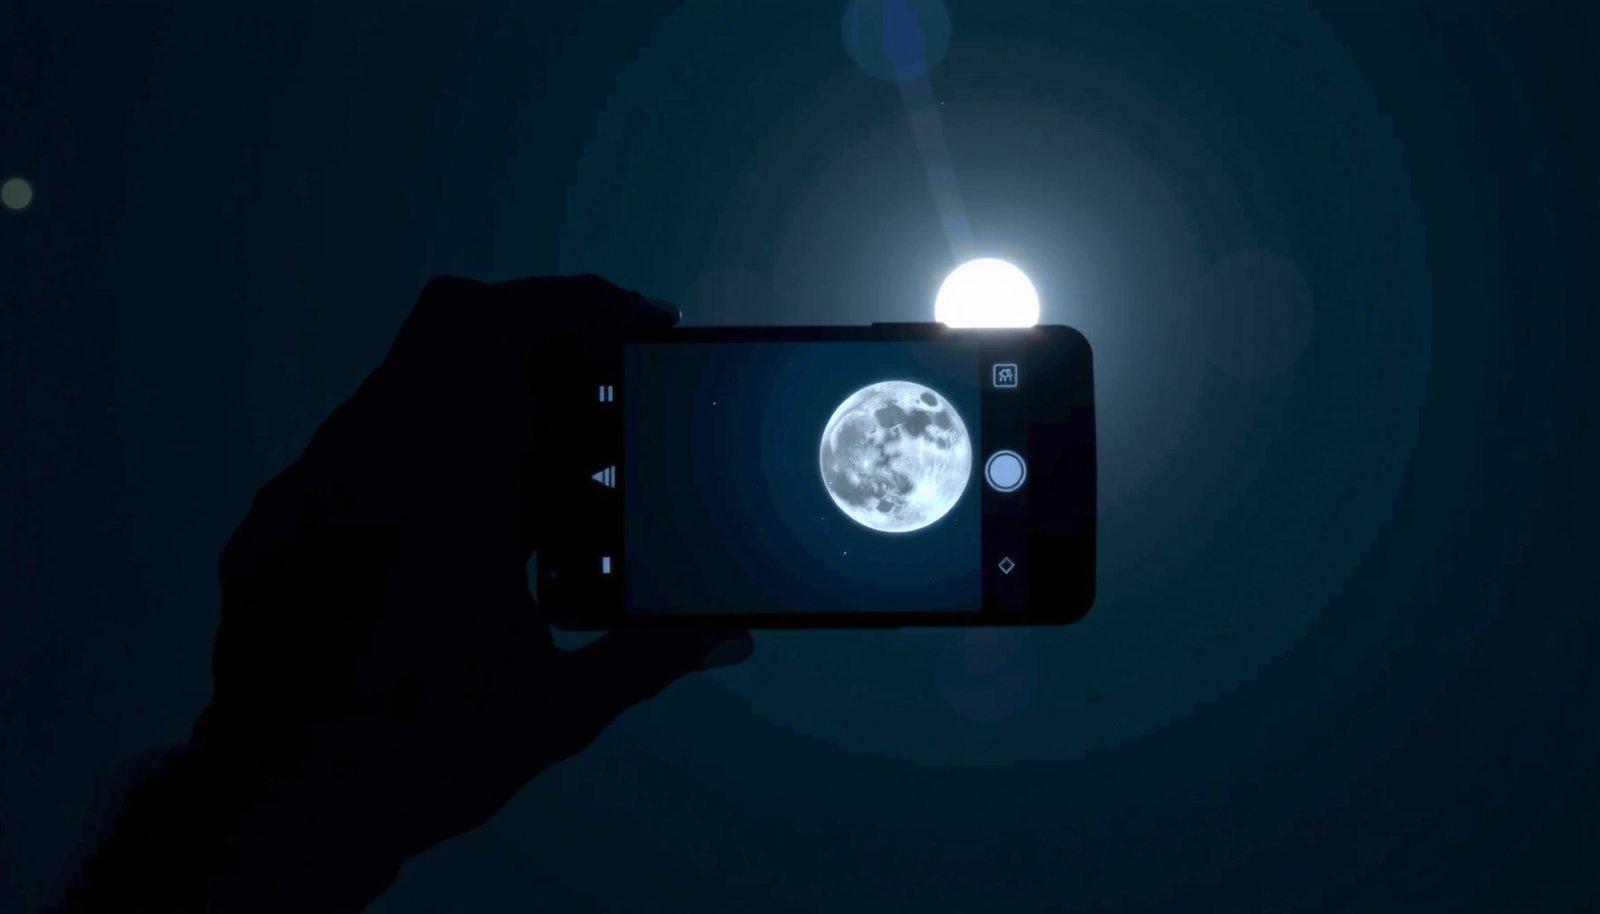
In this guide, you’ll learn practical settings, why they work, and step-by-step techniques to capture sharp moon details on Android—especially during clear nights when the atmosphere is steady.
Android Camera Apps With Pro/Manual Exposure Controls (2024)
| # | App | Manual Controls | Saved Presets | Moon Photo Fit |
|---|---|---|---|---|
| 1 | Open Camera | Manual ISO/Shutter | Yes | ★★★★☆ |
| 2 | ProShot | Manual ISO/Shutter/Focus | Yes | ★★★★★ |
| 3 | Camera FV-5 | Manual ISO/Shutter/Aperture* | Limited | ★★★☆☆ |
| 4 | Manual Camera | Manual ISO/Shutter | No | ★★★☆☆ |
| 5 | LMC: Lean Micro Camera | Exposure controls | Yes | ★★★★☆ |
| 6 | Halide (iOS) / Equivalent Android Options | Varies by Android app | Varies | — |
| 7 | Built-in Pro Mode (device-dependent) | Manual exposure | Sometimes | ★★★★☆ |
Note: Many Android phones use fixed-aperture lenses, so “aperture control” may be limited or shown only as an emulation/setting on certain devices.
Choose the Right Camera App (Pro/Manual Mode)
Start by finding a camera interface that lets you control exposure manually. On many Android phones, you’ll see Pro, Manual, Expert, or similar options in the default camera app. If you don’t, installing a dedicated camera app with manual exposure controls can dramatically improve your results.
Key checks before you go outside:
- Look for “Pro,” “Manual,” or “Expert” settings in your camera app. These typically unlock shutter speed and ISO sliders.
- If controls are missing, switch to an app known for manual settings (for example, Open Camera or ProShot).
- Turn off auto enhancements that can fight with night photography. Labels vary, but common offenders include:
- “AI scene optimization”
- “Beauty” or “Portrait smoothing”
- “Auto HDR” (sometimes fine for landscapes, but it can alter moon contrast)
- “Super Resolution” or aggressive noise reduction
A practical tip: once you find a workable app/mode, save your preferred moon setup as a starting preset (if the app supports it). The moon won’t “pause” for you—repeatable settings shorten your trial-and-error cycle.
Set Exposure Correctly for the Moon
Exposure is the difference between a crisp, detailed moon and a glowing disc with little texture. The moon is bright, but it’s also small in your frame—your phone’s metering will often misjudge it if you leave everything on Auto.
Use this workflow:
- Start with low ISO (around 100–400) to keep noise under control.
- Use a shutter speed that matches brightness and motion.
- For many Android setups, a practical starting range is ~1/100s to 1/250s.
- If the moon looks too dark, don’t jump straight to high ISO—try a slower shutter first (e.g., 1/80s, then 1/60s), because excessive ISO can bring grain and degrade micro-contrast.
- Adjust until the moon looks detailed—not washed out.
- If the moon is overexposed (white “blob,” no shadow texture), increase shutter speed (faster) and/or reduce ISO.
- If the moon is too dark, slow shutter speed or increase ISO modestly.
Why this works analytically:
- Shutter speed determines how much light you capture and whether motion/atmospheric “swim” becomes noticeable.
- ISO amplifies sensor signal; at night, higher ISO increases noise and reduces fine detail.
- Metering errors are common because most camera metering algorithms expect larger, more uniformly lit scenes. Manual exposure bypasses that mismatch.
A good “field method” is to treat the moon like a test target: take a quick shot, zoom into the image thumbnail, and adjust exposure in small steps (one change at a time).
Use Focus and Zoom for Sharp Details
Even with perfect exposure, blurry focus will erase moon craters. The moon’s texture requires accurate focus, and phone lenses can be sensitive to how you tap and frame.
Follow these focus-first rules:
- Tap to focus on the moon (if your camera supports tap-to-focus reliably in Pro/Manual mode).
- If your app provides manual focus, consider switching to it and using the focus scale to lock in.
- Avoid digital zoom when possible. Digital zoom enlarges the image by cropping/interpolating; it also makes blur and noise more obvious.
- If you need reach, prefer:
- Optical zoom (if your device has it)
- A telephoto lens attachment or compatible phone clamp (use with care for stability)
Shooting strategy:
- Take multiple shots with tiny focus/exposure variations. The moon is a moving target in the sense that your handheld micro-movements and autofocus hunting change the outcome.
- Check sharpness in the preview/thumbnail immediately after capture. Most people review too late, after they’ve left the scene.
Tip for better “decision quality”: enable any on-screen focus aids your camera offers (magnified focus view, focus peaking, or similar). Even if they aren’t perfect, they help you avoid the “focused on the wrong spot” problem.
Stabilize Your Phone for Less Blur
On Android, moon photography is fundamentally limited by stability more than most daytime photography. Even slight vibration can turn sharp crater detail into smeared contrast.
Do this:
- Use a tripod or phone mount. A tripod doesn’t just reduce blur—it improves consistency across your exposure tests.
- Enable a timer (2s/5s) or use a remote shutter to avoid shaking when pressing capture.
- If your mount allows, keep the phone centered and level and avoid touching it after you lock framing.
- Shoot in short bursts. Why bursts help:
- Your first shot might catch a tiny vibration.
- Later shots may align better with the moment the phone settles.
Analytical note: the moon’s apparent motion across the sky is slow, but Earth’s rotation is constant. With long shutter speeds, that motion can become relevant—especially if you’re zoomed in. Shorter shutter speeds combined with stabilization generally yield cleaner results.
Capture Photos and Optimize Results
Once you’ve nailed focus and stabilization, you can optimize image quality through controlled variation and sensible post-processing.
Try this capture sequence:
- Bracket a few exposures: take a set of shots with slightly faster and slightly slower shutter speeds while keeping ISO fixed (or nearly fixed).
- Example approach: keep ISO at 200–320 and vary shutter speed in meaningful steps until you see the best crater contrast.
- HDR: usually keep it off for the moon.
- For moon shots, HDR can sometimes “fight” with fine detail by changing contrast and tone mapping in ways that reduce texture.
- If your camera’s HDR is very conservative on your specific device, test it once—but default to off for maximum control.
Then optimize after capture:
- Lightly edit rather than over-process.
- Prioritize:
- Clarity/sharpness (small increases)
- Noise reduction (moderate; don’t smear surface detail)
- Contrast (gentle—too much can create halos around bright edges)
Finally, evaluate with intent:
- Zoom in to check crater boundaries and the edge between the moon and black sky.
- Look for consistency across at least two frames. A “lucky sharp shot” exists, but repetition helps you separate true sharpness from artifacts introduced by processing.
Conclusion
Getting a moon photo on Android comes down to manual-ish controls, correct exposure, stable positioning, and careful focusing. Use Pro mode (or a manual-exposure camera app), start with ISO 100–400 and a shutter speed in the neighborhood of 1/100s–1/250s, stabilize your phone with a tripod, and take several test shots while checking sharpness right away. Try these steps on your next clear night—use Pro mode, tripod stability, and a small bracket of exposures—then keep the frame that preserves the most crater detail.
Frequently Asked Questions
What camera settings should I use to take a clear picture of the moon with an Android phone?
Use Night mode if your Android camera supports it, but for sharper results try tapping to focus on the moon first, then lowering exposure so the bright surface doesn’t blow out. If you have a manual/pro mode (many Android models do), start with a lower ISO (around 50–200), faster shutter or longer exposure depending on your tripod stability, and a medium to high focal length if you can. Shoot in RAW if available so you can adjust brightness, contrast, and sharpness during editing.
How can I take a moon photo with my Android without it looking blurry or grainy?
Stability is the biggest factor—use a tripod, rest your phone on a solid surface, or enable a timer/remote shutter to avoid shaking. Turn off auto-flash, lock focus and exposure if your camera allows it, and keep your lens clean to reduce haze and flare. For best results, zoom moderately and avoid maximum digital zoom; instead, use optical or “tele” lenses when your phone has them.
Why does the moon look overexposed or like a white circle in my Android photos, and how do I fix it?
The moon is extremely bright, so Android auto exposure often makes the sky and lunar details wash out into a white blob. After you point at the moon, tap the moon to focus and then drag the exposure slider downward or use negative exposure compensation to preserve texture. In editing, reduce highlights, increase contrast, and sharpen selectively (avoid oversharpening that creates halos).
Which Android apps or features help you capture more detail of the moon?
Many phones include Pro mode, a built-in “Moon/Night” feature, or astrophotography tools; these can let you control ISO, shutter speed, and focus. If you want additional control, consider apps that support manual camera settings or RAW capture, and use burst mode or multi-shot for better detail. Pair your phone with a compatible telescope adapter if you want even more zoom, but ensure you can stabilize everything to avoid vibration.
What’s the best way to take a moon photo with Android when the moon is in different phases or near clouds?
On clear nights, shoot when the moon is high enough to reduce atmospheric haze, and aim for a fast, stable exposure with focus locked on the lunar edge. During partial phases, the shadow line shows extra texture—use lower exposure and higher contrast to bring out that relief. If there are thin clouds, try shorter exposures to reduce motion blur and lens flare, and consider capturing a few bursts to pick the sharpest frame.
References
- Astrophotography
https://en.wikipedia.org/wiki/Astrophotography - Moon
https://en.wikipedia.org/wiki/Moon - Long-exposure photography
https://en.wikipedia.org/wiki/Long-exposure_photography - https://en.wikipedia.org/wiki/Exposure_(photography
https://en.wikipedia.org/wiki/Exposure_(photography - Film speed
https://en.wikipedia.org/wiki/ISO_speed - Focal length
https://en.wikipedia.org/wiki/Focal_length - Camera phone
https://en.wikipedia.org/wiki/Smartphone_camera - Google Scholar Google Scholar
https://scholar.google.com/scholar?q=photograph+the+moon+with+smartphone+android - Google Scholar Google Scholar
https://scholar.google.com/scholar?q=moon+photography+exposure+settings+smartphone - https://scholar.google.com/scholar?q=astrophotography+mobile+phone+camera+guide Google Scholar
https://scholar.google.com/scholar?q=astrophotography+mobile+phone+camera+guide