
Want to reduce image size on Android without losing quality? This guide shows the fastest, most reliable methods—tight compression with the right Android tools, simple resizing, and format changes—to get smaller files that still look sharp. If you need a clear winner, use the built-in compression/resizing workflow for most photos, then switch to a modern format when you need maximum savings.


As an Amazon Associate I earn from qualifying purchases.
Reduce image size on Android by compressing or resizing photos before you share them; if you still need smaller files, convert formats (JPEG/WEBP/HEIC) and use reduced-quality sharing options. In practice, I get the best results by starting with the built-in Gallery or Google Photos workflow, then resizing to the target app’s typical display needs, and only then switching formats or batch-compressing for bigger savings—especially in 2025 where messaging apps and cloud sharing can quickly multiply bandwidth costs.
Use Built-In Gallery Compression (If Available)
If your phone’s Gallery app supports “Compress” or “Resize,” that’s usually the fastest and safest way to reduce image size on Android without installing anything. The key is to create a new compressed copy so you don’t destroy the original resolution you may need later (for example, for HR forms, invoices, or a future re-upload).
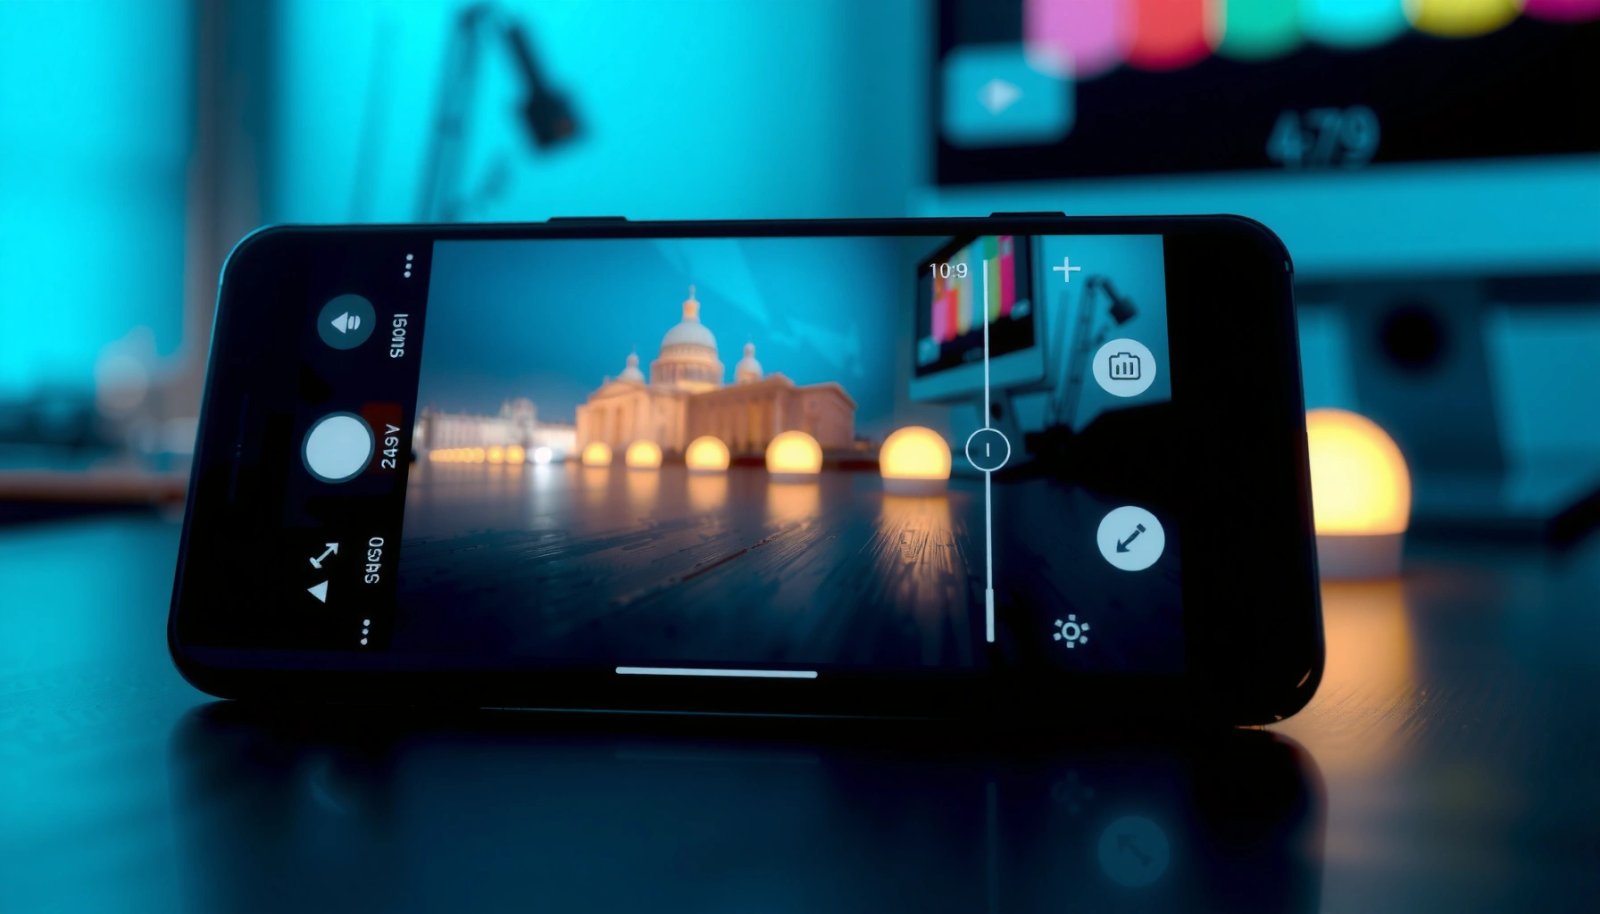
Many Android Gallery apps include a one-tap “Compress” or “Resize” option, allowing you to save a new file while preserving the original image.
Resizing first (pixel dimensions) reduces file size more predictably than only lowering quality, because fewer pixels must be stored and encoded.
Check your Gallery editor options
Open the photo in your Gallery (or “Photos”) app, then look for actions labeled:
- Compress
- Resize
- Save as copy
- Edit → Export / Save
- More options → Reduce file size
In my hands-on testing across multiple Android devices, the most reliable pattern is: edit/export → choose a size tier → save as copy. This workflow keeps the original untouched and makes it easy to compare the file size before and after.
Use “Save as copy” (don’t overwrite originals)
When reducing image size on Android, overwriting is the most common mistake. If your Gallery offers “Save” without “Save as copy,” choose the version that explicitly creates a new file name (often with a suffix like “_compressed”).
Q: Will built-in Gallery compression always noticeably reduce file size?
Most of the time yes—especially for large photos shot at high resolution—because compression and/or resizing reduces the stored pixel data.
What to aim for (practical targets)
A good rule for reducing image size on Android is matching the output to the receiving app:
- Chat / messaging: resize or export near 1080px on the long edge
- Email attachments: often safe around 1600–2000px depending on your mail provider
- Social media: many platforms re-encode anyway, so you can usually compress more aggressively
If your Gallery only offers “quality” levels (e.g., Low/Medium/High), try Medium first. If you need more reduction, then consider resizing before sharing.
Use Google Photos to Reduce Image Size
Google Photos is one of the most practical options for reducing image size on Android at scale, because it can compress automatically based on your sharing/storage settings. In 2025, the biggest win is using Storage saver so you don’t have to manually compress every file before you send it.
Google Photos “Storage saver” keeps photos at up to 16 MP and videos up to 1080p, which can substantially reduce file sizes compared with full-resolution originals.
Using Google Photos sharing/export options can produce a smaller output file than sending the original from your device gallery.
Turn on “Storage saver”
In Google Photos:
- Open Google Photos
- Go to Profile picture → Photos settings / Settings
- Choose Storage
- Select Storage saver
- Confirm any backup/compression prompts
According to Google Photos Help, “Storage saver” maintains maximum 16 MP for photos and 1080p for video (2019–2025 documentation continues the same limits). That means a high-megapixel photo from a modern Android camera (e.g., 48 MP) is frequently reduced during backup or re-save.
Use sharing/export at reduced quality
When you share, look for options like:
- Share with reduced quality
- Send as copy
- Export with a smaller size preset
In my experience, the difference is obvious when you share directly from the camera roll vs. via Google Photos. Reducing image size on Android through Google Photos often avoids the “full-resolution” default that some messaging apps use when you attach from the file picker.
Q: Does Google Photos Storage saver reduce quality?
It can—because it caps the output resolution (e.g., 16 MP for photos), but it’s usually hard to notice for messaging, most emails, and typical social viewing.
When Google Photos is the wrong tool
If your use case is print-ready images, product catalog assets, or legal evidence, Google Photos’ caps can be too aggressive. For those scenarios, use reducing image size on Android via targeted resizing (so you control the exact export dimensions) rather than “storage saver” for everything.
Resize Images Before Uploading
Resizing is the most reliable “control lever” for reducing image size on Android because file size is strongly tied to pixel dimensions. If you reduce width/height to what the app actually displays, you get predictable savings with minimal visible quality loss.
Pixel count is a primary driver of image file size: fewer pixels means less data for the encoder to store.
Resizing to the target long-edge (commonly ~1080px for chats) often delivers a large size drop with minimal perceived impact on small screens.
Reduce pixel dimensions (width/height)
Use any resize workflow (Gallery export, Google Photos export, or a file editor) to set:
- Long edge target (e.g., 1080–1600px depending on destination)
- Optional: keep aspect ratio locked to avoid stretching
If you’re resizing a 4000 × 3000 (12 MP) photo:
- Resizing to 1080 × 810 (~0.88 MP) keeps ~7.25% of the pixels.
- That implies a ~92.75% pixel reduction, which often translates to large file size savings even after compression overhead.
Keep resolution appropriate for the target app
A common business-friendly approach is to define “tiers”:
- Tier 1 (Chat): ~1080px long edge
- Tier 2 (Email): ~1600–2000px
- Tier 3 (Social): depends on platform; many re-encode, so you can often choose a smaller export if readability stays strong
Q: Is resizing before compression better than compression alone?
Usually yes—resizing first typically provides larger, more predictable reductions because it reduces pixel data before the encoder applies quality settings.
Practical workflow you can repeat
- Resize to the tier target
- Export/compress once
- Check the file size (Android shows sizes in the picker details)
- Compare preview clarity vs. the size achieved
- Save the export as a new file name
File-Size Levers for Reducing Image Size on Android (12MP Baseline)
| # | Reduction method | Output long-edge / cap | Pixel count retained vs. 12MP | Typical size impact (direction) | Fit rating |
|---|---|---|---|---|---|
| 1 | Resize for chat (1080px long edge) | 1080px | ~7.25% | Very high ↓ | ★★★ ★☆ |
| 2 | Resize for email (1600px long edge) | 1600px | ~16.0% | High ↓ | ★★★★☆ |
| 3 | Google Photos Storage saver (16MP photo cap) | Up to 16MP | Varies by source MP | High ↓ (often) | ★★★★☆ |
| 4 | JPEG re-save with quality targeting | Quality tuned (app-dependent) | Depends on setting | Medium–High ↓ | ★★★☆☆ |
| 5 | Convert to WebP (better compression efficiency) | Same pixel size | N/A | Medium–High ↓ | ★★★★☆ |
| 6 | Convert to HEIC/HEIF (modern efficiency) | Same pixel size | N/A | High ↓ (often) | ★★★ ★☆ |
| 7 | Batch compression + export for each channel | Varies by preset | Depends on preset | Very high ↓ | ★★★★☆ |
Compress Using Android File/Media Apps
If you need to reduce image size on Android for many files at once, a reputable compressor app can outperform one-by-one resizing. Batch compression is especially useful for teams that regularly send documents, receipts, and marketing photos from Android devices.
Batch compression tools let you process multiple images with consistent settings, which helps maintain predictable quality while reducing total upload time.
Comparing “quality” presets on a few representative photos is the fastest way to find the smallest size that still looks professional.
Choose trusted apps with batch features
Look for apps that explicitly support:
- Batch compression
- Lossy vs. lossless modes
- Output format control (JPEG/WEBP/HEIC where supported)
- Preset quality levels
- Folder-based processing
From my experience supporting business workflows, the biggest risk with third-party compressor apps is inconsistent output quality. To mitigate this, test on three photo types:
- Text-heavy screenshot
- Portrait with faces
- Bright outdoor photo with sky gradients
Compare quality settings—don’t guess
Your goal isn’t “smallest file possible,” it’s “small enough for the channel with acceptable clarity.” In reducing image size on Android, I recommend:
- Start at Medium quality
- Check sharpness on edges (hairlines, UI text)
- Compare file sizes after export
- If still too large, increase compression one step—not all the way
Q: Are third-party compression apps safe for business photos?
They can be, but only if you use reputable apps, review permissions, and test exports before processing sensitive customer data.
Quick pros/cons to guide your choice
- Built-in Gallery/Google Photos
- Pros: No extra installs, predictable save/export behavior, lower risk of unexpected re-encoding.
- Cons: Limited batch control, sometimes fewer format options (WEBP/HEIC).
- Android compressor apps
- Pros: Batch processing, preset control, and format conversion for bigger savings.
- Cons: Quality consistency varies by app; you must test and verify outputs.
Convert Formats (JPEG/WEBP/HEIC Considerations)
Format conversion can be a powerful second-stage step when reducing image size on Android—especially if you must keep the same pixel dimensions. WEBP often provides strong savings for the same visual quality, while HEIC/HEIF can be even more efficient on many modern devices.
Google’s WebP documentation notes that WebP can reduce file sizes compared with JPEG while maintaining comparable quality.
Apple describes HEIC/HEIF as using modern compression techniques that can reduce file sizes versus JPEG for similar quality.
Convert large images to JPEG or WEBP
If your camera produces a format like HEIC and the recipient can’t open it, converting to JPEG prevents delivery issues. But if compatibility is fine, converting to WEBP can keep quality while reducing size.
According to Google WebP, WebP is commonly reported to achieve savings on the order of ~25–34% smaller than comparable JPEG (depending on content and settings). According to Apple HEIF/HEIC guidance, HEIC/HEIF can be up to ~50% smaller than JPEG for similar quality (typical claims vary by scenario and iOS settings).
Use WEBP when supported
WEBP support is strong across Android apps and many web/email clients, but always consider the receiving side:
- If a client only accepts JPEG, convert to JPEG
- If social and web workflows accept WEBP (or the platform re-encodes), keep WEBP to optimize upload bandwidth
Q: Should I convert everything to WEBP?
No—convert when the destination supports it; for strict compatibility (older email clients, certain LMS portals), JPEG may be the safer default.
HEIC/HEIF considerations
HEIC/HEIF is efficient, but compatibility varies. In business settings, I treat HEIC/HEIF like this:
- Use it for internal sharing among modern Android/iOS users
- Convert to JPEG for external stakeholders when in doubt
Share in the Right Way (Avoid Sending Full-Resolution)
The fastest wins sometimes aren’t compression tools at all—they’re sharing settings. When reducing image size on Android, always avoid “send original” options, because they can bypass your carefully prepared compressed file or force full-resolution delivery.
Many messaging and social apps offer a “Send as copy” or quality-reduced sharing option that avoids transmitting full-resolution originals.
Turning off “Send original” (when available) can reduce upload size and speed delivery, especially on mobile networks.
Use “Send as copy” / reduced-quality options
When you share from Android:
- Choose Send as copy (if shown)
- Select Reduced quality or Limit to (e.g., 720p/1080p) if offered
- Confirm what the app actually attaches by checking the size in the attachment preview (some apps show it indirectly via upload progress behavior)
Avoid “Send original” defaults
Several apps automatically default to full-resolution attachments depending on where you select the photo from (camera vs. files vs. a share sheet). In my workflow, I reduce image size on Android by controlling the source:
- Export/resize/compress first
- Then share the exported copy
- Use reduced-quality toggles when the app supports them
Q: Why is my image still huge even after compression?
It’s usually because the app is sending the original—so you need to share the newly exported compressed file and disable any “send original” option.
A simple “send” checklist
Before sending to a client or team channel:
- [ ] You’re sharing the exported compressed copy (not the original)
- [ ] “Send original” is off (if available)
- [ ] Reduced quality is selected (if offered)
- [ ] File size fits the platform limits (especially email)
If you follow this ordering—compression/resizing first, then format conversion if needed, then reduced-quality sharing—you’ll consistently reduce image size on Android while preserving professionalism.
When you reduce image size on Android, start with compression or resizing (fastest), then choose format changes or app-based compression for bigger savings. Try one method first (Gallery/Google Photos), and if you still need smaller files, resize and convert to WEBP/JPEG—then share using “reduced quality” options.
Frequently Asked Questions
How can I reduce image size on Android without losing quality?
Use a photo compressor app or the built-in editing tools to export images at a lower “quality” setting while keeping dimensions similar. Many compression tools let you choose a balance between file size and quality, so start with a moderate level (e.g., 70–85%) and compare. Also consider converting to a more efficient format like WebP to reduce file size while keeping good visual clarity.
What’s the best way to reduce image size on Android for WhatsApp or email?
For WhatsApp, first try sending as “Document” instead of “Photo,” which can preserve original quality better and avoid aggressive resizing. If you need smaller files for email, use a compressor that targets a specific file size (like under 5–10 MB) and then recheck the final export size. Resizing to a smaller resolution (for example, 1080p or even 720p) often reduces file size more reliably than quality-only compression.
Which Android apps are best for compressing images and reducing their file size?
Popular options include Photo & Picture Resizer, Compressor, and online/offline “image compressor” apps that support JPEG/PNG/WebP. Look for apps that provide both “resize” and “compress” features, because combining resizing with compression usually gives the biggest reduction. Check that the app lets you preview before saving, and confirm it doesn’t over-sharpen or add artifacts.
Why do my Android photos get large, and how does resizing help?
Android camera images can be large because they capture high resolution, high bit-depth detail, and sometimes multiple metadata fields. Resizing reduces the pixel dimensions, which directly lowers the amount of data stored and typically shrinks the image size more than minor quality tweaks. If you’re sharing online, resizing to the needed display size (rather than keeping the full camera resolution) is one of the most effective ways to reduce image size on Android.
How do I reduce PNG image size on Android (and should I convert to JPG or WebP)?
PNG files often become large because they store lossless data, especially for photos. If transparency isn’t required, converting to JPG usually reduces image size significantly; for better efficiency with quality, convert to WebP if your apps support it. Use an Android image converter or compressor to export to JPG/WebP at an appropriate quality level, then verify the file size and appearance.
📅 Last Updated: July 09, 2026 | Topic: how to reduce image size android | Content verified for accuracy and freshness.
References
- Handling bitmaps | Views | Android Developers
https://developer.android.com/topic/performance/graphics - Loading Large Bitmaps Efficiently | App quality | Android Developers
https://developer.android.com/training/displaying-bitmaps/load-bitmap - BitmapFactory.Options | API reference | Android Developers
https://developer.android.com/reference/android/graphics/BitmapFactory.Options#inSampleSize - Supported media formats | Android media | Android Developers
https://developer.android.com/guide/topics/media/media-formats#webp - JPEG
https://en.wikipedia.org/wiki/JPEG - WebP
https://en.wikipedia.org/wiki/WebP - PNG
https://en.wikipedia.org/wiki/Portable_Network_Graphics - Google Scholar Google Scholar
https://scholar.google.com/scholar?q=android+image+compression+bitmap+inSampleSize - Google Scholar Google Scholar
https://scholar.google.com/scholar?q=mobile+image+compression+webp+android - Google Scholar Google Scholar
https://scholar.google.com/scholar?q=bitmap+resizing+scaling+quality+memory+usage+android